
Objective: Locate the Comms Array
Locating the Comms Array is a critical early-to-mid game objective that will significantly expand your communication capabilities and unlock further story progression. Unlike some objectives found in open-air environments, the Comms Array in Abiotic Factor is situated deep within a heavily damaged and often hazardous section of the facility, typically requiring careful navigation and preparation.
Preparation & Recommended Gear
Before embarking on this mission, ensure you are adequately prepared. The path to the Comms Array is fraught with environmental hazards and hostile entities.
- Melee Weapon: A sturdy melee weapon (e.g., Crowbar, Makeshift Axe) is essential for dealing with close-quarters threats.
- Ranged Weapon: A basic ranged weapon (e.g., Makeshift Pistol, Slingbow) with ample ammunition can help thin out groups or engage distant enemies.
- Healing Items: Stock up on Bandages, Medkits, or crafted healing items like Nutrient Paste.
- Light Source: A Flashlight or Headlamp is crucial, as many areas en route are poorly lit or completely dark.
- Tools: Consider bringing a Wrench or Screwdriver for potential environmental interactions or shortcuts.
- Crafting Materials (Optional): While not strictly required to *reach* the array, having some basic crafting materials like Scrap Metal and Plastic Shards can be useful for on-the-fly repairs or crafting.
Navigating from the Research Wing to the Comms Array
Your journey to the Comms Array will typically begin from the Research Wing, requiring you to ascend to higher, more damaged sections of the facility. The Comms Array is generally found within a structurally compromised area on Level 2 or 3, often requiring traversal through maintenance shafts and collapsed sections.
- Exiting the Research Wing: From the main Research Wing hub, your primary goal is to locate an access point leading upwards. Look for signs indicating "Maintenance Access," "Upper Levels," or "Sector 2/3." These are often found near the central elevator shafts or in less-trafficked corridors.
- Locating the "Level 2 Access" Point:
- Elevator Shafts: Many areas feature non-functional elevator shafts. Look for exposed maintenance ladders or platforms within these shafts. Be cautious, as ladders can be broken, requiring you to jump or find alternative routes.
- Maintenance Stairwells: Some stairwells are explicitly marked for upper-level access. These can be partially collapsed or blocked by debris, necessitating careful navigation or the use of your melee weapon to clear minor obstructions.
- Key Landmark: A common access point is often found near the cafeteria or the main security checkpoint in Sector 0, leading to a series of damaged corridors that eventually funnel upwards.
- Traversal Challenges & Hazards:
- Collapsed Walkways: Expect to encounter sections where the floor has given way. Look for alternate paths, often involving jumping across gaps or dropping down to lower, safer ledges.
- Electrical Hazards: Exposed wiring and sparking panels are common. Avoid direct contact to prevent taking damage. Sometimes, a quick melee strike can temporarily disable a sparking panel, but proceed with caution.
- Environmental Darkness: Many areas leading to the Comms Array are unlit. Your flashlight or headlamp is indispensable here.
- Encountering Hostiles:
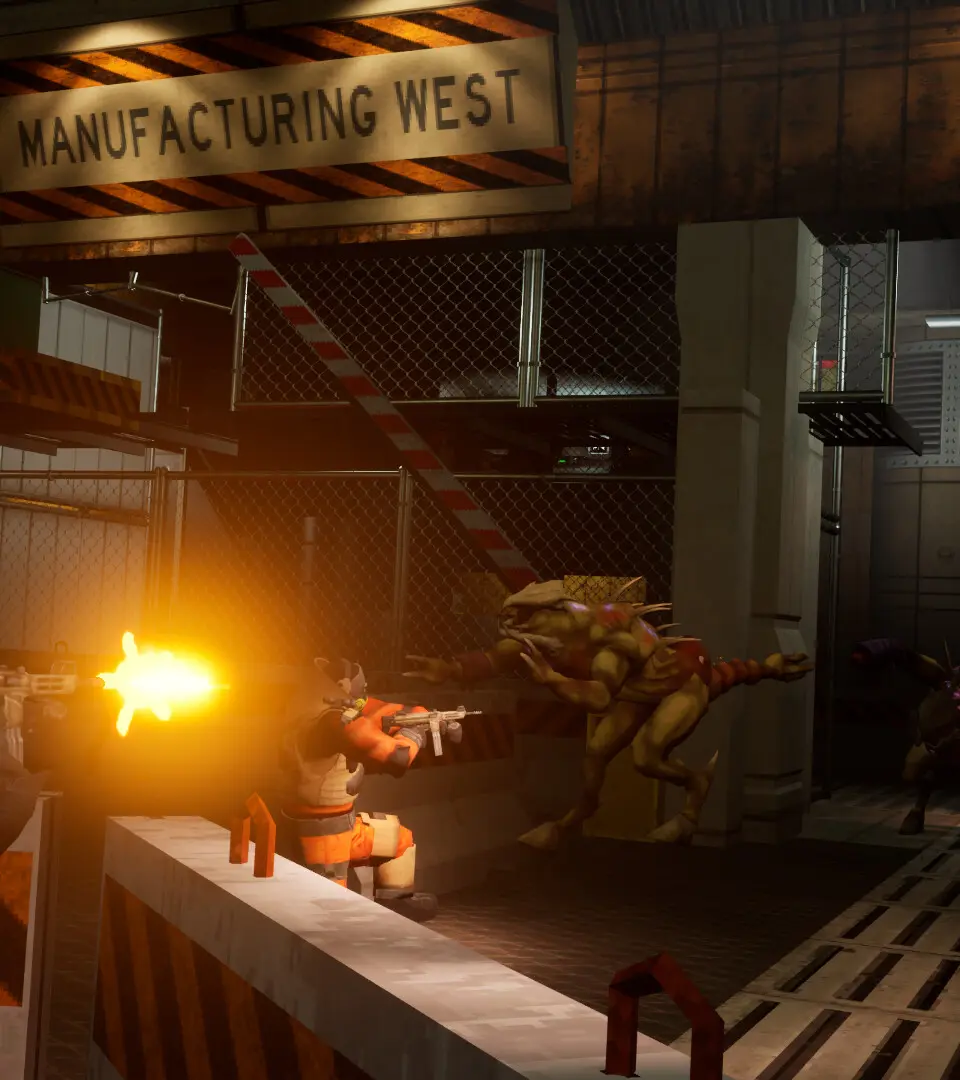
- Gatorkin: These agile creatures often patrol damaged corridors and maintenance areas. They are fast and can deal significant damage. Prioritize headshots with ranged weapons or use well-timed melee attacks.
- Security Bots (Damaged): You may encounter malfunctioning security bots. They are slower but can absorb more damage. Target their weak points (often glowing eyes or exposed circuitry) or use explosives if available.
- Small Swarmers: These nuisances often appear in dark, cramped spaces. A wide melee swing or a burst from a ranged weapon can clear them out quickly.
- Navigating Damaged Corridors: Once you gain elevation, you'll likely find yourself in a network of severely damaged corridors.
- Map Usage: While the Comms Array won't have a unique "radio tower icon," your objective marker will clearly guide you. Follow the objective marker on your in-game map.
- Landmarks: Look for distinctive environmental cues such as large structural breaches, exposed pipes, or sections of the facility that appear to be under emergency power only.
- Verticality: The path often involves multiple levels of vertical traversal within the same "floor," requiring you to drop down ledges or climb over debris.
- Reaching the Comms Array Location: The Comms Array itself is not in a wide-open, exposed area. Instead, it's typically housed within a heavily damaged, enclosed section of the facility, often characterized by:
- Structural Collapse: Large sections of the ceiling or walls may have given way, exposing the interior to the elements or creating large debris piles.
- Exposed Equipment: You'll see large, damaged communication dishes and server racks.
- Power Fluctuations: The area might experience intermittent power, causing lights to flicker or machinery to sputter.
Post-Location: Repair & Subsequent Objectives
Upon reaching the Comms Array, your immediate objective will update from "Locate" to "Repair." This is where the mentioned materials come into play:
- Advanced Circuit Boards: These are crucial for repairing the primary control console of the Comms Array. They are typically found in high-security areas, labs, or from dismantling advanced electronic devices.
- Reinforced Wiring: Essential for re-establishing power and data connections. Often found in maintenance tunnels, server rooms, or by breaking down heavy-duty electrical components.
Important: You do NOT need these materials to *reach* the Comms Array, only to repair it once located. If you haven't collected them yet, the game will prompt you to do so after you've found the array. Plan a return trip or have them ready if you want to complete the repair immediately.
Common Pitfalls & Tips
- Don't Rush: The path to the Comms Array is not a sprint. Take your time, clear areas of enemies, and scout ahead for hazards.
- Conserve Resources: Ammunition and healing items can be scarce. Use your melee weapon effectively to save bullets.
- Look for Shortcuts: Sometimes, a seemingly impassable obstacle has a hidden vent or a climbable pipe nearby.
- Beware of Ambush Points: Damaged corridors and dark corners are prime locations for enemy ambushes. Keep your guard up.
- No Grappling Hook Needed: Despite what some might assume from other games, a grappling hook is NOT a standard early-to-mid game traversal tool for reaching the Comms Array in Abiotic Factor. All necessary jumps and climbs can be performed with standard character abilities.
By following these detailed steps and preparing thoroughly, you will successfully locate the Comms Array and be ready to restore its functionality, opening up new possibilities in your fight for survival.