
Collecting Shells
Deep within the serene and mysterious waters of Abzu lie 19 ancient shells, each a testament to the ocean's hidden wonders. These elusive collectibles are more than just shiny trinkets; they are key to unlocking exclusive cosmetic rewards, contributing to significant achievements, and fully experiencing the game's rich exploration aspect. While they don't impact the main narrative or gameplay mechanics, finding all shells is a rewarding endeavor for completionists and those who wish to personalize their diving experience.
Why Collect Shells? Rewards and Achievements
Collecting shells in Abzu offers tangible rewards that enhance your journey and provide a sense of accomplishment. Here’s what you stand to gain:
- Diver Color Customization: For every set of shells you collect (typically in groups of 3-4, though not strictly sequential), you unlock new color palettes for your diver suit. This allows you to personalize your appearance, choosing from a vibrant array of hues that reflect your style or mood. Examples include deep blues, radiant greens, and even shimmering golds.
- The "Collector" Achievement: Finding all 19 shells is a direct requirement for unlocking the "Collector" achievement/trophy. This is a significant milestone for players aiming for 100% game completion on any platform (PC, PS4, Xbox One, Switch, PS5, Xbox Series X).
- Enhanced Exploration: The hunt for shells encourages thorough exploration of every biome. You'll discover hidden passages, breathtaking vistas, and unique marine life you might otherwise miss, deepening your appreciation for Abzu's meticulously crafted world.
- Visual Flourishes: While subtle, some shell collections might trigger minor environmental changes or add unique visual effects to certain areas, rewarding your keen eye with small, delightful surprises.
General Shell Hunting Strategies
Shells are notoriously well-hidden, often blending seamlessly with the environment or tucked away in obscure locations. They appear as small, glowing objects, emitting a faint light that can sometimes be obscured by flora or shadows. Here are some general tips to maximize your chances of finding them:
- Slow and Steady Exploration: Resist the urge to rush through areas. Take your time to meticulously scan every corner, ceiling, and floor. Shells are rarely in plain sight.
- Utilize Your Sonar Pulse: Your diver's sonar pulse (activated by pressing the designated button, e.g., L2 on PlayStation, LT on Xbox, ZL on Switch) is your best friend. While it primarily highlights interactable objects and meditation statues, it can sometimes subtly reveal the presence of a shell nearby, especially if it's partially obscured.
- Check Nooks and Crannies: This cannot be stressed enough. Shells love to hide in:
- Behind large coral formations and rock structures.
- Inside small caves, crevices, and underwater tunnels.
- Underneath overhangs or ledges.
- Within sunken ruins or debris.
- At the very edges of explorable areas, where the environment transitions.
- Follow Unusual Fish Patterns: Occasionally, a school of fish might congregate around a specific spot for no apparent reason. This can sometimes be a subtle hint that a collectible, including a shell, is nearby.
- Revisit Areas: Don't be afraid to revisit previously explored zones, especially after unlocking new abilities or gaining a better understanding of the game's environmental design. What you missed before might become apparent on a second pass.
- Listen Carefully: While not always reliable, some players report hearing a very faint, high-pitched chime or subtle sound effect when a shell is in close proximity. This is more anecdotal but worth keeping an ear out for.
Common Pitfalls and Missables
While Abzu is a generally forgiving game, there are a few things to keep in mind when hunting for shells:
- No Chapter Select for Individual Shells: If you miss a shell in a particular chapter, you'll need to replay that entire chapter to retrieve it. There's no in-game menu that allows you to jump directly to a specific shell's location.
- Environmental Puzzles: Some shells are locked behind minor environmental puzzles, such as activating a mechanism to open a passage or clearing debris. Ensure you fully interact with all available elements in an area.
- The "Point of No Return": Be aware that certain areas become inaccessible after progressing past a specific story beat. It's generally advisable to thoroughly explore each new biome for shells before moving on to the next major objective. While you can replay chapters, it's more efficient to collect them on your first pass.
Detailed Shell Locations (Chapter-by-Chapter Guide)
To ensure you don't miss a single one, here's a comprehensive, step-by-step guide to finding all 19 shells. We'll break it down by the game's main areas, providing precise instructions.
Chapter 1: The Open Ocean & First Reef
This introductory area serves as a gentle tutorial for movement and exploration. There are 3 shells to find here.
- Shell 1 (First Reef Entrance): After you gain control of your diver and swim through the initial open ocean, you'll enter a vibrant reef area. Immediately to your left, look for a large, arching coral structure. The shell is tucked away on the seafloor, just behind this arch, near some glowing anemones.
- Shell 2 (Sunken Statue): Continue through the reef until you encounter your first large, ancient statue submerged in the coral. Swim around to the back of this statue, near its base. The shell is nestled in a small alcove formed by the statue and the surrounding rock.
- Shell 3 (Deep Crevice): Progress further until you reach a slightly deeper section of the reef with a noticeable drop-off. Look for a narrow, dark crevice on the seafloor, almost hidden by taller coral. The shell is inside this crevice. You might need to squeeze in to see it.
Chapter 2: The Kelp Forest & First Temple
This chapter introduces dense kelp forests and your first encounter with ancient structures. There are 4 shells here.
- Shell 4 (Kelp Forest Floor): As you enter the vast kelp forest, swim down towards the seafloor. Navigate through the dense kelp stalks. The shell is located near the base of a particularly large, gnarled kelp plant, close to a small patch of glowing algae.
- Shell 5 (Hidden Cave Entrance): Continue through the kelp forest until you spot a large, circular rock formation. On the far side of this formation, look for a small, almost hidden cave entrance. The shell is just inside, on the cave floor.
- Shell 6 (Temple Exterior Arch): After exiting the kelp forest, you'll approach the exterior of the first large temple structure. Before entering, swim around the left side of the temple. There's a decorative archway on the exterior wall. The shell is perched on a small ledge just above the base of this arch.
- Shell 7 (Inside Temple, Lower Level): Enter the temple. Once inside the main chamber, descend to the lowest accessible level. Look for a collapsed section of wall or a pile of debris. The shell is often partially obscured here, near a glowing vent.
Chapter 3: The Deep Trenches & Shark Encounter
This darker, more mysterious chapter features deep-sea environments and introduces the Great White Shark. There are 3 shells in this area.
- Shell 8 (Initial Trench Descent): As you descend into the deep trench, keep an eye on the walls. Shortly after the initial drop, look for a small, horizontal ledge jutting out from the trench wall on your right. The shell is resting on this ledge.
- Shell 9 (Near Ancient Device): You'll eventually come across an ancient, glowing device in the trench. Before interacting with it, swim around its base. The shell is tucked away behind one of the device's larger structural supports, often near some bioluminescent flora.
- Shell 10 (Post-Shark Encounter Cave): After your first significant encounter with the Great White Shark and the subsequent environmental shift, you'll find yourself in a new, slightly more open trench area. Look for a small, dark cave opening on the left-hand wall. The shell is inside, at the very back.
Chapter 4: The Sunken City & Library
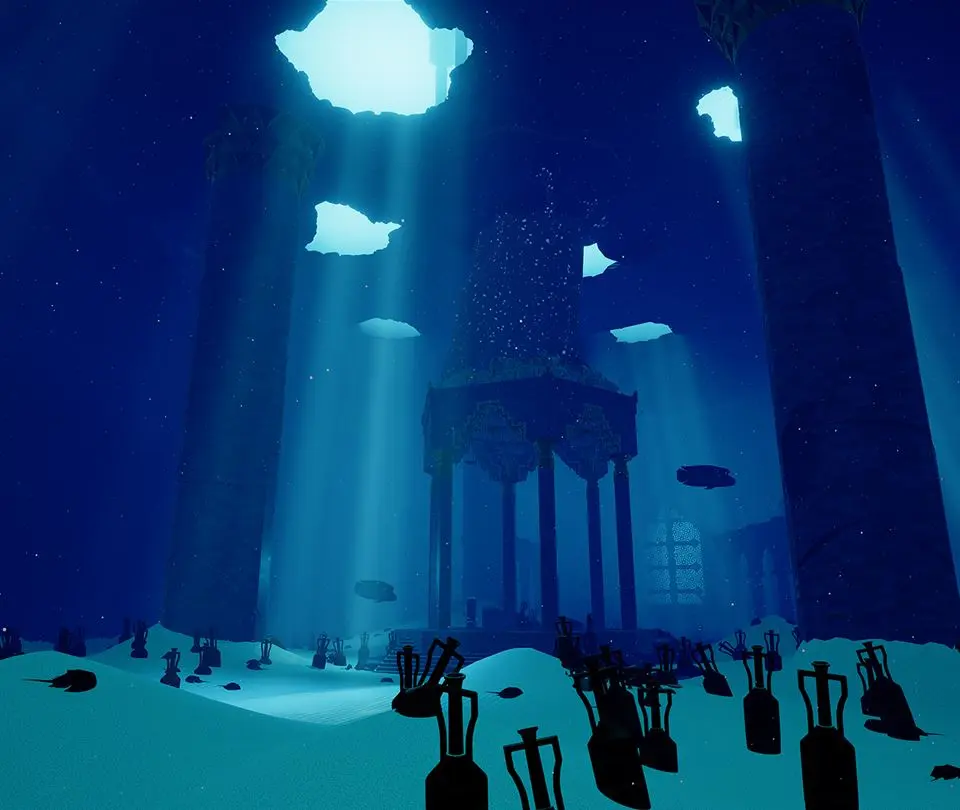
This chapter is characterized by sprawling ancient ruins and intricate architecture. There are 4 shells to discover here.
- Shell 11 (City Entrance Ruin): Upon entering the vast sunken city, you'll see numerous crumbling structures. Head towards the largest, most prominent ruin directly ahead. The shell is located at the base of this ruin, near a broken column, often partially covered by sand.
- Shell 12 (Library Exterior): As you navigate through the city, you'll eventually reach a large, circular building that resembles a library. Before entering, swim around the exterior of this building. On the far side, look for a small, decorative alcove or niche in the wall. The shell is nestled within.
- Shell 13 (Inside Library, Upper Level): Enter the library. Once inside, ascend to the upper levels using the currents or by swimming. On one of the higher platforms or ledges, near some ancient scrolls or artifacts, you'll find this shell. It might be slightly obscured by debris.
- Shell 14 (Hidden Passage Exit): After solving a puzzle or activating a mechanism within the library that opens a new passage, follow this passage. Just before you exit into the next major area, the shell is hidden on the floor of this connecting tunnel, often near the exit point.
Chapter 5: The Grand Temple & Final Ascent
The penultimate chapter features grand structures and a sense of impending discovery. There are 3 shells in this area.
- Shell 15 (Temple Courtyard): As you approach the massive Grand Temple, you'll pass through an open courtyard area. Look for a large, central pillar or monument in this courtyard. The shell is at its base, often on the side furthest from your approach.
- Shell 16 (Inside Grand Temple, Side Chamber): Enter the Grand Temple. Navigate through the initial large chamber. Before proceeding to the central mechanism, look for a smaller, recessed side chamber or alcove on either the left or right wall. The shell is hidden within this smaller space.
- Shell 17 (Near Energy Conduit): As you progress deeper into the temple, you'll encounter glowing energy conduits or pathways. Follow one of these conduits to its source or a junction point. The shell is often found near where these energy lines converge or emanate, possibly on a raised platform.
Chapter 6: The Abyss & Conclusion
The final chapter offers a breathtaking conclusion, but still holds a couple of secrets. There are 2 shells here.
- Shell 18 (Abyssal Floor Crevice): In the very deep, dark abyssal section, after a significant environmental event, you'll have a chance to explore a vast, open area. Descend towards the abyssal floor. Look for a deep, narrow crevice or fissure in the ground. The shell is hidden deep within this geological feature.
- Shell 19 (Final Chamber Entrance): As you approach the very final chamber or gateway of the game, just before the point of no return for the story, take a moment to thoroughly explore the immediate surroundings of this entrance. The final shell is often cleverly placed near a decorative element or a subtle indentation in the rock face leading to the conclusion.
By following this comprehensive guide and employing the recommended strategies, you'll be well on your way to becoming a true "Collector" in Abzu, unlocking all its hidden beauty and achieving 100% completion.