
The Shadow's Pursuit
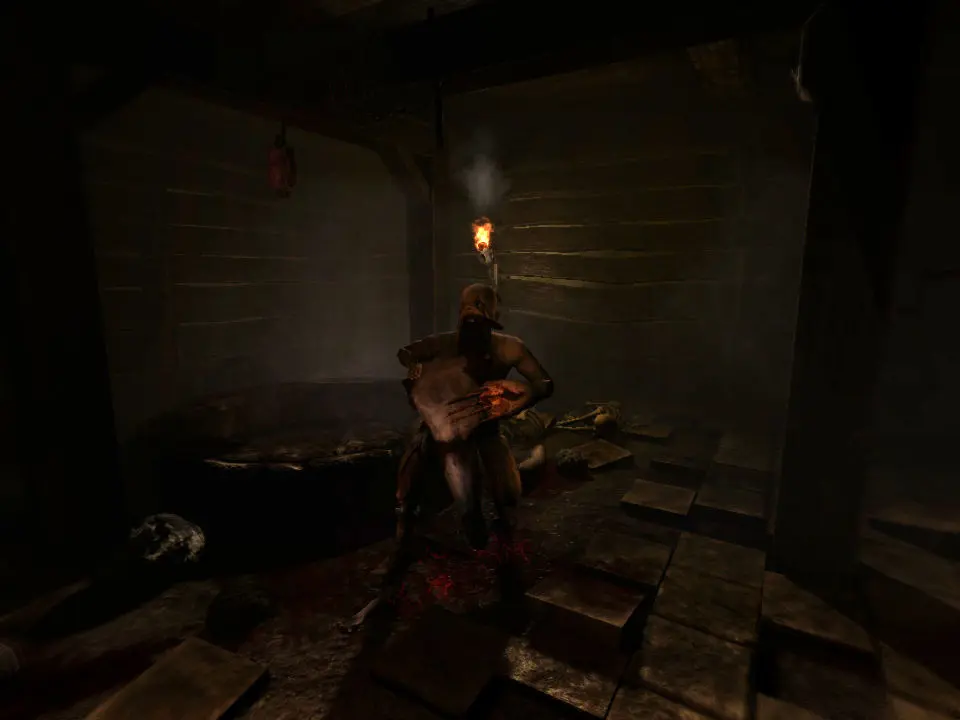
As Daniel delves deeper into Brennenburg Castle, particularly within the Chancel, the omnipresent, malevolent force known as The Shadow becomes increasingly aggressive and direct in its pursuit. No longer a distant threat, its presence manifests as a tangible, terrifying hunt that demands quick reflexes, strategic evasion, and a profound understanding of your environment. These encounters are often scripted, designed to push Daniel's sanity to its limits and reinforce the game's core theme of helplessness. Confronting The Shadow is not an option; survival hinges entirely on escape and concealment.
Understanding The Shadow's Manifestations
The Shadow is not a physical enemy in the traditional sense. It's an invisible, ethereal entity whose presence is signaled by distinct environmental cues and their immediate impact on Daniel:
- Visual Distortions: The screen will blur, warp, and pulsate with dark, tendril-like effects. The edges of your vision may darken significantly.
- Auditory Cues: A low, guttural growl, accompanied by a rising, oppressive hum, signifies its proximity. The sound of breaking glass or crumbling stone often precedes its direct manifestation.
- Sanity Drain: Prolonged exposure or direct "sight" of The Shadow (even though it's invisible) will rapidly deplete Daniel's sanity, leading to visual hallucinations, impaired movement, and eventually, a game over.
- Environmental Interaction: Objects may rattle, doors may slam shut, and the very air around Daniel will feel heavy and suffocating.
General Evasion Strategies
When The Shadow begins its pursuit, your primary objectives are to break line of sight, create physical barriers, and reach a designated safe zone. Here's how to approach these terrifying encounters:
- Run, Don't Walk: Speed is paramount. Sprint away from the source of the disturbance as quickly as possible. Do not hesitate or attempt to investigate.
- Utilize Obstacles: Weave through furniture, around pillars, and through narrow doorways. The Shadow, while ethereal, seems to be impeded by solid objects to some extent, buying you precious seconds.
- Barricade Doors: If you enter a room with a door that can be interacted with, close it immediately and drag heavy objects (crates, wardrobes, tables) in front of it. This will delay The Shadow, but it will eventually break through. This tactic is best used to buy time to find a hiding spot or solve a puzzle.
- Hide in Darkness: While darkness generally drains sanity, it can also be your ally against The Shadow. Duck into alcoves, behind large furniture, or into unlit corners. Stay absolutely still.
- Avoid Dead Ends: Familiarize yourself with the layout of the area. Running into a dead end during a Shadow pursuit is almost a guaranteed death.
Specific Chancel Encounters and Safe Zones
The Chancel presents several key moments where The Shadow's pursuit is unavoidable. Knowing these specific locations and escape routes is crucial:
1. The Chancel Nave & Choir
After acquiring the Orb Piece from the Choir, The Shadow's presence intensifies dramatically. As you attempt to return through the Nave, it will actively hunt you.
- Trigger: Picking up the Orb Piece in the Choir.
- Initial Strategy: Immediately after grabbing the Orb Piece, sprint back towards the main Chancel Nave. Do not linger.
- Escape Route: Your primary goal is to reach the door leading back to the Transept (the area with the large central pillar and the broken bridge). This door is usually on the ground floor of the Nave, opposite the Choir entrance.
- Environmental Interaction: As you run through the Nave, you'll encounter several large wooden pews and confessionals. Use these to break line of sight. If The Shadow seems to be closing in, quickly dart behind a large confessional booth and crouch, waiting for a moment to sprint again.
- Common Pitfall: Getting caught in the open space of the Nave. Always hug the walls or use the pews for cover.
2. The Chancel Library & Study
After solving the puzzle involving the books and the globe, The Shadow will often make its presence known as you exit the Library or move through the connecting Study.
- Trigger: Often occurs as you leave the Library after completing its primary objective, or when traversing the Study for the first time.
- Initial Strategy: The Library itself can offer temporary respite. If The Shadow manifests inside, quickly close the heavy wooden doors and barricade them with the nearby chairs or small tables. This buys you a few seconds.
- Escape Route: Your immediate objective is to find the secret passage or the main exit leading to another section of the Chancel (often towards the Archives or the Guest Room corridor). These passages are usually well-lit and less prone to immediate Shadow manifestations.
- Specific Safe Zone: Within the Study, there's often a small, enclosed alcove or a sturdy desk you can hide under. If you hear the growling intensify, quickly duck into one of these spots and remain motionless until the immediate threat subsides.
- Environmental Interaction: The bookshelves in the Library can be used to create temporary visual barriers. Sprinting around a large circular bookshelf can momentarily confuse The Shadow's pursuit path.
3. The Chancel Archives
This area, filled with countless scrolls and dusty shelves, is a prime location for intense Shadow activity, especially when retrieving key items.
- Trigger: Typically after interacting with specific archive documents or attempting to exit the area after a puzzle.
- Initial Strategy: The Archives are a labyrinth. Use this to your advantage. The narrow aisles between shelves are excellent for breaking line of sight.
- Escape Route: The most reliable escape route is often the door leading back to the main Chancel corridor or a previously cleared area. Avoid venturing deeper into unexplored sections during a pursuit.
- Specific Safe Zone: Look for large, sturdy archive cabinets or even collapsed sections of shelving. Crouching behind or within these can offer temporary concealment. There might also be a small, dark room or closet accessible from the main archive hall – these are invaluable.
- Common Pitfall: Getting disoriented in the maze-like layout. Try to mentally map the exits as you explore the Archives before The Shadow appears.
Advanced Tips for Survival
- Listen Carefully: The audio cues are your most reliable indicator of The Shadow's proximity and direction. Pay close attention to the intensity of the growling and the visual distortions.
- Manage Sanity: While running from The Shadow, your sanity will plummet. If you have any Laudanum, consider using it immediately after escaping a pursuit to stabilize Daniel. However, do not stop to use it during a chase.
- Light Sources: Your lantern and tinderboxes are double-edged swords. While they help navigate, they also make Daniel more visible. During a Shadow pursuit, it's often safer to extinguish your lantern if you're attempting to hide, relying on ambient light or Daniel's natural night vision (which is poor, but better than nothing).
- Practice Makes Perfect: These encounters are designed to be frightening and challenging. Don't be discouraged by initial failures. Learn the patterns, the safe zones, and the escape routes through trial and error.
Remember, The Shadow is an unstoppable force. Your only recourse is to evade, hide, and survive. By understanding its mechanics and utilizing the environment to your advantage, Daniel can navigate the terrifying pursuits within the Chancel and continue his desperate quest.