
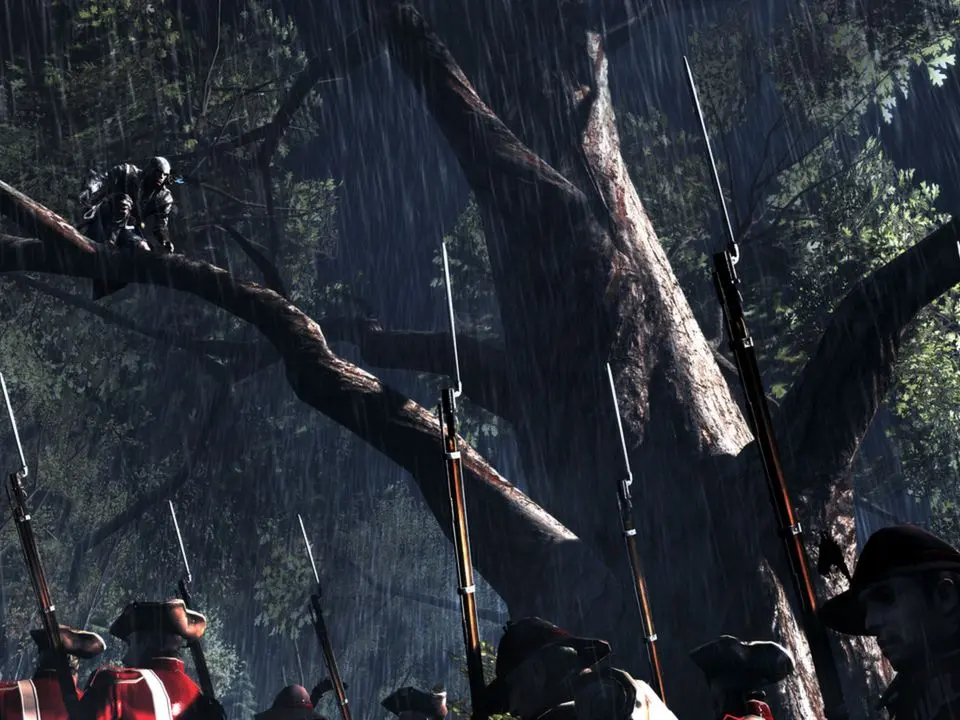
The Battle of Bunker Hill
The Battle of Bunker Hill is a pivotal and intense mission in Assassin's Creed III, thrusting Connor directly into one of the most iconic clashes of the American Revolutionary War. This guide will help you navigate the chaos, achieve all objectives, and emerge victorious.
Mission Objectives & Overview
Your primary goal is to assist the Colonial forces in defending Breed's Hill (often mistakenly referred to as Bunker Hill) against the advancing British Regulars. This involves a mix of direct combat, strategic assassinations, and protecting key figures.
- Primary Objective: Defend the redoubt and eliminate British officers.
- Optional Objective: Prevent any Grenadiers from reaching the redoubt.
Recommended Loadout & Strategy
For this mission, a balanced approach is key. Ensure you have a good supply of:
- Pistol Ammunition: Essential for quickly dispatching distant targets, especially Grenadiers.
- Smoke Bombs: Excellent for crowd control when overwhelmed or for creating opportunities for stealth kills.
- Poison Darts: Useful for silently eliminating problematic officers or heavy units from a distance without drawing immediate attention.
- Trip Mines: Can be strategically placed to thin out advancing lines, particularly effective against clustered enemies.
Walkthrough: Defending Breed's Hill
Phase 1: Initial Defense and Officer Elimination
- Join the Line: The mission begins with Connor joining the Colonial line at the redoubt. You'll be instructed to fire upon the advancing British. Aim for headshots to maximize efficiency and conserve ammo.
- First Wave of Officers: As the first wave of British soldiers approaches, several officers will be among them. Prioritize these targets. Use your pistol for quick eliminations.
- Optional Objective Focus: Grenadier Prevention: This is where the optional objective comes into play. Grenadiers are easily identifiable by their distinctive tall hats and the grenades they carry. They are typically positioned at the front of advancing British lines.
- Strategy: As soon as you spot Grenadiers in the distance, immediately switch to your pistol. Aim for headshots. They will often advance in small groups. Do not let them get close to the redoubt, as their grenades can cause significant damage to your allies and potentially fail the optional objective.
- Advanced Tactic: If a Grenadier gets too close, a well-placed Smoke Bomb can stun them, allowing you to quickly dispatch them with your Hidden Blade or pistol before they can throw their grenade.
Phase 2: British Flanking Maneuver
After the initial assault, the British will attempt a flanking maneuver. You'll be prompted to move to a different section of the redoubt.
- Relocate: Follow the on-screen marker to the new defensive position. Be prepared for immediate combat upon arrival.
- Second Wave & More Grenadiers: This wave often includes more Grenadiers and potentially some Jägers (riflemen with green coats).
- Jägers: These enemies are accurate at range. Prioritize them if they pose a threat to your position or allies. A well-aimed pistol shot or a quick run-and-hide approach can deal with them.
- Continue Grenadier Watch: Maintain vigilance for Grenadiers. Their approach will be more aggressive in this phase.
- Officer Assassinations: Several British officers will attempt to rally their troops or lead charges. Use a combination of pistol shots and stealth kills (if they get close enough and you can break line of sight) to eliminate them.
Phase 3: The Final Push & Retreat
The British will launch a final, desperate assault, overwhelming the Colonial lines. This phase is less about holding ground and more about survival and strategic retreat.
- Defensive Stand: You'll be instructed to hold the line for a short period. Focus on thinning out the enemy ranks as much as possible. Use your Trip Mines here if you have any left, placing them in choke points where enemies are funneling.
- Retreat Order: Eventually, the Colonial forces will be forced to retreat. Follow your allies and the on-screen prompts. Do not attempt to fight every enemy; your goal is to escape.
- Escape Route: The retreat path will be linear. Expect sporadic enemy resistance. Use your parkour skills to navigate obstacles and avoid direct confrontation where possible.
- Final Encounter: You may encounter a final group of British soldiers or an officer blocking your escape. A quick pistol shot or a well-timed counter-kill should suffice.
Common Pitfalls & Tips
- Optional Objective Miss: The most common reason for not achieving 100% synchronization is failing to prevent Grenadiers from reaching the redoubt. Stay vigilant, prioritize them, and use your pistol or smoke bombs effectively.
- Over-reliance on Melee: While Connor is a formidable fighter, engaging too many enemies in melee during the initial defense phases can leave you exposed and vulnerable. Use your ranged weapons and environment to your advantage.
- Ignoring Cover: The redoubt offers limited cover. Utilize it when reloading or when British fire becomes too intense.
- Friendly Fire: Be mindful of your shots, especially with the pistol, to avoid accidentally hitting Colonial soldiers, which can desynchronize you.
- Resource Management: Don't waste all your pistol ammo or smoke bombs in the first few minutes. Pace yourself, as the mission is lengthy and intense.
Rewards
Completing "The Battle of Bunker Hill" is essential for story progression. Achieving 100% synchronization by completing the optional objective will grant you additional rewards, typically including:
- Experience Points (XP): Contributes to Connor's overall progression.
- Monetary Reward: A sum of livres for your efforts.
- Synchronization Bonus: A small bonus for achieving full synchronization, often contributing to overall game completion.
By following this comprehensive guide, you should be well-equipped to tackle the Battle of Bunker Hill, secure victory, and achieve full synchronization.