Navigating the Menus
Mastering the various menus in Assassin's Creed Odyssey is crucial for a smooth and efficient journey through ancient Greece. From managing your gear and abilities to plotting your next quest and customizing your ship, these interfaces are your primary tools for interacting with the game world. Regularly checking and utilizing these menus will significantly enhance your gameplay experience, allowing you to stay ahead of challenges and optimize your build.
To access the main menu, press the following buttons/keys:
- PC: Press the ESC key.
- PlayStation 4: Press the OPTIONS button.
- Xbox One: Press the MENU button.
- Stadia: Press the MENU button on your controller or the ESC key on your keyboard.
Once accessed, you'll find a series of interconnected tabs, each serving a distinct purpose. Let's break down each one:
1. Inventory ( )
)
This is where you manage all your equipment, from weapons and armor to quest items and crafting materials. Regularly visit this tab to:
- Equip New Gear: As you progress, you'll acquire better weapons and armor. Always check if new items offer superior stats or engravings that complement your playstyle. Hover over an item to see its stats and how it compares to your currently equipped gear.
- Upgrade Gear: At any Blacksmith, you can upgrade your favorite weapons and armor to your current level. This is essential for keeping your damage and defense relevant. Upgrading costs Drachmae and various crafting materials (Iron, Leather, Wood, Obsidian, Gemstones).
- Engrave Gear: Engravings add powerful bonuses to your equipment, such as increased damage, critical chance, or specific resistances. You can apply engravings at a Blacksmith. Legendary items often come with unique, powerful engravings that cannot be removed but can be transferred to other Legendary items.
- Dismantle/Sell Unwanted Gear: Clear out your inventory by dismantling common (grey), rare (blue), and epic (purple) gear for crafting materials, or sell them to a Blacksmith for Drachmae. Legendary (gold) items should never be dismantled or sold, as they are unique and can be re-acquired from your inventory if accidentally discarded.
- Manage Quest Items: This section holds items specific to ongoing quests. They usually cannot be sold or dismantled until the associated quest is completed.
Common Pitfall: Don't hoard low-level gear. Either dismantle it for materials or sell it for Drachmae to fund upgrades and purchases. Prioritize upgrading your primary weapon and armor pieces that offer significant defensive bonuses.
2. Abilities ( )
)
Here you allocate your Ability Points, earned by leveling up and completing certain quests. Abilities are divided into three skill trees:
- Hunter (Ranged Combat): Focuses on bow damage, stealth archery, and abilities like Multi-Shot and Predator Shot. Ideal for players who prefer to engage from a distance.
- Warrior (Melee Combat): Enhances close-quarters combat, health, and abilities such as Spartan Kick and Overpower Attacks. Perfect for aggressive, front-line fighters.
- Assassin (Stealth & Crit): Boosts stealth damage, critical assassination, and abilities like Rush Assassination and Vanish. Suited for players who prefer a stealthy approach and high burst damage.
You can also access the Mastery Levels here once you reach level 50, allowing you to further specialize your build with incremental stat boosts. assign your active abilities to your hotkeys (L1/LB + face buttons on controller, or 1-4 on keyboard) for quick access during combat.
Strategy Tip: You can respec your Ability Points at any time for a small Drachmae cost. Don't be afraid to experiment with different builds to find what works best for your playstyle or for specific challenges.
3. Map ( )
)
The map is your guide to the vast world of Greece. Use it to:
- Locate Quest Markers: Main quests, side quests, and bounties are clearly marked. Hover over them to see quest details.
- Discover Points of Interest: Undiscovered locations (synchronization points, camps, caves, ruins, cities) appear as question marks. Synchronize with viewpoints to reveal the surrounding area and unlock fast travel.
- Set Custom Markers: Place a custom marker anywhere on the map to guide your eagle, Ikaros, or to set a waypoint for yourself.
- Fast Travel: Once a synchronization point is discovered, you can fast travel to it instantly, saving significant travel time.
- View World Map: Zoom out to see the entire Aegean Sea, allowing you to plan your naval voyages.
Actionable Advice: Prioritize synchronizing with viewpoints in new regions. This not only reveals the map but also grants valuable XP and unlocks fast travel, which is a massive time-saver.
4. Quests ( )
)
This tab organizes all your active and completed quests. It's vital for keeping track of your objectives:
- Main Story Quests: These drive the primary narrative.
- Side Quests: Optional quests that offer additional lore, XP, Drachmae, and sometimes unique gear.
- Bounties & Contracts: Timed objectives often found on message boards, offering significant XP and resources.
- Naval Quests: Specific to your ship, the Adrestia.
- Ostraca Puzzles: Riddles that lead to engravings.
You can select a quest to make it your active objective, which will then display its marker on your compass and map. Read quest descriptions carefully for clues and context.
Missable Content Warning: Some side quests are time-sensitive or can be failed if certain actions are taken or not taken. Pay attention to quest giver dialogue and any warnings on the quest log.
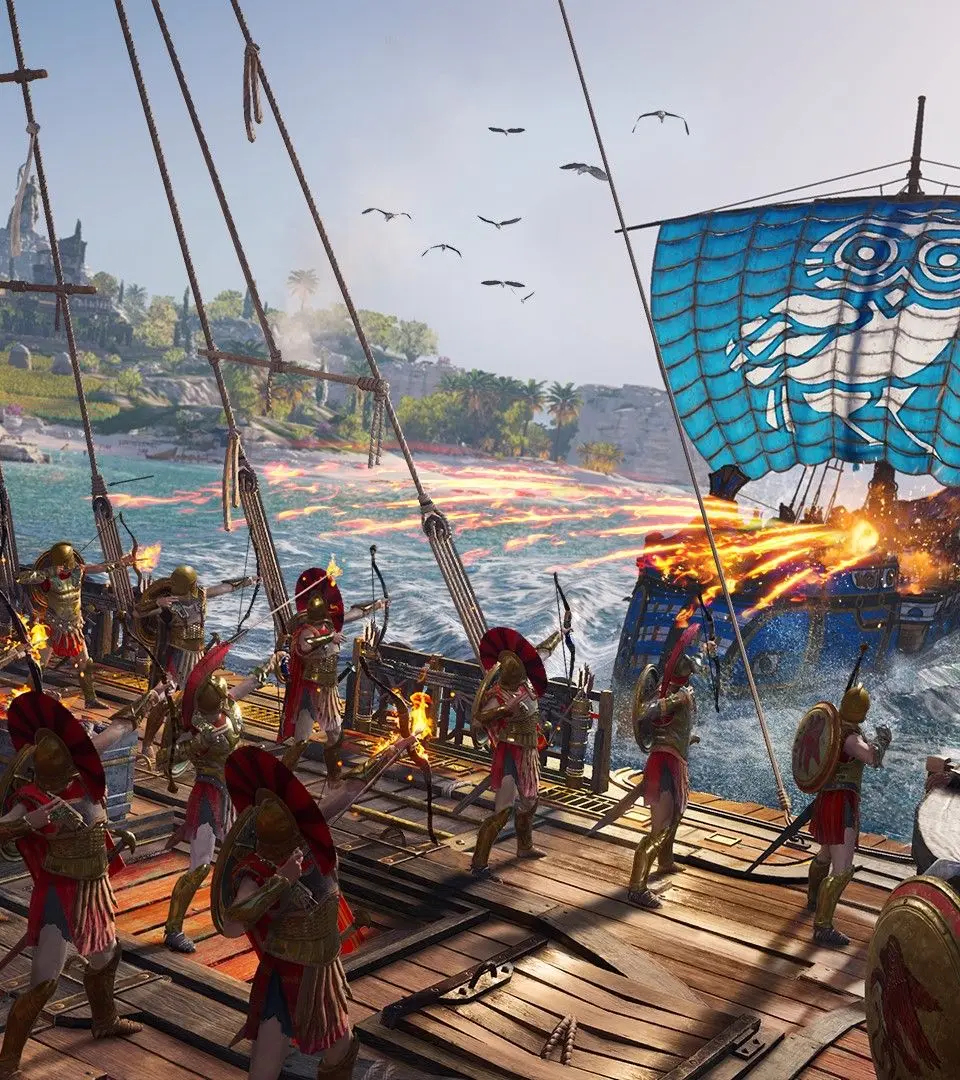
5. Adrestia ( )
)
Your ship, the Adrestia, is your primary mode of transport across the Aegean Sea and a formidable weapon in naval combat. This menu allows you to:
- Upgrade Ship Components: Improve your hull (health), oars (speed), javelins, arrows, and fire power. Upgrades require Drachmae and various resources (Wood, Iron, Obsidian).
- Recruit Lieutenants: Lieutenants provide passive bonuses to your ship's stats and can be called upon in land combat as temporary allies. Recruit them by knocking out enemies and then interacting with them, or by completing specific quests.
- Customize Appearance: Change your ship's figurehead, sails, and crew theme. These are purely cosmetic.
Recommended Upgrade Path: Prioritize upgrading your hull for survivability, then javelins/arrows for offensive power. Oars are useful for speed and escaping difficult encounters. Recruiting high-rarity Lieutenants (Epic or Legendary) early on can provide significant stat boosts.
6. Cultists ( )
)
This tab reveals the shadowy Cult of Kosmos, the primary antagonists of the game. Here you can:
- Identify Cultists: As you gather clues (by completing quests, looting bodies, or exploring specific locations), more cultists will be revealed.
- Track Cultists: Once identified, their location will be marked on your map, allowing you to hunt them down.
- Claim Rewards: Defeating cultists grants powerful Legendary gear pieces and fragments of the Spear of Leonidas, which is essential for upgrading your abilities.
Strategy Tip: Actively hunt down cultists as soon as they are revealed. The Legendary gear they drop is often part of powerful sets that can significantly boost your character's effectiveness.
7. Mercenaries ( )
)
The mercenary system tracks your notoriety and the bounty hunters pursuing you. In this menu, you can:
- View Your Bounty: See how many tiers of mercenaries are currently hunting you. The higher the bounty, the more mercenaries will appear.
- Identify Mercenaries: Learn about the mercenaries currently active in the world, including their level, strengths, and weaknesses.
- Climb the Ranks: Defeating higher-ranked mercenaries allows you to take their place, granting passive bonuses like discounts at blacksmiths or increased Drachmae from contracts.
- Pay Off Bounty: You can pay off your bounty at any time by interacting with a sponsor found in most major towns, or by killing the sponsor who placed the bounty.
Actionable Advice: Don't be afraid to engage mercenaries. They offer excellent XP, valuable gear, and the opportunity to climb the mercenary ranks, which provides permanent benefits. Use Ikaros to scout them and identify their weaknesses before engaging.
8. Store ( )
)
This menu provides access to the in-game store where you can purchase cosmetic items, time savers, and other content using Helix Credits (premium currency) or Orichalcum (earned in-game from daily/weekly quests and Oikos of the Olympians).
9. Options ( )
)
Here you can adjust various game settings, including:
- Gameplay: Difficulty, HUD preferences, exploration mode settings.
- Controls: Keybinds, controller sensitivity.
- Display: Graphics settings, resolution, brightness.
- Audio: Volume levels for music, dialogue, and sound effects.
Pro Tip: Experiment with the HUD settings to find a balance that provides necessary information without cluttering your screen. For a more immersive experience, try enabling Exploration Mode, which provides fewer direct quest markers and encourages discovery.
By regularly interacting with these menus, you'll ensure your Misthios is always prepared for the challenges ahead, your Adrestia is battle-ready, and you're making efficient progress through the epic saga of Assassin's Creed Odyssey.