
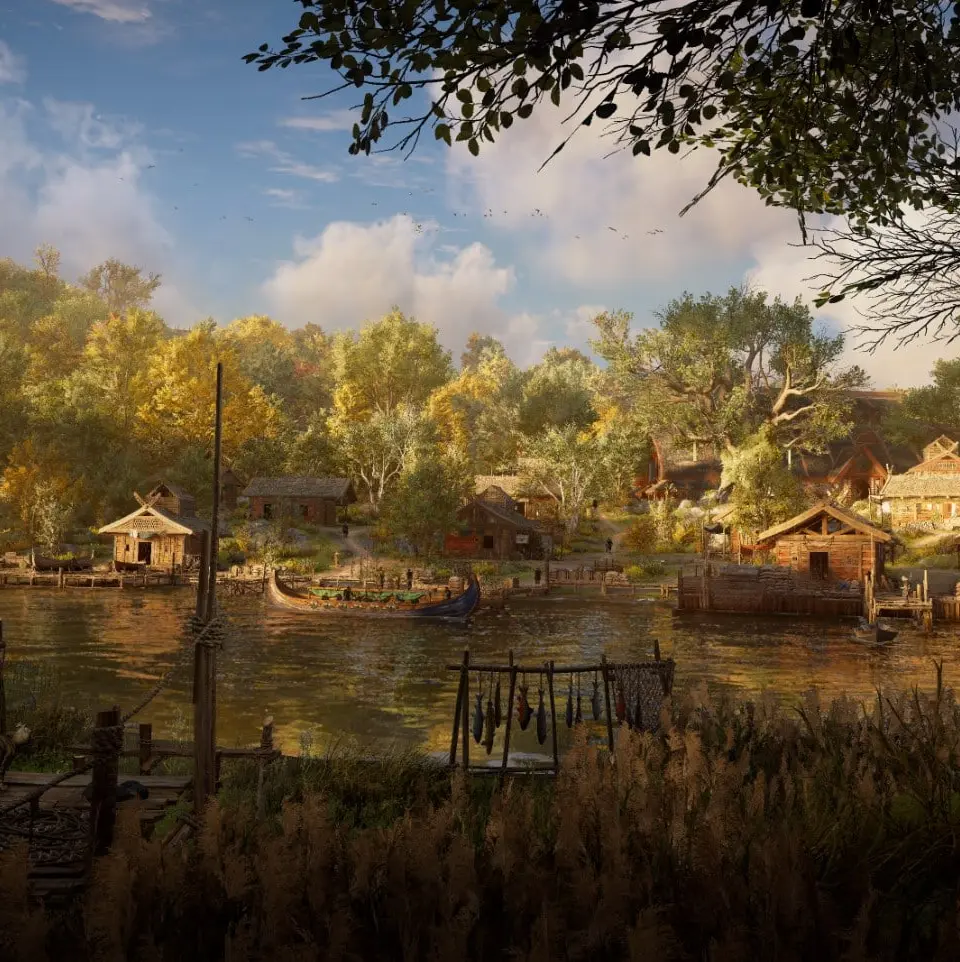
Settling Down: Forging Your Home in Ravensthorpe
The "Settling Down" quest marks a pivotal moment in your journey as Eivor, firmly establishing your role as a leader and introducing the core mechanic of raiding – essential for the growth and prosperity of your new settlement, Ravensthorpe. This guide will walk you through the objectives, provide strategic advice for your first raids, and ensure you maximize your resource collection.
Quest Objectives:
- Objective 1: Speak with Sigurd in Ravensthorpe.
- Objective 2: Lead a raid on a nearby monastery to acquire raw materials and supplies.
- Objective 3: Return to Ravensthorpe with the gathered resources.
Step-by-Step Walkthrough & Strategic Raiding
Your first raid is more than just a tutorial; it's your primary source of Raw Materials and Supplies, two crucial resources for upgrading your settlement buildings. Without these, Ravensthorpe cannot grow, and you'll miss out on vital benefits like the Hidden Ones Bureau, Barracks, and the Hunter's Hut.
1. Initiating the Quest and Your First Raid
After establishing Ravensthorpe, Sigurd will prompt you to speak with him. He'll explain the necessity of raiding to gather resources. Following this conversation, you'll be directed to your longship. Board it, and your crew will be ready to set sail.
2. Choosing Your First Raid Target: Early-Game Monastery Recommendations
While the game often guides you to a specific nearby location for your first raid, understanding which monasteries are ideal for early-game resource gathering is crucial. Not all monasteries are created equal in terms of difficulty and reward. For your initial raids, focus on smaller, less heavily guarded locations in Ledecestrescire and Grantebridgescire.
- Early-Game Recommended Targets:
- Ledecestrescire: Sudwella Monastery
- Location: South-eastern Ledecestrescire, easily accessible from Ravensthorpe.
- Difficulty: Low. Features a manageable number of standard enemies and a few elite guards.
- Wealth: Contains several chests with Raw Materials and Supplies. Ideal for learning the ropes.
- Tips: Approach from the river. Use your raven, Synin, to tag enemies and identify wealth chest locations before disembarking.
- Grantebridgescire: Isle of Ely Monastery
- Location: Northern Grantebridgescire, on a small island.
- Difficulty: Moderate. Slightly more challenging than Sudwella, with a few more elite enemies and archers.
- Wealth: Good haul of Raw Materials and Supplies.
- Tips: The island layout can be tricky. Prioritize taking out archers on elevated positions. Be prepared for some light parkour to reach all areas.
- Ledecestrescire: Sudwella Monastery
3. Executing the Raid: Combat and Resource Collection Strategies
Once you arrive at your chosen monastery, initiate the raid by pressing the designated button (usually indicated on-screen). Your crew will disembark and follow your lead. Raids are a blend of combat and exploration.
Combat During Raids (Tips for New Players):
- Stick with Your Crew: Your Jomsvikings are powerful allies. Fight alongside them to overwhelm enemies. They will often revive you if you go down, but don't rely solely on them.
- Prioritize Threatening Enemies:
- Archers: Take them out first! They can pepper you with arrows from a distance, interrupting your attacks and draining your health. Use your bow or climb to their positions.
- Elite Guards (Yellow Health Bar): These enemies are tougher and often have unique attack patterns. Focus on parrying their attacks to open them up for heavy damage. Use your abilities (like Dive of the Valkyries or Thorn of Slumber) to stun or deal burst damage.
- Standard Foes: Can be dispatched with light and heavy attacks. Don't let them surround you.
- Utilize Environmental Hazards: Look for oil jars, explosive pots, or weakened structures. Shooting an oil jar near a group of enemies can cause massive damage.
- Manage Your Adrenaline: Use your Adrenaline points for powerful abilities. Don't hoard them; use them to turn the tide of battle.
- Heal When Necessary: Always keep an eye on your health bar. Consume rations (found in the world or crafted) when your health drops significantly.
Collecting All Wealth: The Importance of Raw Materials and Supplies
This is perhaps the most critical aspect of raiding. Every raid location contains large chests that require two people to open. These chests are the primary source of Raw Materials. Smaller chests and pots contain Supplies. It is absolutely vital to collect ALL wealth from a raided location.
- Identifying Wealth:
- Use your raven, Synin, frequently. Hover over the monastery to mark all enemies and, crucially, all wealth chests (represented by golden icons).
- Use your Odin's Sight (press R3/right stick) while on foot. This highlights nearby enemies, lootable items, and wealth chests in gold.
- Opening Large Chests (Raw Materials):
- These chests are marked with a distinct golden icon on your compass and map.
- Approach the chest and interact with it. Eivor will call for assistance. A Jomsviking will run over to help you pry it open.
- Do not leave a raid until all these large chests are opened. They contain the most valuable resources.
- Collecting Supplies (Smaller Chests & Pots):
- Supplies are found in smaller, single-person chests and by smashing pots and crates.
- While less critical than Raw Materials, Supplies are still essential for smaller settlement upgrades and crafting. Loot everything you can.
- Common Pitfalls / Missables:
- Forgetting a Chest: It's easy to miss a large chest, especially in multi-building monasteries. Always double-check your map and use Odin's Sight before leaving.
- Leaving Before All Enemies are Down: While not strictly necessary to loot, clearing the area makes searching for wealth much safer and easier.
- Not Using Synin: Synin is your best friend for identifying all loot. use your raven!
4. Returning to Ravensthorpe
Once all wealth has been collected and the area is cleared (or you've decided to leave), return to your longship. Your crew will automatically follow. Sail back to Ravensthorpe, and the quest will update, prompting you to speak with Sigurd again. The resources you've gathered will automatically be added to your settlement's inventory.
Rewards for "Settling Down":
Completing "Settling Down" doesn't just advance the main story; it unlocks the full potential of your settlement. The resources you gather are immediately available for construction.
- Experience Points: Standard quest XP.
- Settlement Progress: The Raw Materials and Supplies are added to your settlement's pool, allowing you to construct your first buildings.
- Unlocks: The ability to build the Blacksmith (essential for upgrading gear) and the Barracks (for recruiting Jomsvikings and customizing your crew). These are crucial early-game buildings that significantly impact your power and customization options.
By following these strategies, you'll not only complete "Settling Down" efficiently but also lay a strong foundation for a thriving Ravensthorpe, ensuring you have the resources needed to conquer England.