
Chapter 6: The Tree of Life
Welcome, brave adventurer, to the penultimate chapter of your epic journey in Baldur's Gate II: Shadows of Amn. Chapter 6 thrusts you into the heart of Suldanessellar, the ancient Elven city, now under the dark influence of Irenicus. This chapter is a relentless gauntlet of challenging encounters, intricate puzzles, and pivotal story moments, all leading to the ultimate confrontation with your nemesis. Prepare your party, for the fate of Faerûn hangs in the balance.
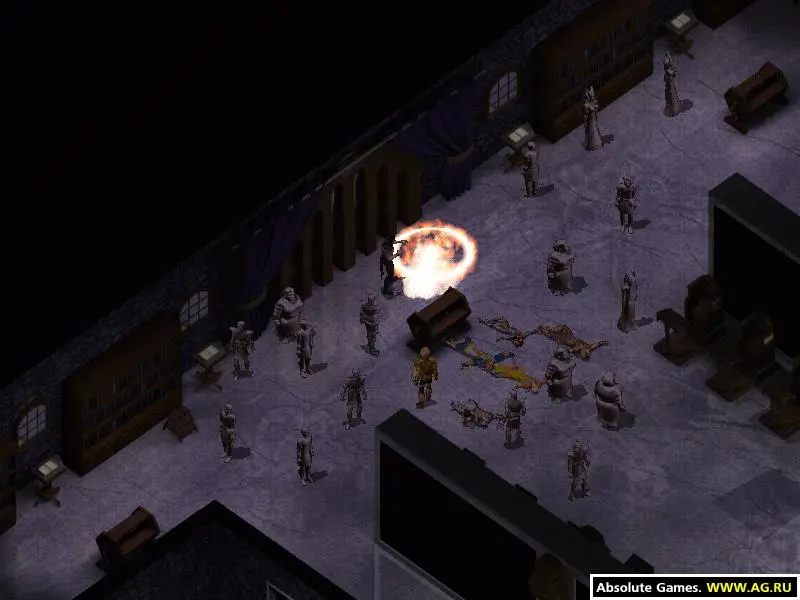
Entering Suldanessellar: The Elven City Under Siege
Upon your arrival in Suldanessellar, you'll immediately notice the city's ethereal beauty marred by Irenicus's corruption. The city is in turmoil, its inhabitants either enslaved or transformed. Your primary objective is to navigate the city, restore its power, and confront Irenicus.
Initial Encounters and Exploration
- Arrival Point: You'll appear in the central plaza. Speak with the few remaining sane Elves to gather information.
- First Foes: Expect to encounter numerous Shadow Fiends, Greater Shadow Fiends, and Lesser Earth Elementals. These enemies are resistant to physical damage and require magical attacks or enchanted weapons.
- Key NPC: Seek out Demin, an Elven warrior, who will provide crucial context and guide you towards the immediate threats.
Restoring the Tree of Life: The Three Gems
Irenicus has siphoned the power from the Tree of Life, plunging Suldanessellar into darkness. To restore the city and weaken Irenicus, you must retrieve three powerful gems: the Gem of the Tree, the Gem of the Earth, and the Gem of the Sky. Each gem is guarded by a formidable foe and requires specific actions to acquire.
1. The Gem of the Tree (Northwest District)
Head to the northwest section of the city. This area is heavily patrolled by Shadow Fiends and their elemental allies.
- Pathfinding: Navigate through the winding Elven architecture. Be wary of traps, especially around doorways and chests.
- Key Location: You'll find a small temple or shrine where the gem is located.
- Guardian: The Gem of the Tree is guarded by a powerful Greater Earth Elemental and several Shadow Fiends.
- Strategy: Focus fire on the Greater Earth Elemental first. It has high physical resistance, so use crushing weapons (maces, flails, hammers) or spells like Flame Strike, Acid Arrow, or Melf's Acid Arrow. Keep your casters protected from the Shadow Fiends, which can drain levels.
- Loot: Upon defeating the guardian, retrieve the Gem of the Tree.
2. The Gem of the Earth (Southwest District)
Proceed to the southwest district. This area often features more challenging elemental creatures.
- Pathfinding: The path here can be more labyrinthine. Look for a path leading to a cavernous area or an underground passage.
- Key Location: The Gem of the Earth is typically found within a subterranean chamber or a heavily guarded grove.
- Guardian: This gem is protected by a Greater Air Elemental and a contingent of Lesser Air Elementals.
- Strategy: Air Elementals are susceptible to piercing and slashing damage. Spells like Lightning Bolt or Chain Lightning are effective, but be careful of friendly fire. Use ranged weapons and focus on one elemental at a time. They can be quite agile and deal significant damage.
- Loot: Claim the Gem of the Earth after the battle.
3. The Gem of the Sky (Northeast District)
The northeast district leads to the highest points of Suldanessellar, often involving bridges or elevated platforms.
- Pathfinding: This area might involve crossing precarious bridges or navigating elevated walkways.
- Key Location: The Gem of the Sky is usually found in a high tower or a celestial observatory.
- Guardian: Prepare for a confrontation with a Greater Fire Elemental and several Lesser Fire Elementals.
- Strategy: Fire Elementals are vulnerable to cold damage. Spells like Cone of Cold, Ice Storm, or Otiluke's Freezing Sphere are highly effective. Equip your party with fire resistance if possible. Melee attackers should use weapons with cold enchantments or simply endure the heat.
- Loot: Secure the Gem of the Sky.
The Temple of Rillifane and the Elven Priestesses
Once all three gems are collected, your next destination is the Temple of Rillifane, located centrally or slightly to the east. Here, you will encounter the remaining Elven Priestesses.
- NPC Interaction: Speak with the Priestesses. They will instruct you on how to use the gems to restore the Tree of Life.
- The Ritual: You will need to place each gem into its designated pedestal within the temple. The order usually doesn't matter, but follow any specific instructions the Priestesses give.
- Consequences: As the Tree of Life is restored, the dark aura over Suldanessellar will recede, and some of Irenicus's power will be diminished. This is a crucial step in weakening him for the final battle.
The Palace and the Final Confrontation Approach
With the Tree of Life restored, the path to Irenicus's stronghold, the Elven Palace, will become accessible. This area is the final gauntlet before the ultimate showdown.
Palace Entrance and Guardians
- Enemies: The palace entrance and its initial corridors are heavily guarded by Golems (Stone Golems, Clay Golems, Iron Golems), Mind Flayers, and Beholders.
- Strategy for Golems:
- Stone Golems: Vulnerable to crushing damage.
- Clay Golems: Only harmed by +1 or better blunt weapons. Regenerate health. Use Dispel Magic to remove their haste.
- Iron Golems: Only harmed by +3 or better weapons. Immune to most spells. Use Cloudkill or Poison if you have them, as they are susceptible to poison damage.
- Strategy for Mind Flayers: High magic resistance, powerful psionic attacks (Mind Blast, Extract Brain). Equip items that grant immunity to charm, hold, or stun. Use summons to distract them. Focus fire to eliminate them quickly before they can disable your party.
- Strategy for Beholders: Their eye rays are devastating. Use the Cloak of Mirroring if you have it, or other items that reflect spells. Engage them in melee quickly to disrupt their casting, or use ranged attacks from out of sight. Protection from Evil 10' Radius can help protect against some of their effects.
The Palace Interior and Irenicus's Minions
As you delve deeper into the palace, you'll face more of Irenicus's elite forces.
- Demons: Expect to encounter various types of demons, including Glabrezu, Balors, and Mariliths.
- Strategy for Demons:
- Glabrezu: Powerful melee attackers, can cast spells. Use Protection from Evil 10' Radius. Focus on physical damage.
- Balors: Extremely dangerous. Immune to many spells. Use high-level summons (e.g., Planetar, Dark Planetar) to tank them. Apply powerful buffs to your melee characters (e.g., Improved Haste, Stoneskin, Protection from Magical Weapons).
- Mariliths: Multi-armed, multi-weapon wielding demons. Similar strategy to Balors, but they can be more susceptible to certain spell types.
- Puzzles: There might be minor environmental puzzles or locked doors requiring specific keys or actions. Always thoroughly explore each room.
Notable Loot and Rewards in Suldanessellar
While Chapter 6 is primarily focused on progression, there are several valuable items to be found:
- High-Level Scrolls: Expect to find scrolls for powerful spells like Chain Lightning, Cone of Cold, Protection from Magic, and Summon Planetar.
- Potions: Numerous potions of healing, invisibility, speed, and resistance will be scattered throughout. Stock up!
- Unique Items:
- Elven Chain Mail: Often found on elite Elven guards or in hidden caches. Offers good AC and allows arcane spellcasting.
- Various +3 Weapons: Swords, axes, and bows with +3 enchantment are common drops from stronger enemies.
- Amulets/Rings of Protection: Useful for boosting AC and saving throws.
Common Pitfalls and Tips for Chapter 6
- Resource Management: This chapter is a marathon. Conserve your high-level spells and powerful potions for the most challenging encounters. Rest whenever possible.
- Party Composition: A balanced party with strong melee, ranged, and arcane/divine spellcasting is crucial. Ensure you have access to healing, dispelling, and crowd control spells.
- Buffing: Before major encounters, take the time to cast protective spells like Stoneskin, Mirror Image, Protection from Evil 10' Radius, and Haste.
- Scouting: Use stealth characters or summoned creatures to scout ahead and identify enemy types and potential traps.
- Target Priority: Always prioritize dangerous spellcasters (Mind Flayers, powerful demons) and ranged attackers first.
- Save Frequently: This chapter is unforgiving. Save often, especially before entering new areas or engaging in major battles.
Chapter 6 is the crucible that forges you for the final confrontation. Master its challenges, and you will be ready to face Irenicus and reclaim your soul.