
Chapter 3: The Last Argument
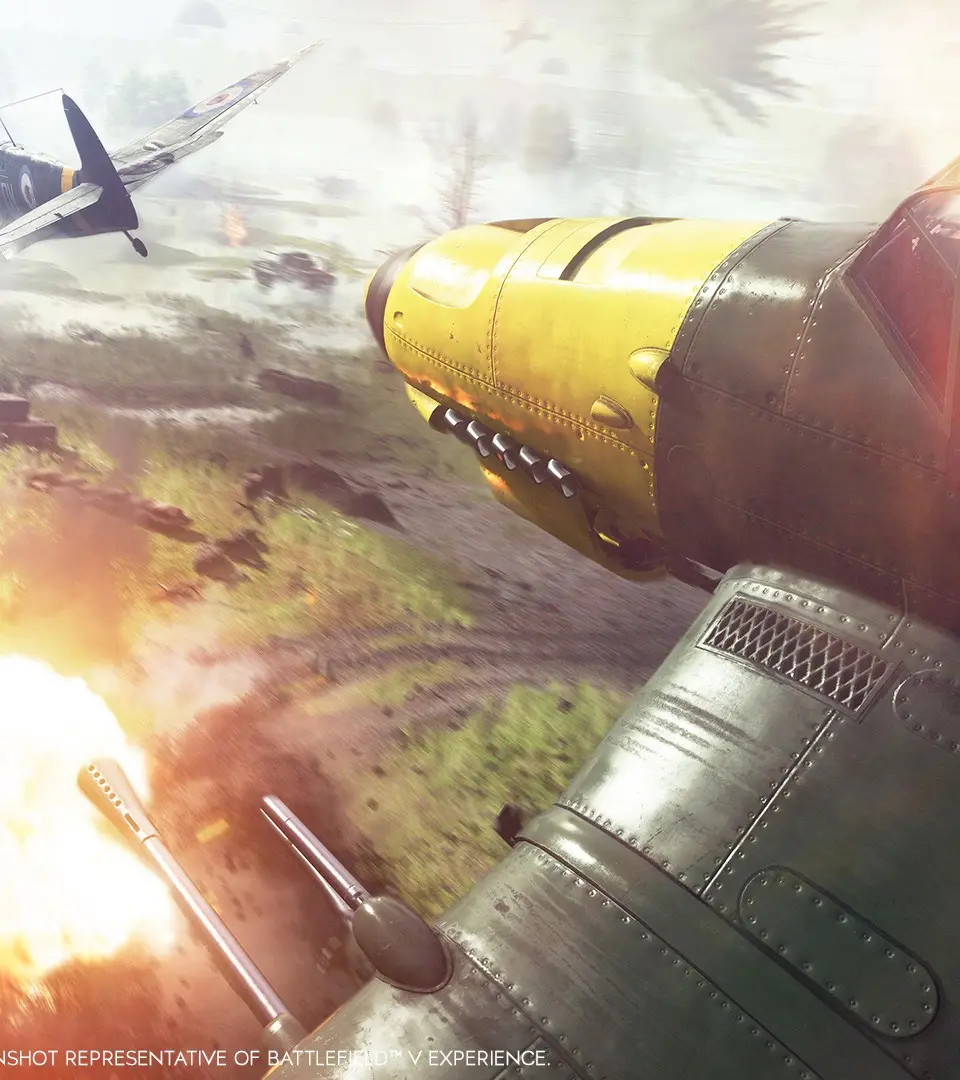
Welcome, soldier, to "The Last Argument" – the climactic final chapter of the Nordlys War Story in Battlefield V. This mission will test every skill you've honed throughout your journey, from stealth and precision skiing to brutal close-quarters combat and strategic demolition. Prepare for a relentless assault against overwhelming German forces as you strive to complete your ultimate objective: the destruction of the heavy water production facility. Success hinges on meticulous planning, efficient target prioritization, and masterful use of your environment.
Mission Objective: Destroy Heavy Water Production
Your primary goal is to plant explosives at key points within the heavy water facility and ensure its complete destruction. This will involve navigating heavily fortified areas, eliminating numerous enemy patrols, and potentially confronting an elite German commander.
Recommended Loadout & Strategy
For this final push, versatility and explosive power are paramount. Consider the following:
- Primary Weapon: An assault rifle (e.g., StG 44, M1 Garand) for medium-range engagements and sustained fire. Alternatively, a semi-automatic rifle (e.g., Gewehr 43) for precision at range.
- Secondary Weapon: A reliable sidearm (e.g., P38, M1911) for emergencies or stealth takedowns.
- Gadgets:
- Dynamite/AT Grenades: Absolutely critical for destroying the heavy water components and clearing entrenched positions. Bring as many as you can carry.
- Smoke Grenades: Excellent for creating cover during advances, reviving teammates (if playing co-op), or escaping overwhelming fire.
- Medical Pouch: Always carry at least two for self-healing.
- Melee Weapon: The default knife is sufficient for stealth takedowns.
Walkthrough: Step-by-Step Guide
Phase 1: Infiltration and Perimeter Breach
You begin at the edge of the heavy water facility, often overlooking it from a snowy ridge. This initial approach is crucial for setting the tone of your assault.
- Initial Reconnaissance: Before descending, use your binoculars to tag as many enemies as possible. Look for:
- Snipers: Often positioned on elevated platforms or watchtowers (e.g., Northwest Watchtower, Central Observation Post). Prioritize these to prevent being spotted prematurely.
- Machine Gunners: Manning static HMGs (e.g., Main Gate Checkpoint, East Flank Bunker). These are high-threat targets that can suppress you effectively.
- Patrol Routes: Observe the movement patterns of standard infantry patrols.
- Stealthy Descent: use the terrain and snowdrifts for cover. Skiing down can be fast but risky if you're spotted. A slower, methodical approach using stealth is often safer.
- Path Recommendation: Hug the western perimeter, using the rocky outcrops and sparse trees for concealment. This often allows you to bypass the heavily guarded main gate.
- Eliminate Sentries: Silently take down isolated guards with melee attacks or suppressed weapon fire. Look for guards near the Western Supply Shed.
- Breaching the Outer Wall: There are often weak points or unguarded sections.
- Option A (Stealth): Look for a gap in the fence near the Western Generator Building or a climbable section of the wall.
- Option B (Aggressive): If stealth fails or you prefer direct action, use explosives on the main gate, but be prepared for immediate enemy response.
Phase 2: Navigating the Facility & Eliminating Key Threats
Once inside, the facility is a maze of buildings, pipes, and enemy positions. Maintain situational awareness.
- Target High-Priority Enemies:
- Flamethrower Troopers: These enemies are extremely dangerous in close quarters. Target their fuel tanks for an explosive kill, or keep your distance and use sustained fire. They are often found guarding the main production halls (e.g., Heavy Water Processing Unit A).
- Elite Soldiers (Schütze): Heavily armored and carry powerful weapons. Aim for headshots or use explosives. They often patrol critical pathways leading to the heavy water tanks.
- Officers: Identified by their distinct uniforms and often accompanied by multiple guards. Eliminating them can sometimes cause nearby enemies to panic or drop valuable intel/ammo. Look for them in the Command Center or Officer's Quarters.
- Clearing the Central Courtyard: This open area is often heavily patrolled and features multiple machine gun nests.
- Strategy: Use smoke grenades to advance, or flank wide using the surrounding buildings for cover. Prioritize the HMGs first. A well-placed grenade or dynamite stick can clear a nest quickly.
- Collectibles: Check the small storage sheds and abandoned vehicles in the courtyard for potential letters or dog tags.
- Accessing the Production Halls: The heavy water tanks are located within large, interconnected halls.
- Hall 1 (Main Production): Often guarded by multiple infantry and at least one Flamethrower Trooper. Use the large machinery and catwalks for cover.
- Hall 2 (Refinement Unit): May contain additional elite soldiers or a small group of enemies clustered around a control panel.
Phase 3: Destroying the Heavy Water Production
This is the core objective. You will need to plant explosives at several designated points.
- Locate Demolition Points: Your HUD will indicate the exact locations for planting explosives. These are typically large, cylindrical heavy water tanks or critical structural supports. There are usually 3-4 points.
- Point A: Often in the Main Production Hall, near the central processing unit.
- Point B: Frequently located in the Refinement Unit, possibly on an elevated platform.
- Point C: Could be in a smaller, adjacent storage room or a lower level access tunnel.
- Planting Explosives: Approach each point and interact to plant the dynamite. This process takes a few seconds, leaving you vulnerable.
- Tactics: Clear the immediate area of enemies before planting. Use smoke grenades for cover if necessary. Have a clear escape route in mind.
- Enemy Reinforcements: Be prepared for waves of reinforcements once you plant the first charge. They will converge on your position.
- Defend the Charges (Optional/Dynamic): In some instances, planting a charge might trigger a short defense sequence where you must prevent enemies from disarming it before it detonates. Stay near the planted charge, using cover, and eliminate any approaching enemies.
- Evacuate: Once all charges are planted and detonated (or the timer runs out), a final objective will appear: escape the facility. Follow the marked path, which often leads to a waiting vehicle or a designated extraction zone. Be prepared for a final sprint through collapsing structures and remaining enemy resistance.
Common Pitfalls & Tips for Success
- Don't Rush: While the mission is intense, rushing into heavily guarded areas without a plan will lead to quick failure. Use cover, observe enemy patterns, and pick your engagements.
- use the Environment: Exploding barrels, unstable structures, and even the heavy water tanks themselves can be used to your advantage to create diversions or take out groups of enemies.
- Stay Mobile: Standing still is a death sentence. Continuously move between cover, especially when under heavy fire.
- Conserve Ammo & Health: Scavenge ammo from fallen enemies. Use your medical pouches wisely, and don't be afraid to retreat to a safer position to heal.
- Listen for Cues: Enemy dialogue, footsteps, and weapon fire can give away their positions before you see them.
Collectibles in "The Last Argument"
Throughout the heavy water facility, there are several hidden collectibles (Letters from Home, Dog Tags) that provide additional lore and complete your war story progression. Keep an eye out for:
- Letter 1: Often found in the Officer's Quarters, usually on a desk or bedside table.
- Dog Tag 1: Located in a small, often overlooked storage room near the Western Generator Building, tucked away behind crates.
- Letter 2: Inside the Command Center, on a radio console or map table.
- Dog Tag 2: In the Main Production Hall, on a catwalk or hidden beneath some machinery.
- Letter 3: Near the final heavy water demolition point, often in a small alcove or maintenance area.
These collectibles are often in less-traveled paths or require a brief detour from the main objective. A thorough search of each area before proceeding is recommended.