
Objective: Access the Persephone Medical Bay
Your primary goal in this section is to gain access to the heavily secured Persephone Medical Bay, a critical step in your journey to reunite with Eleanor. This objective is not a simple walk-through; it involves navigating complex environments, overcoming new and formidable enemies, and solving environmental puzzles that often revolve around power restoration and keycard acquisition. Prepare for a significant increase in combat difficulty and strategic thinking.
Phase 1: Initial Approach and Power Restoration
Upon entering the area leading to the Medical Bay, you'll immediately notice that the main entrance is locked down, likely due to a power failure or security protocol. Your first task is to restore power to the primary access point.
- Locate the Power Station: Head towards the marked objective on your map. The power station is typically located in a side room or maintenance area adjacent to the main Medical Bay entrance. Be wary of Splicers patrolling these corridors.
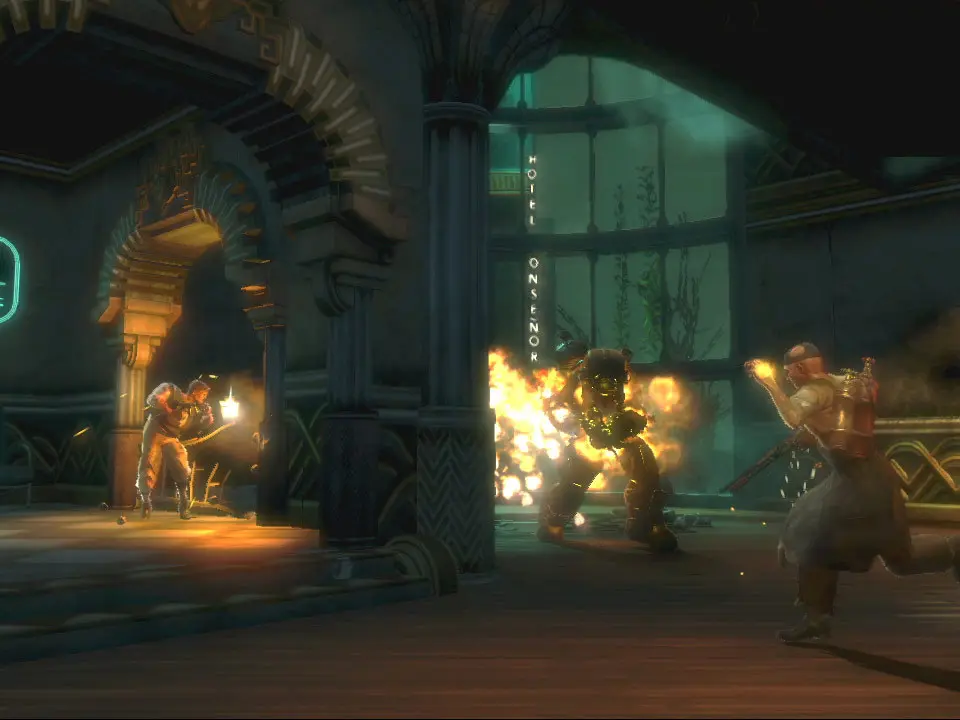
- Engage Security: Expect to encounter a combination of standard Leadhead Splicers and potentially a new threat: Brute Splicers. These hulking enemies are heavily armored and possess immense strength.
- Power Restoration Puzzle: The power station itself will often require a simple puzzle to activate. This usually involves finding a specific fuse or rerouting power via a switch panel.
- Fuse Box Puzzle: If it's a fuse box, you might need to find a replacement fuse (often located nearby in a toolbox or on a workbench).
- Circuit Breaker Puzzle: For circuit breakers, it's typically a matter of flipping the correct sequence of switches to restore power. Pay attention to any flickering lights or audible cues.
Phase 2: Navigating the Medical Bay Perimeter and Keycard Acquisition
Once power is restored, the main door to the Medical Bay might still be locked, requiring a specific keycard or further security bypass. This phase will lead you through various sections of the perimeter, each presenting its own challenges.
- Search for the Medical Bay Keycard: The keycard is usually held by a specific, unique Splicer or found in a secure office within the Medical Bay's administrative section.
- Administrative Offices: Explore all accessible offices and patient rooms. Look for desks, filing cabinets, and medical carts. The keycard is often in a doctor's office or a secure storage room.
- Targeted Splicer: In some instances, a specific Splicer (e.g., a "Doctor Splicer" or "Head Nurse Splicer") will be carrying the keycard. These Splicers are often tougher than average and may have unique attack patterns.
- Security Measures: Be prepared for increased security.
- Security Cameras: Hack these immediately to turn them to your advantage. A hacked camera will alert you to enemies and even attack them.
- Turrets: Similarly, hack any turrets you encounter. They provide excellent defensive support.
- Alarm Systems: Avoid triggering alarms. If an alarm sounds, prepare for waves of Splicers and security bots.
Phase 3: Confronting Brute Splicers and Recommended Loadouts
The Persephone Medical Bay is a prime location for encountering Brute Splicers. These enemies are a significant threat and require a strategic approach.
Brute Splicer Combat Strategy:
- Weak Points: Their head is their most vulnerable spot. Aim for headshots with powerful weapons.
- Plasmids:
- Electro Bolt: Essential for stunning Brute Splicers, allowing you to land critical hits. Follow up with a drill charge or shotgun blast.
- Incinerate!: While not as effective as Electro Bolt for stunning, sustained fire can cause damage over time and distract them.
- Telekinesis: Can be used to throw environmental objects (explosive barrels, oxygen tanks) at them for significant damage.
- Weapons:
- Shotgun: Devastating at close range, especially after a stun. Use 00 Buck or Electric Buck for added effect.
- Drill: A drill charge followed by sustained drilling is highly effective against a stunned Brute.
- Launcher: Proximity Mines or Frag Grenades can soften them up before direct engagement.
- Machine Gun: Use Armor-Piercing Rounds for sustained damage, especially when targeting the head.
- Environmental Hazards: Lure Brute Splicers near water puddles and use Electro Bolt for massive damage. Exploding barrels are also your friends.
Recommended Loadout for this Section:
Prioritize weapons and Plasmids that offer crowd control and high single-target damage.
- Plasmids:
- Slot 1: Electro Bolt (Rank 2 or 3): Crucial for stunning Brute Splicers and other tough enemies.
- Slot 2: Incinerate! (Rank 2 or 3): Good for area denial, damaging groups, and dealing with organic threats.
- Slot 3 (Optional): Telekinesis or Winter Blast: Telekinesis for environmental attacks, Winter Blast for freezing and shattering enemies.
- Tonics:
- Armored Shell: Reduces incoming damage, vital against Brute Splicers.
- Drill Power/Drill Lurker: Enhances your drill, a primary weapon for close combat.
- Scrounger/Proud Flesh: Helps with resource management and healing.
- Weapons:
- Shotgun (with 00 Buck or Electric Buck): Your primary close-range damage dealer.
- Drill (with Drill Damage upgrade): Excellent for sustained damage against stunned enemies.
- Machine Gun (with Armor-Piercing Rounds): Good for mid-range and targeting weak points.
- Launcher (with Proximity Mines): Set traps for Brute Splicers or groups of enemies.
Phase 4: Final Access to Persephone Medical Bay
Once you have the necessary keycard and have navigated the perimeter, return to the main entrance of the Medical Bay. The door should now be accessible.
- Prepare for Resistance: Even after gaining access, the Medical Bay itself will likely be heavily guarded. Expect more Splicers, possibly a Big Sister encounter, or a final security lockdown that requires one more step to fully bypass.
- Looting and Exploration: Before proceeding too far into the Medical Bay, take a moment to fully explore the surrounding areas. There are often valuable resources, audio diaries, and Power to the People stations that you might have missed.
Common Pitfalls and Missables:
- Missing Audio Diaries: The Medical Bay perimeter and administrative offices are rich with lore. Take your time to explore every room.
- Ignoring Hacking Opportunities: Failing to hack security cameras and turrets will make combat significantly harder.
- Underestimating Brute Splicers: Rushing into a fight with a Brute Splicer without a plan is a quick way to die. Use your environment and Plasmids.
- Forgetting Power to the People Stations: There is often a Power to the People station in or around the Medical Bay. use it to upgrade your preferred weapons.
Successfully accessing the Persephone Medical Bay marks a significant milestone in your journey. The challenges faced here will prepare you for even greater threats ahead, so ensure your arsenal is upgraded and your strategies are honed.