
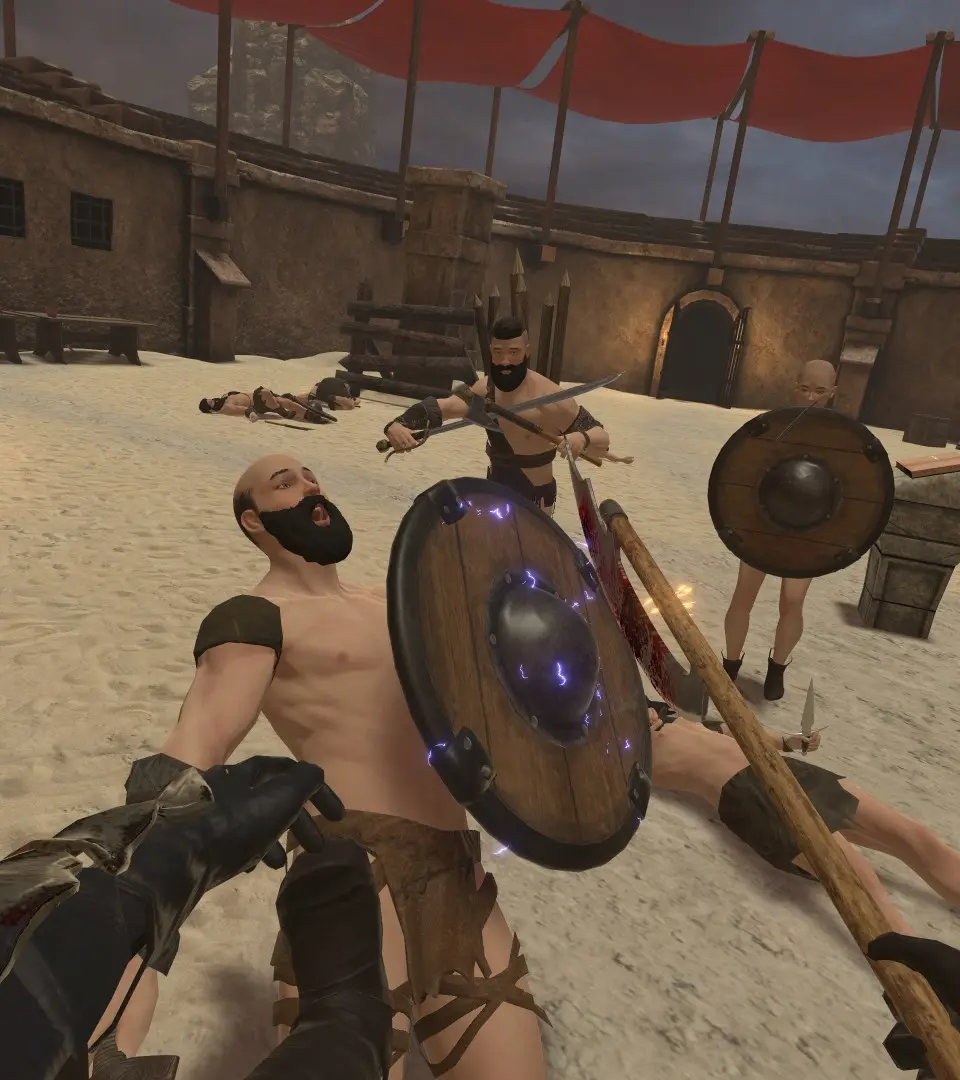
Mid-Waves: Managing Breaches and Reinforcements (Survival Mode)
As you progress deeper into the challenging waves of Survival Mode in Blade & Sorcery, the intensity escalates dramatically. Enemies become more numerous, more aggressive, and crucially, more coordinated in their attempts to overwhelm your position. This section focuses on effective strategies for managing the increased threat of breaches and the constant influx of reinforcements, ensuring your continued survival.
Understanding Breaches in Survival Mode
A "breach" in Survival Mode refers to enemies successfully pushing past your initial defensive line or flanking you to attack from an unexpected angle. While there aren't explicit 'breach points' like in some tower defense games, the concept applies to enemies gaining advantageous positions within your chosen arena. This is particularly critical in maps with multiple entry points or complex layouts, such as the Ruins or Canyon maps, where enemies can spawn from various directions.
- Early Warning Systems: Pay close attention to enemy spawn points. In most arenas, enemies will emerge from specific gates, archways, or even drop from ledges. Learning these patterns is crucial for anticipating breaches.
- Sound Cues: The game provides excellent audio cues. Listen for the distinct sounds of enemies approaching, their shouts, and the clanking of their armor. A sudden increase in noise from an unexpected direction often signals an impending breach.
- Visual Awareness: Constantly scan your surroundings. Utilize the full 360-degree VR experience to your advantage. Don't tunnel vision on a single enemy; a quick glance over your shoulder could reveal a group attempting to flank you.
Responding to Breaches: Prioritization and Swift Action
Once a breach is identified, rapid and decisive action is paramount. Hesitation can quickly lead to being surrounded and overwhelmed.
- Identify the Threat: Determine the number and type of enemies involved in the breach. Are they lightly armored archers, heavily armored brutes, or nimble rogues?
- Prioritize High-Threat Targets:
- Archers/Mages: These ranged units can quickly whittle down your health from a distance. Eliminate them first if they have a clear line of sight. A well-placed arrow or a quick spell like Fireball or Lightning can neutralize them before they become a major problem.
- Rogues/Daggers: These enemies are fast and can inflict quick, debilitating damage. Use wide, sweeping attacks or a well-timed parry to create an opening.
- Brutes/Heavy Armor: While slower, their attacks are devastating. If they are part of a breach, try to incapacitate them with a strong blunt weapon strike to the head or a disarming maneuver before they reach you.
- Create Space: If you find yourself surrounded, use area-of-effect spells (e.g., a charged Fireball or a wide Gravity push) or powerful weapon swings to knock enemies back and create breathing room. Retreating to a more defensible position is also a valid strategy if the breach is too large to handle head-on.
- Utilize Environmental Hazards: Many maps feature environmental hazards like ledges, spiked walls, or even lava pits. Use Gravity spells or strong weapon pushes to send breaching enemies into these hazards for quick eliminations.
Managing Reinforcements: Sustained Awareness
Reinforcements are a constant factor in mid-to-late waves of Survival Mode. They will arrive from various directions, often coinciding with or immediately following a breach attempt.
- Anticipate Spawn Points: As mentioned, learn the spawn points for each map. Keep these in your peripheral vision as much as possible.
- Strategic Positioning: Position yourself in areas that offer good visibility of multiple spawn points while also providing some cover or choke points. For example, in the Arena map, standing near the central pillar allows you to see both main gates.
- Conserve Stamina and Mana: Don't overcommit to individual enemies. You'll need stamina for parrying, dodging, and powerful attacks, and mana for spells to deal with the continuous flow of reinforcements.
- Weapon Management:
- Secondary Weapon Ready: Always have a secondary weapon easily accessible. This could be a dagger on your hip, a short sword on your back, or even a shield. If your primary weapon is disarmed, dropped, or stuck in an enemy, you need an immediate backup.
- Thrown Weapons: Keep a few throwing knives or axes on hand. These are excellent for picking off archers or finishing off weakened enemies from a distance, especially when reinforcements are closing in.
- Weapon Retrieval: If you drop your primary weapon, prioritize retrieving it if the immediate threat allows. Otherwise, switch to your secondary and fight your way back to it.
- Spell Rotation: Don't rely on a single spell. Alternate between offensive spells like Fireball and crowd control spells like Gravity or Lightning to manage groups of reinforcements effectively.
Recommended Loadouts for Mid-Waves
Your loadout should be versatile enough to handle both individual threats and groups of reinforcements.
| Slot | Recommended Item | Justification |
|---|---|---|
| Primary Weapon (Right Hand) | Longsword, Greatsword, or Battle Axe | Excellent reach and damage for engaging multiple enemies. Greatswords and Battle Axes offer significant cleave potential against groups. |
| Secondary Weapon (Left Hand) | Dagger, Short Sword, or Shield | Daggers are fast for quick parries and precise stabs. Short swords offer a balance of speed and damage. A shield provides crucial defense against ranged attacks and allows for powerful shield bashes. |
| Back Slot | Bow & Quiver or Extra Two-Handed Weapon | Bow for ranged threat elimination. An extra two-handed weapon (e.g., a staff for magic builds or another heavy weapon) provides versatility if your primary is lost. |
| Hip/Belt Slots | Throwing Knives/Axes (2-4), Health Potion (1-2) | Throwables for quick ranged takedowns. Health potions are essential for recovering from unexpected damage during intense waves. |
Common Pitfalls and How to Avoid Them
- Tunnel Vision: Focusing too much on one enemy and losing awareness of your surroundings. Solution: Regularly scan your environment, especially your flanks and rear.
- Stamina Depletion: Over-swinging or constantly sprinting, leaving you vulnerable. Solution: Manage your stamina. Use precise, powerful strikes rather than wild flailing. Incorporate parries and dodges to conserve energy.
- Mana Exhaustion: Spamming powerful spells without thought. Solution: Use spells strategically. Reserve high-cost spells for groups or high-priority targets. Utilize basic imbues for less demanding situations.
- Ignoring Ranged Threats: Letting archers or mages accumulate damage. Solution: Prioritize ranged enemies. Use cover, throwables, or quick dashes to close the distance and eliminate them.
- Getting Cornered: Allowing enemies to push you into a corner or against a wall. Solution: Maintain situational awareness of your escape routes. Use crowd control spells or powerful shoves to break free if trapped.
By mastering these strategies for managing breaches and reinforcements, you'll significantly increase your longevity and success rate in Blade & Sorcery's demanding Survival Mode. Adaptability, quick thinking, and a solid understanding of enemy behavior are your greatest assets.