
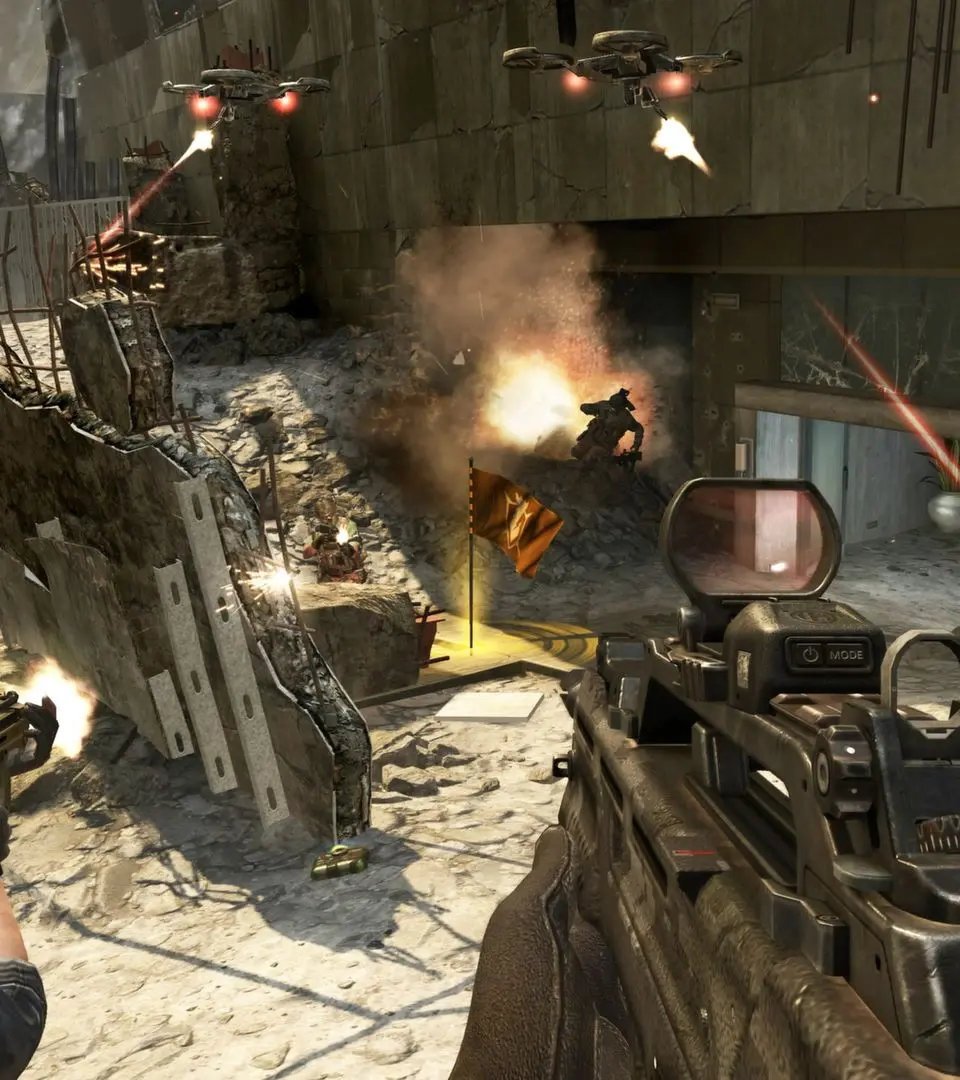
Menendez's Final Stand
The culmination of your journey through Call of Duty: Black Ops II brings you face-to-face with Raul Menendez in a highly dynamic and choice-driven final confrontation. This isn't a traditional boss battle with health bars and predictable attack patterns; instead, it's a climactic sequence heavily influenced by the decisions you've made throughout the campaign. Your objective will ultimately be to either capture or kill Menendez, with the specific scenario, enemy types, and even the very location of the final encounter shifting based on your prior actions.
Impact of Campaign Choices on the Final Stand
Understanding how your previous choices shape this final mission is crucial for preparation. Here are some key decision points and their potential ramifications:
- Karma's Fate (Mission: "Karma"):
- If Karma was saved: Expect a slightly less chaotic final sequence. Karma might provide intel or even direct assistance, potentially reducing the number of hostiles or offering alternative routes. The overall tone might lean more towards a tactical apprehension.
- If Karma died: The final confrontation will likely be more brutal and direct. Menendez's forces might be more aggressive, and you'll face a higher volume of enemies. The emotional stakes for Menendez will be higher, potentially influencing his actions during the QTEs.
- Harper's Fate (Mission: "Achilles' Veil" or "Odysseus"):
- If Harper was saved: Harper will be present during the final assault, providing additional firepower and tactical support. This can significantly ease the burden of enemy encounters.
- If Harper died: You'll be without Harper's assistance, making the combat encounters more challenging. You might also encounter more of Menendez's elite forces in his place.
- Farid's Fate (Mission: "Achilles' Veil"):
- If Farid was saved: Farid's intelligence network might have weakened Menendez's defenses, leading to fewer enemy reinforcements or less fortified positions.
- If Farid died: Menendez's forces will be at full strength, and you'll face a more robust defense.
- Admiral Briggs' Fate (Mission: "Odysseus"):
- If Briggs was saved: The USS Obama's air support (F-35s) will be available, potentially clearing out large groups of enemies or providing cover fire during the approach to Menendez.
- If Briggs died: You will lack air support, making the initial breach and subsequent combat more difficult. Expect more ground-based resistance.
General Strategies for the Final Confrontation
Regardless of the specific scenario, the final stand against Menendez emphasizes intense close-quarters combat and critical quick-time events (QTEs). Here's how to prepare:
Recommended Loadouts
- Primary Weapon: An assault rifle with a high rate of fire and good accuracy (e.g., AN-94, M8A1). Attachments like a Red Dot Sight or Reflex Sight are crucial for quick target acquisition in tight spaces. A Fast Mag or Extended Mag will minimize reloads during sustained firefights.
- Secondary Weapon: A reliable SMG (e.g., MSMC, PDW-57) for extreme close-quarters or a powerful shotgun (e.g., Remington 870 MCS) for room clearing.
- Lethal Grenade: Frag Grenades are excellent for clearing entrenched enemies or flushing them out of cover.
- Tactical Grenade: Flashbangs or Concussion Grenades are invaluable for disorienting Menendez's elite guards, allowing you to push forward or gain an advantage in close-range duels.
- Perks:
- Slot 1: Flak Jacket (reduces explosive damage) or Lightweight (increased movement speed).
- Slot 2: Toughness (reduces flinch when shot) is highly recommended for maintaining accuracy under fire.
- Slot 3: Dead Silence (quieter movement) or Tactical Mask (reduces effect of tactical grenades).
Close-Quarters Combat Tips
- Stay Mobile: Do not stand still. Utilize cover, but be prepared to flank and reposition constantly. Menendez's forces are aggressive and will attempt to overwhelm you.
- Headshots are Key: Aim for headshots to quickly neutralize enemies, especially the more heavily armored elite guards.
- Use Your Environment: Exploit explosive barrels, weak walls, and environmental hazards to your advantage.
- Melee Attacks: In extremely close quarters, a well-timed melee attack can save your life or finish off a weakened enemy.
- Prioritize Targets: Eliminate enemies with shotguns or heavy weapons first, as they pose the most immediate threat in confined spaces.
Quick-Time Events (QTEs)
The final confrontation is punctuated by several critical QTEs that determine the outcome of the fight and Menendez's fate. These are context-sensitive and require swift, accurate input.
Common QTE Scenarios:
- Melee Engagements: You'll often find yourself in a struggle with Menendez or one of his elite guards. Look for prompts to rapidly press a specific button (e.g.,
Xon Xbox,Squareon PlayStation,Fon PC) to overpower your opponent. - Dodging Attacks: Menendez might attempt to stab, punch, or shoot you. A directional input (e.g.,
Left StickorWASD) combined with a button press will be required to dodge. - Weapon Disarms/Grabs: If Menendez attempts to grab your weapon or disarm you, a series of rapid button presses or a specific sequence might be required to retain control.
- Environmental Interactions: You might need to quickly interact with an object (e.g., kicking open a door, grabbing a falling weapon) with a single button press.
QTE Best Practices:
- Anticipate: QTEs often occur after a brief cinematic or a sudden shift in gameplay. Be ready to react.
- Focus on the Prompt: Don't get distracted by the action; your eyes should be on the on-screen button prompt.
- Practice Reflexes: If you struggle with QTEs, consider playing through earlier missions with similar mechanics to hone your reaction time.
- Failure Consequences: Failing a QTE can result in taking significant damage, being disarmed, or even a mission failure, forcing a checkpoint restart.
The Final Choice: Capture or Kill
The ultimate outcome of "Menendez's Final Stand" hinges on your final action. Depending on your previous choices and your success during the QTEs, you will be presented with an opportunity to either:
- Capture Menendez: This typically involves subduing him without lethal force during the final QTE sequence. This path can lead to a more "positive" ending for the overall campaign, with Menendez imprisoned.
- Kill Menendez: This involves delivering a fatal blow during the final QTE sequence. This path often leads to a more "negative" or tragic ending, as Menendez's death can still trigger unforeseen consequences.
Pay close attention to the on-screen prompts during the very last moments of the mission, as they will guide you towards the capture or kill option. Your choice here is permanent and will directly influence the epilogue and the overall ending of Call of Duty: Black Ops II.