
Easter Eggs & Secrets
Crysis 3, while a thrilling conclusion to Prophet's saga, is also rich with hidden gems, subtle nods to its predecessors, and humorous developer insights. Exploring every nook and cranny can reward attentive players with unique lore, powerful gear, and a deeper appreciation for the game's world-building and its creators' wit. This section will guide you through some of the most notable secrets, ensuring you don't miss out on these often-overlooked details.
Nod to Crysis 1: The Iconic SCAR Rifle
One of the most cherished easter eggs for veteran Crysis players is a direct homage to the original game's iconic SCAR assault rifle. While the SCAR is a standard weapon in Crysis 1, its appearance in Crysis 3 is a deliberate, nostalgic callback.
- Location: Mission 2: 'Welcome to the Jungle'
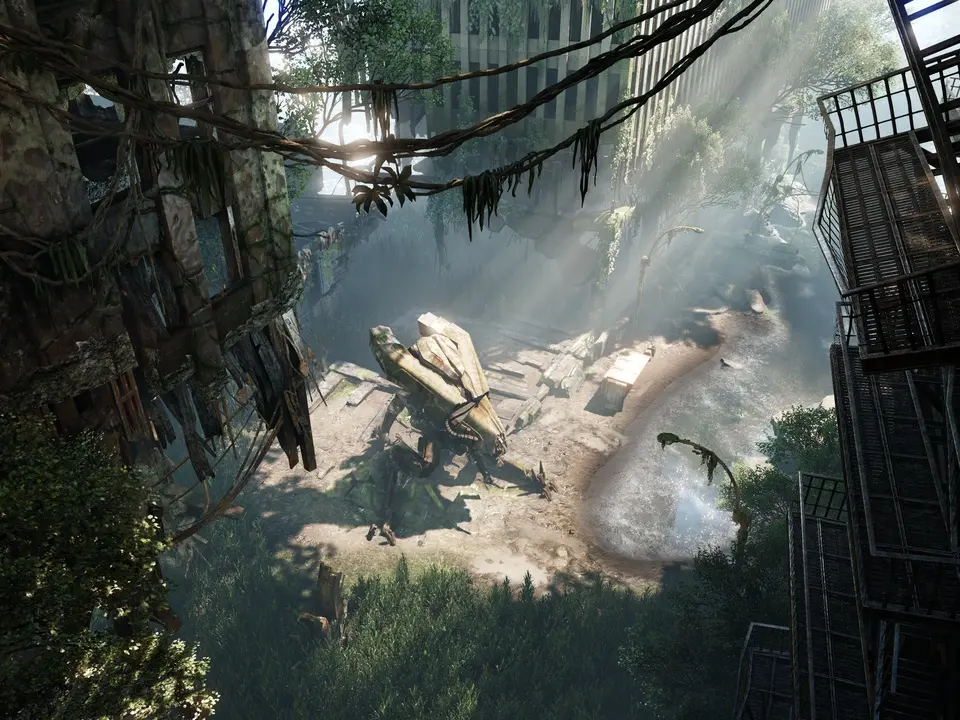
- Specifics: After Prophet acquires the Predator Bow and proceeds through the initial jungle area, you'll eventually reach a large waterfall with a small cave behind it. This cave is located on the left side of the waterfall if you're facing it from the main path.
- Step-by-Step Guide:
- Progress through 'Welcome to the Jungle' until you've acquired the Predator Bow.
- Continue through the lush jungle environment, eliminating CELL patrols as needed.
- You will come to a section with a prominent, multi-tiered waterfall on your left.
- Approach the waterfall carefully. Instead of going around it, look for a small, partially obscured opening behind the cascading water on the left side.
- Enter this hidden cave. Inside, you will find a pristine, non-functional model of the original Crysis 1 SCAR assault rifle, often displayed on a makeshift pedestal or crate.
- Interaction: While you cannot pick up or use this weapon, interacting with it (usually by pressing the 'Use' key/button) will often trigger a brief, nostalgic audio cue or a subtle visual effect, confirming its status as an easter egg.
- Significance: This easter egg serves as a direct link to the franchise's roots, celebrating the weapon that defined much of the combat in the first Crysis. It's a treat for long-time fans and a subtle piece of environmental storytelling.
Developer Messages & Environmental Storytelling
Crytek's developers often leave their mark within the game world, not just through intricate design but also through humorous or insightful messages. These can range from inside jokes to subtle critiques or even personal touches.
- General Locations: These messages are predominantly found in abandoned CELL facilities, derelict urban environments, and areas that show signs of long-term human habitation or struggle. Look for graffiti, posters, computer screens, and even subtle arrangements of objects.
- Examples & Specifics:
- Mission 3: 'The Root of All Evil' - CELL Propaganda: In various abandoned CELL checkpoints and offices, particularly in the early sections of the mission, look for propaganda posters on walls. Some of these feature exaggerated, almost satirical, slogans about CELL's supposed benevolence or the dangers of the Ceph. While not direct developer messages, they offer a cynical, humorous commentary on corporate control.
- Mission 4: 'Safeties Off' - Hidden Graffiti: During the traversal through the ruined New York streets and subway tunnels, keep an eye on the walls of dilapidated buildings and subway cars. There are instances of graffiti that, when translated or closely inspected, contain phrases like "Crytek was here" or subtle references to previous game development challenges. These are often in hard-to-reach spots, encouraging exploration.
- Mission 5: 'Red Star Rising' - Computer Terminal Logs: In some of the more intact CELL research facilities, particularly those with active computer terminals, you might find logs or emails that, while appearing to be in-game lore, contain humorous exchanges between "researchers" that mirror real-world developer conversations or frustrations. These are usually found on terminals that require a quick hack to access.
- How to Find Them:
- Utilize your Nanosuit's Visor mode frequently. While it won't always highlight these messages, it can help you spot interactive terminals or unusual environmental details that might lead to them.
- Explore off the beaten path. Developer messages are rarely on the critical path; they reward players who take the time to investigate every corner.
- Pay attention to unusual visual cues – a brightly colored piece of graffiti in an otherwise drab area, or a cluster of objects that seems out of place.
Hidden Weapon Caches & Advanced Gear
Beyond the standard weapon pickups, Crysis 3 features numerous hidden caches that offer superior weaponry, rare attachments, and substantial ammunition reserves. These are crucial for players seeking to optimize their loadouts or gain an edge in challenging encounters.
- General Characteristics:
- Often located in side rooms, elevated positions, or behind destructible environmental elements.
- May be guarded by a small, but often more challenging, group of CELL or Ceph enemies.
- Contain weapons with pre-attached modules (e.g., a SCAR with a silencer and laser sight, or a Typhoon with an extended magazine).
- Sometimes include unique weapon variants not commonly found elsewhere.
- Notable Caches & Locations:
- Mission 1: 'Post-Human' - Early SCAR/Typhoon Cache:
- Location: After Prophet first encounters the Ceph Stalkers and is tasked with reaching the subway, there's a collapsed section of road. Instead of following the main objective marker directly, look for a small, partially open shipping container to the right of the main path.
- Contents: Often contains a fully kitted SCAR or a Typhoon with a significant amount of ammo, providing a powerful early-game boost.
- Strategy: Clear the Stalkers in the immediate area first, then use your Nanosuit's strength mode to pry open any stubborn container doors if necessary.
- Mission 3: 'The Root of All Evil' - Predator Bow Upgrade Cache:
- Location: After navigating the initial jungle and entering the first major CELL research facility (the one with the large, circular central chamber), look for ventilation shafts or maintenance tunnels on the upper levels. One such shaft, often requiring a high jump or a climb, leads to a small, hidden room.
- Contents: This cache frequently holds advanced Predator Bow arrow types (e.g., Electric Arrows, Explosive Arrows) or a rare weapon like the Feline SMG with custom attachments.
- Strategy: Use your Nanosuit's stealth and mobility to access these elevated or obscured areas. Scan with your visor for weapon icons even through walls.
- Mission 6: 'Only Human' - K-Volt/Revolver Cache:
- Location: Towards the end of the mission, as you approach the central Ceph structure, there are several ruined buildings and elevated platforms. One specific building, often heavily guarded by Ceph, has a second-story office accessible via a broken staircase or a high jump.
- Contents: This cache often contains a K-Volt (Ceph energy weapon) with a full charge, a high-power Magnum Revolver, and a significant amount of ammunition for both.
- Strategy: This cache is usually in a hot zone. Consider using stealth to eliminate the guards silently or engaging them from a distance before securing the cache. The K-Volt is excellent against Ceph.
- Mission 1: 'Post-Human' - Early SCAR/Typhoon Cache:
- Tips for Finding Caches:
- Constant Visor Use: Your Nanosuit's Visor is your best friend. It highlights weapons, ammo, and interactable objects even through walls. Make it a habit to scan every new area thoroughly.
- Explore Vertically: Many caches are in elevated positions, requiring jumps, climbs, or creative use of your Nanosuit's abilities.
- Check Dead Ends: If a path seems to lead nowhere, it's often a prime spot for a hidden cache.
- Listen for Audio Cues: Sometimes, the faint hum of a weapon or the clatter of ammo boxes can be heard if you're close to a hidden stash.
- Look for Unusual Lighting: Developers often use subtle lighting cues to draw attention to hidden areas.