
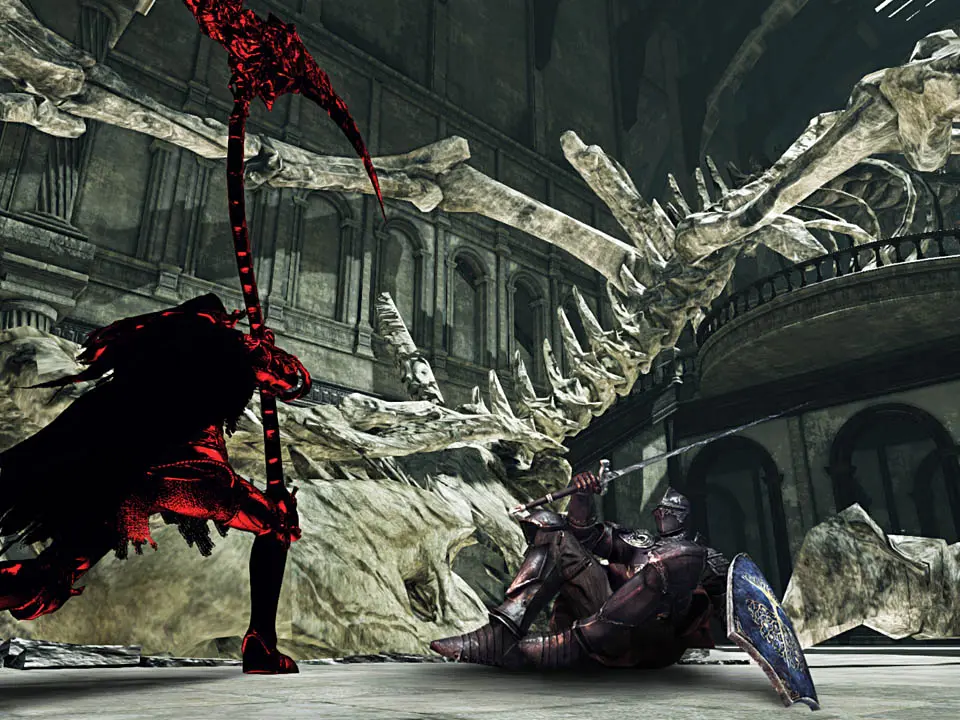
Iron Keep
The Iron Keep is a formidable fortress forged in fire and steeped in the remnants of the Old Iron King's ambition. This area is notorious for its challenging enemy placements, environmental hazards, and the ever-present threat of lava. Players will need high fire resistance, careful navigation, and a keen eye for traps to survive its gauntlet. Prepare for relentless assaults from Alonne Knights, the crushing power of Ironclad Soldiers, and the surprising agility of Iron Golems.
Recommended Preparations
- Fire Resistance: Essential. Equip armor with high fire defense (e.g., Smelter Demon Set, Black Witch Set, Chaos Set), the Flame Quartz Ring, and consider using Flash Sweat pyromancy.
- Poison/Bleed Resistance: Less critical but useful for specific encounters.
- Ranged Options: Bows, crossbows, or spells are invaluable for luring enemies, triggering traps, and dealing with archers across lava.
- Stamina Management: Crucial for blocking, dodging, and attacking the aggressive Alonne Knights.
- Healing Items: Stock up on Estus Flasks and Lifegems.
- Brightbug: Can be useful for the boss fight or particularly tough sections.
Walkthrough: Entering the Molten Fortress
Upon entering Iron Keep from the Earthen Peak elevator, you'll arrive at a precarious bridge. Two Alonne Knights will immediately charge you. Deal with them carefully, as falling off is a constant threat. After crossing the bridge, you'll find the Iron Keep Threshold bonfire.
- Initial Gauntlet:
- From the bonfire, proceed through the doorway. You'll encounter more Alonne Knights. Be wary of the two archers positioned on the upper level across the lava. They will pepper you with arrows.
- Strategy: Lure the melee knights back to the bonfire area if needed. Use a bow or crossbow to eliminate the archers from a safe distance.
- Item: On the platform to the left after the first archer, you can find a Large Soul of a Proud Knight.
- The First Bridge & Ironclad:
- Cross the next bridge. An Ironclad Soldier will emerge from the left. These enemies are slow but hit hard and have high poise.
- Strategy: Circle strafe to get behind them for critical hits, or use ranged attacks. Be careful not to get cornered.
- Item: To the left, before the next bridge, you can find a Flame Butterfly.
- The Central Platform & Archers:
- You'll reach a central platform with several pathways. Immediately, more Alonne Knight archers will target you from across the lava.
- Strategy: Prioritize eliminating the archers. Use the pillars for cover.
- Path Right (Optional): Take the path to the right, leading down. You'll encounter more Alonne Knights. This path leads to a small room with a Pharros' Contraption. Activating it reveals a hidden wall with a Life Ring +2 (NG+ only, otherwise a random item). Be careful of an Alonne Knight ambush when you activate it.
- Path Left (Main Progression): Take the path to the left. You'll face more Alonne Knights.
- The Lever Room & Smelter Demon Shortcut:
- Continue along the main path. You'll enter a room with a large lever in the center. Pulling this lever lowers a bridge, creating a shortcut back to the beginning of the area.
- Trap Warning: As you approach the lever, an Alonne Knight will drop from above. After pulling the lever, another will ambush you from the side.
- Item: In a chest near the lever, you'll find a Covetous Gold Serpent Ring +1.
- Smelter Demon Shortcut: To the right of the lever room (if facing the lever from the entrance), there's a ladder leading down. This path leads to the Smelter Demon boss fight. This is an optional but challenging boss.
- The Second Bonfire & Beyond:
- After the lever room, proceed across the newly lowered bridge (if you pulled the lever). You'll find the Eygil's Idol bonfire. This is a crucial rest point.
- From Eygil's Idol, you'll proceed into a section with more Alonne Knights and a dangerous Iron Golem.
- Iron Golem Strategy: These enemies are slow but have a devastating ground pound. Keep your distance, bait attacks, and strike after they recover. They are vulnerable to lightning.
- Item: Near the Iron Golem, you can find a Soul of a Great Hero.
- The Bridge of Death:
- You'll eventually reach a long, narrow bridge heavily guarded by Alonne Knight archers and melee knights. This is one of the most challenging sections.
- Strategy: Use a bow to pick off archers from afar. Advance slowly, luring melee knights one by one. The bridge is narrow, so be mindful of your footing.
- Trap Warning: There are often hidden Alonne Knights waiting to ambush you from the sides of the bridge.
- Item: On a ledge accessible from the bridge (requires a careful jump or a long-range bow shot to knock down a ladder), you can find a Chaos Rapier.
- The Final Approach:
- After the bridge, you'll navigate more corridors and encounter additional Iron Golems and Alonne Knights.
- NPC Encounter: Near the end of this section, you'll find Magerold of Lanafir, a merchant who sells various items, including unique spells and equipment. He also offers covenant allegiance to the Bell Keepers.
- Item: Behind Magerold, you can find a chest containing a Great Combustion pyromancy.
- Shortcut: Near Magerold, there's a ladder leading down to a lower area. This path can lead to the Belfry Sol optional area (Bell Keepers covenant).
- The Old Iron King's Domain:
- Proceed past Magerold and through the final set of enemies. You'll reach the fog gate leading to the Old Iron King boss.
- Summon Sign: Before the fog gate, you can find the summon sign for Lucatiel of Mirrah (if you've progressed her questline).
Boss Battle: Old Iron King
The Old Iron King is a massive, fire-breathing demon residing in a lava-filled arena. This fight is more about environmental awareness and positioning than direct combat.
Strategy
- Arena Awareness: The biggest threat is falling into the lava. There are several safe platforms. The King will often try to push you off with his attacks.
- Attacks:
- Fist Slam: A slow, powerful slam. Dodge to the side.
- Lava Breath: He will breathe a stream of fire across the arena. Find cover behind the central structure or on a safe platform.
- Lava Hand Swipe: He'll sweep his hand across the platform. Roll through it or block if you have high fire resistance.
- Lava Geyser: He'll punch the lava, causing geysers to erupt. Watch the ground for glowing spots.
- Weak Spot: His head is his weak spot. When he performs his fist slam or lava breath, his head will be lowered, allowing for melee attacks. Ranged characters can target his head at almost any time.
- Patience is Key: Don't rush. Wait for safe openings to attack. Prioritize dodging and staying on solid ground.
- Recommended Loadout:
- Armor: High fire resistance.
- Rings: Flame Quartz Ring, Ring of Steel Protection, Chloranthy Ring.
- Weapons: Any weapon with good damage. Lightning-infused weapons can be effective, but physical damage is generally sufficient.
- Consumables: Estus Flasks, Lifegems.
Rewards
- Old Iron King Soul: Can be traded for the Smelter Sword or the Iron King Hammer.
- Soul of the Old Iron King: Used to create the Old Iron King's Crown (Crown of the Old Iron King DLC).
- Access to Brume Tower: After defeating the Old Iron King, a primal bonfire appears, and you gain access to the Crown of the Old Iron King DLC area (if owned).
Notable Items & Locations
- Bonfires:
- Iron Keep Threshold
- Eygil's Idol
- Belfry Sol Approach (optional, within Belfry Sol)
- NPCs:
- Magerold of Lanafir: Merchant and Bell Keepers Covenant leader.
- Lucatiel of Mirrah: Summonable for Old Iron King (if questline progressed).
- Steelheart Ellie: Summonable for Smelter Demon (if questline progressed).
- Key Items:
- Covetous Gold Serpent Ring +1: Found in a chest in the lever room.
- Life Ring +2: Found behind a Pharros' Contraption wall (NG+ only).
- Chaos Rapier: On a ledge on the long bridge.
- Great Combustion: In a chest behind Magerold.
- Smelter Demon Soul: Dropped by the optional Smelter Demon.
Common Pitfalls & Tips
- Lava Deaths: The most common cause of death. Always be aware of your surroundings.
- Archer Spam: Alonne Knight archers are relentless. Prioritize eliminating them with ranged attacks.
- Ambush Tactics: Many Alonne Knights hide around corners or drop from above. Proceed cautiously.
- Ironclad Poise: Don't underestimate Ironclad Soldiers. Their attacks can easily break your guard.
- Smelter Demon: This optional boss is extremely difficult. Don't feel pressured to fight him immediately.
- Belfry Sol: An optional PvP area accessible from Iron Keep. Be prepared for invasions if you enter.