Ramblin' Julianna: The Ultimate Rival Guide
Julianna Blake isn't just an antagonist; she's your primary obstacle, your most persistent hunter, and the ultimate test of your loop-breaking prowess. Whether controlled by the AI or another player, encountering Julianna transforms any given district into a high-stakes cat-and-mouse game. This comprehensive guide will equip you with the knowledge and strategies to not only survive her invasions but to turn the tables and emerge victorious.
Understanding Julianna's Invasions
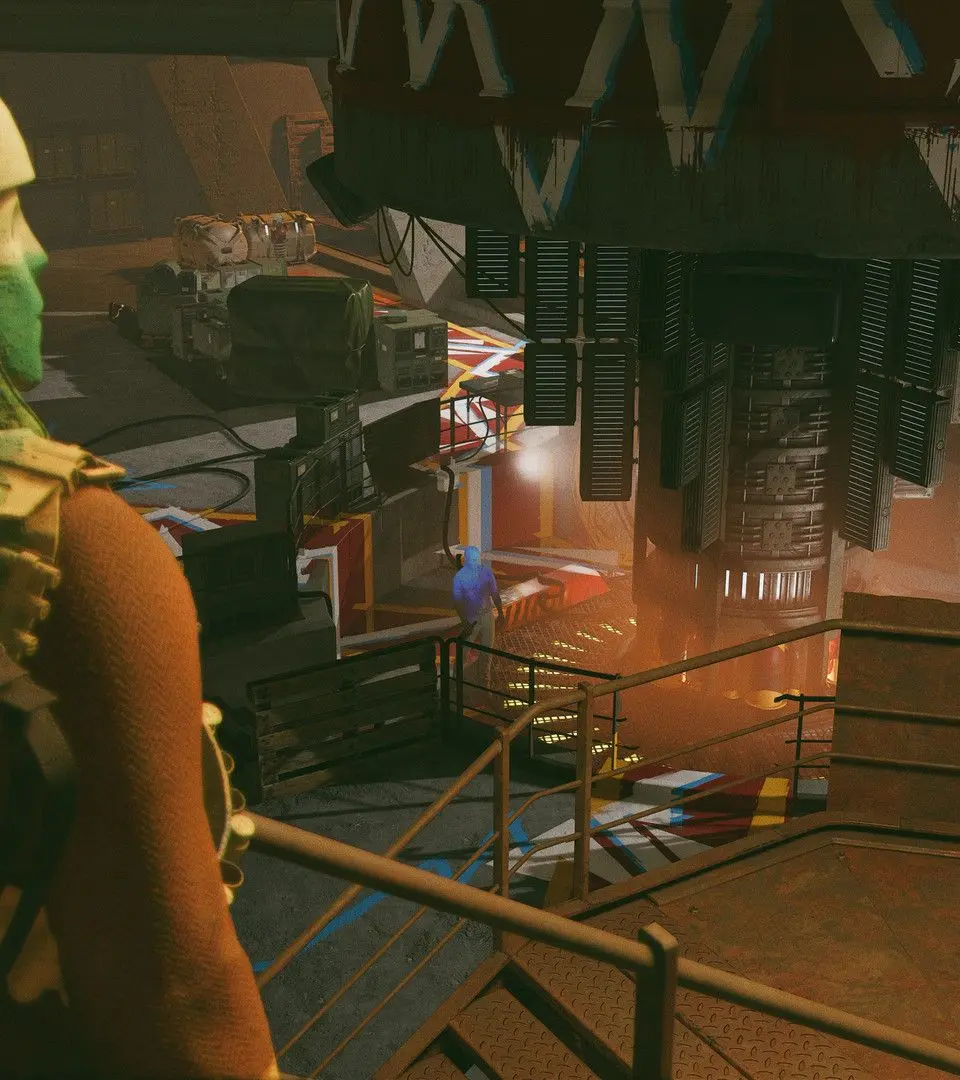
Julianna's objective is simple: eliminate Colt. She will spawn in a district you're currently occupying, often at an advantageous position, and immediately begin hunting. Her presence locks down the district, preventing your exit until either she is defeated or you hack the antenna. Understanding her capabilities and typical behaviors is the first step to countering her.
AI Julianna vs. Player Julianna
- AI Julianna: Predictable to a degree, but still highly dangerous. She uses all Slabs and several weapons. Her pathing can sometimes be exploited, but she's adept at flanking and using environmental cover. She will often prioritize objectives if you're lingering too long.
- Player Julianna: The ultimate wildcard. Human players are unpredictable, creative, and can adapt on the fly. They will use mind games, unconventional tactics, and exploit every advantage. Expect varied loadouts and highly personalized strategies. This guide focuses on general counters that apply to both, but always be prepared for the unexpected against a human opponent.
Julianna's Arsenal: Slabs and Counters
Julianna has access to all Slabs in the game, and she will use them aggressively. Knowing what to expect and how to counter each one is crucial.
| Julianna's Slab | Description & Typical Use | Effective Counters & Tactics |
|---|---|---|
| Aether | Renders Julianna invisible, often used for flanking, repositioning, or escaping. She might use it to get close for a melee attack or to line up a perfect shot. |
|
| Nexus | Links multiple enemies together, causing damage to one to be dealt to all linked targets. Julianna often uses this in crowded areas or when she has backup. |
|
| Shift | Teleports Julianna short distances, allowing for rapid repositioning, closing gaps, or escaping danger. She'll use it to get behind you, onto high ground, or out of your line of sight. |
|
| Karnesis | Allows Julianna to telekinetically throw objects or enemies, including Colt. She uses it to disorient, push you off ledges, or expose you from cover. |
|
| Havoc | Grants Julianna temporary damage resistance and increased melee damage. She'll activate this when she wants to push aggressively or engage in close quarters. |
|
Strategic Engagement: Turning the Tables
1. Initial Contact & Reconnaissance
- Listen for the invasion alert: The moment Julianna invades, the district goes into lockdown. Don't panic.
- Locate the antenna: Your first priority is to identify the antenna Julianna is using to lock the district. It will be marked on your HUD.
- Go dark: If you're not ready for a fight, find a hiding spot. Use your Aether Slab (if you have it) to become invisible and observe her movements.
- Hack the antenna (Tactical Tool): Hacking the antenna doesn't just unlock the exit; it also reveals Julianna's position on your HUD for a short duration. This is an invaluable tactical advantage. Even if you don't plan to exit immediately, hacking the antenna can give you crucial intel on her whereabouts. Consider it a temporary "ping" ability.
2. Setting the Trap
Julianna is a hunter, but a clever Colt can become the predator.
- Environmental awareness: Use the district's layout to your advantage.
- High ground: Offers clear sightlines and cover.
- Chokepoints: Ideal for laying mines or ambushes.
- Vantage points: Good for sniping or observing her approach.
- Mines & Tripwires: Place these strategically in common pathways, doorways, or around objectives she might approach. A well-placed mine can strip her shields or even kill her outright.
- Turrets: Hack nearby turrets to turn them against Julianna and her Eternalist allies. They provide suppressing fire and can reveal her position.
- Distractions: Shoot a noisy object, trigger an alarm, or engage other Eternalists to draw her attention to a specific area.
3. Recommended Loadouts & Slabs
While personal preference plays a role, certain loadouts are highly effective against Julianna.
- Weapons:
- Fourpounder (Explosive Rounds): Devastating damage, especially with explosive rounds, excellent for hitting invisible targets or forcing her out of cover.
- Strelak Verso (Shotgun Mode): High close-range damage, good for panic situations or when she pushes with Havoc.
- Sepulchra Breteira (Silenced): For stealthy engagements and headshots from a distance.
- LIMP-10 (Dual Wield): High rate of fire for sustained damage.
- Slabs (Colt's Best Bets):
- Aether (with Flicker/Ghost upgrades): Essential for stealth, repositioning, and escaping. Flicker reduces energy drain, Ghost makes you completely invisible while standing still.
- Shift (with Reach/Swapper upgrades): Unparalleled mobility for flanking, escaping, and gaining advantageous positions. Swapper can be used to disorient her or swap places with an Eternalist near her.
- Nexus (with Influence/Protraction upgrades): Link Julianna to nearby Eternalists for massive damage. Influence links more targets, Protraction extends the link duration.
- Havoc (with Withdrawal/Euphoria upgrades): For aggressive pushes or when you need to tank damage. Withdrawal restores health on hit, Euphoria increases damage with sustained fire.
- Trinkets:
- Sprinter: Increased movement speed, crucial for dodging and repositioning.
- Hardened: Reduced damage taken.
- Sure Shot: Increased accuracy.
- Deep Pockets: More ammo capacity.
- Golden Parachute: Reduces fall damage, useful for aggressive vertical maneuvers.
4. The Engagement: Tips for Success
- Prioritize headshots: Julianna, like all enemies, takes significantly more damage from headshots.
- Don't chase blindly: Julianna is smart. She will lead you into traps or ambushes. If she retreats, assume it's a ploy.
- Use your Slabs offensively and defensively: Don't hoard them. Use Shift to gain the high ground, Aether to reposition, or Nexus to amplify your damage.
- Manage your health and power: Always be aware of your resources. Retreat to cover to heal or recharge your Slabs.
- Exploit her reloads: Like all enemies, Julianna needs to reload. This is a prime window to push or land critical shots.
- Melee is a last resort: While powerful, engaging Julianna in melee is risky unless you have Havoc active or a clear advantage.
- Be patient: Sometimes the best strategy is to wait for her to make a mistake or come to you.
Common Pitfalls to Avoid
- Getting tunnel vision: Don't focus solely on Julianna. Other Eternalists can quickly overwhelm you.
- Ignoring the antenna: Not hacking the antenna leaves you blind to her location and unable to escape.
- Predictable movement: Don't run in a straight line or stay in one spot for too long.
- Underestimating her AI: Even AI Julianna can be deadly if you get complacent.
- Forgetting about Reprise: You have two lives. Use them strategically. If you die, try to retrieve your Residuum quickly, but don't rush into another ambush.
Mastering the art of defeating Julianna is key to breaking the loop. By understanding her abilities, using the environment, and employing smart tactics, you can turn every invasion into an opportunity to collect valuable Residuum and powerful gear.