Stonefang Tunnel (2-1): Smithing's Crucible
Welcome to Stonefang Tunnel, the first archstone of the Stonefang Archstone and a crucial area for any aspiring Demon Slayer looking to upgrade their gear. This fiery mining complex is home to invaluable crafting materials, powerful weapons, and a few challenging encounters. Prepare for tight corridors, explosive enemies, and the ever-present threat of lava.
Navigating the Mines: Pathways and Perils
Upon entering Stonefang Tunnel (2-1), you'll find yourself in a relatively safe starting area. Your primary goal here is to progress through the mining shafts, defeat the local inhabitants, and uncover the secrets of this industrial zone.
- Initial Path: From the Archstone, head straight. You'll encounter your first Scale Miners. These enemies are slow but hit hard and are often found in groups. Their pickaxes can inflict significant damage.
- First Elevator Shortcut: As you proceed, you'll reach a large open area with a wooden elevator platform. This is a critical shortcut! Activate it to descend. This elevator will take you down to the lower levels, and once activated, it provides a quick return route to the Archstone, making future runs much faster.
- Exploding Moths: Be wary of the flying Exploding Moths. These creatures will charge at you and detonate, dealing area-of-effect fire damage. Ranged attacks (bows, spells) are highly effective in dispatching them before they get close. If they do get close, roll away just before they explode.
- Crystal Lizards: Keep an eye out for Crystal Lizards. These elusive creatures drop valuable upgrade materials. They are skittish and will flee quickly if not killed swiftly. A strong, quick attack or a well-aimed spell/arrow is recommended.
Key Locations and NPCs
- Blacksmith Ed's Workshop: After taking the first elevator down, you'll find a path leading to a large cavern. Here, you'll discover Blacksmith Ed, a pivotal NPC. Ed is essential for advanced weapon upgrades, including unique weapon paths using Demon's Souls. He also sells basic smithing stones. Speak to him to unlock his services.
- The Dragon Long Sword +1: This powerful early-game weapon can be found in the fiery lower sections of the level. From the area near Blacksmith Ed, look for paths leading deeper into the lava-filled tunnels. It's often guarded by Scale Miners. This sword deals fire damage, making it excellent against many early enemies.
- The Crescent Falchion +1: While technically found in Shrine of Storms (4-1), it's worth mentioning here as it's a fantastic early-game magic weapon that pairs well with the magic-focused upgrades you can perform at Blacksmith Ed.
Upgrade Materials and Crystal Lizard Nests
Stonefang Tunnel is the primary source for many essential upgrade materials. Farming these materials here will significantly boost your character's power.
Common Drop Materials:
- Hardstone Shards/Chunks: Dropped by Scale Miners. Used for basic weapon upgrades.
- Sharpstone Shards/Chunks: Dropped by Scale Miners. Used for Dexterity-scaling weapon upgrades.
- Spiderstone Shards/Chunks: Dropped by the Giant Spiders and the Armor Spider boss. Used for Bow upgrades.
Crystal Lizard Nests:
There are several Crystal Lizard nests throughout 2-1. These are high-value targets for rare materials.
- First Nest: After the first elevator, in the cavern leading to Blacksmith Ed, look for a small alcove or ledge. There are usually 1-2 Lizards here.
- Second Nest: Deeper into the lava tunnels, near where the Dragon Long Sword +1 is found. Often 2-3 Lizards.
- Third Nest (Pre-Boss): Just before the fog gate leading to the Armor Spider, there's often a small side path or ledge with 1-2 Lizards.
Crystal Lizard Strategy: Approach stealthily if possible. Use a strong, quick attack or a ranged attack. If they escape, they will despawn until you reload the area (by returning to the Nexus or an Archstone). Their spawns are finite per world tendency state, so make them count!
Enemy Encounters and Strategies
- Scale Miners: These are your most common foes. They are slow but powerful. Their attacks are telegraphed, so learn to parry or dodge. They are vulnerable to magic and piercing damage.
- Large Scale Miners: Larger variants with more health and damage. Treat them like mini-bosses.
- Exploding Moths: As mentioned, ranged attacks are best. If you must fight them up close, roll away from their explosion.
- Giant Spiders: Found in the deeper sections. They can spit webs to slow you down and have powerful melee attacks. Fire is effective against them.
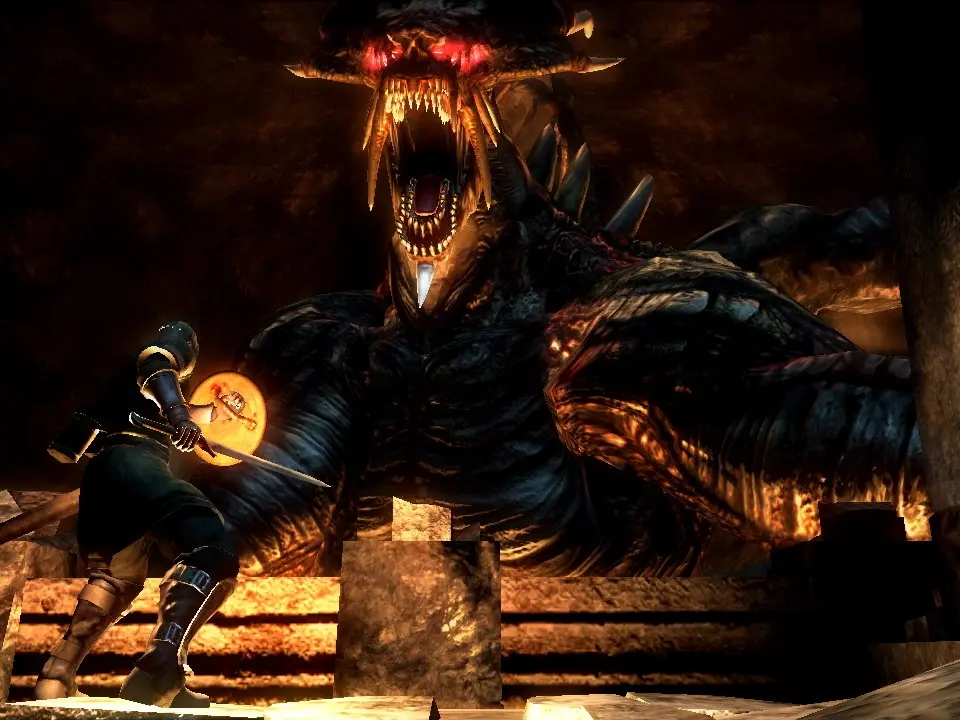
Boss: Armor Spider
The Armor Spider is the boss of Stonefang Tunnel (2-1). This encounter is primarily a ranged fight, testing your patience and ability to manage space.
Arena Layout: You'll enter a long, narrow tunnel. The Armor Spider will be at the far end, spewing fire and webs.
Strategy:
- Ranged Focus: The most effective strategy is to stay at range and use a bow, crossbow, or magic. Equip a good bow (like the Compound Long Bow found in 4-1) and plenty of arrows, or prepare your strongest spells.
- Cover is Key: Utilize the small alcoves and pillars along the tunnel for cover. The Armor Spider has several attacks:
- Fireball Volley: It will shoot multiple fireballs. These can be dodged or blocked with a high fire-resistance shield.
- Web Shot: It shoots a sticky web that slows your movement significantly. Avoid at all costs, as it leaves you vulnerable.
- Flamethrower: If you get too close, it will spray fire directly in front of it. This is extremely dangerous.
- Melee Slam: If you manage to get very close, it will slam its legs down.
- Attack Windows: The Armor Spider is vulnerable after it finishes an attack animation, particularly after its fireball volley or flamethrower. Pop out from cover, unleash a few attacks, and then retreat.
- Melee Option (Risky): For melee characters, you'll need to sprint towards the spider during its attack cooldowns, get a few hits in on its head (its weak point), and then immediately retreat to cover before its next attack. This is much riskier due to the flamethrower.
- Recommended Loadout:
- Weapons: Bows (Compound Long Bow, Long Bow), Crossbows, Magic (Soul Arrow, Flame Toss).
- Armor: Anything with high fire resistance, though mobility is more important for dodging.
- Items: Plenty of Grass (healing), Old Spice/Fresh Spice (MP restoration), Sticky White Stuff (for melee weapons, if you can get close).
- Common Pitfall: Getting caught by the web shot and then hit by fire. Always prioritize dodging the web.
Rewards: Defeating the Armor Spider yields the Armor Spider Demon's Soul, which can be consumed for souls or given to Blacksmith Ed to craft unique weapons.