
Armor & Protection
Choosing the right armor in Demon's Souls is a crucial balancing act between defense and mobility. Heavier sets offer superior protection against physical and magical damage but significantly impact your equip load, potentially leading to slower dodges and stamina regeneration. This section will guide you through understanding armor stats, finding key armor sets, and making informed decisions to bolster your survivability without sacrificing your agility.
Armor Sets and Locations
Demon's Souls features several armor sets, each with unique defensive properties and resistances. Below is a breakdown of notable sets, their key stats, and where to acquire them. Remember that some sets are found, while others are purchased or dropped by specific enemies.
Light Armor Sets
- Robe Set: Found in the Nexus. Offers minimal physical defense but good magic resistance. Ideal for casters prioritizing speed.
- Leather Set: Purchased from the Merchant in the Gates of Boletaria. A decent early-game option for light builds.
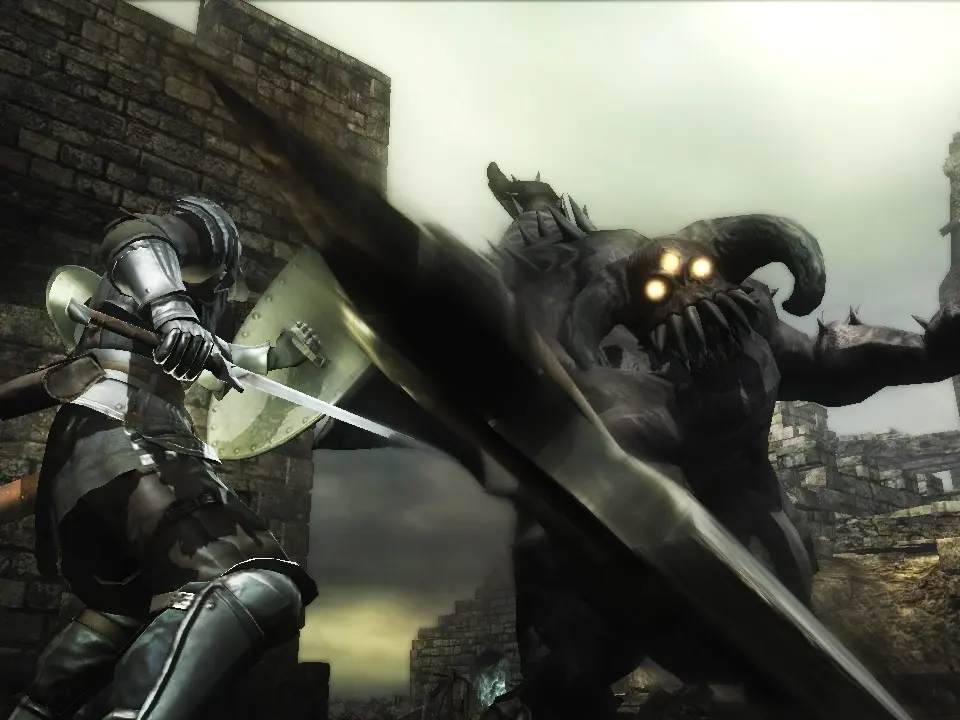
- Assassin's Robes: Dropped by the Black Phantom Assassin in the Tower of Latria. Offers a good balance of light weight and decent resistances.
Medium Armor Sets
- Chainmail Set: Purchased from the Merchant in the Gates of Boletaria. A solid all-around medium armor set for early to mid-game.
- Knight Set: Found in the Gates of Boletaria. Provides good physical defense without being excessively heavy.
- Brushwood Set: Found in the Prison of Hope, Tower of Latria. Very heavy with excellent physical defense, but significantly impacts equip load.
Heavy Armor Sets
- Plate Set: Found in the Stonefang Tunnel. Offers high physical defense but is very heavy.
- Gloom Set: Dropped by the Black Phantom Gloom in the Valley of Defilement. Excellent magic and poison resistance, but heavy.
- Northern Regalia: Acquired by defeating the Old One. This unique set offers high resistances and a powerful magic-based attack bonus, but requires a specific questline to obtain.
Unique and Special Armor
- Dragon Bone Smasher Set: While not a full set, the Dragon Bone Smasher weapon is often paired with heavy armor due to its high Strength requirement and defensive capabilities.
- Wizard's Set: Primarily for magic users, offering high magic defense and reducing spell consumption. Found in the Tower of Latria.
Understanding Armor Stats
Each piece of armor has several key stats:
- Defense (Physical, Magic, Fire, etc.): The amount of damage reduction against specific damage types. Higher is better.
- Durability: The armor's health. It degrades with use and must be repaired.
- Weight: The amount of equip load the armor piece contributes. This is critical for determining your movement speed and dodge effectiveness.
- Resistances (Poison, Bleed, etc.): Buffs against status effects.
Tips for Armor Selection
- Equip Load is King: Aim to stay below 50% equip load for a fast roll, and below 100% for a medium roll. Going over 100% results in a very slow "fat roll" that is often unviable.
- Match Armor to Your Build: Casters will prioritize magic defense and low weight. Melee builds might opt for higher physical defense.
- Consider Resistances: Certain areas or bosses inflict specific damage types or status effects. Equipping armor with high resistances can make these encounters significantly easier.
- Repair Regularly: Damaged armor offers less protection. Visit the blacksmith or use repair items to keep your gear in top condition.
- Don't Neglect Fashion Souls: While stats are important, looking good while you conquer Boletaria is a valid, if secondary, concern.