
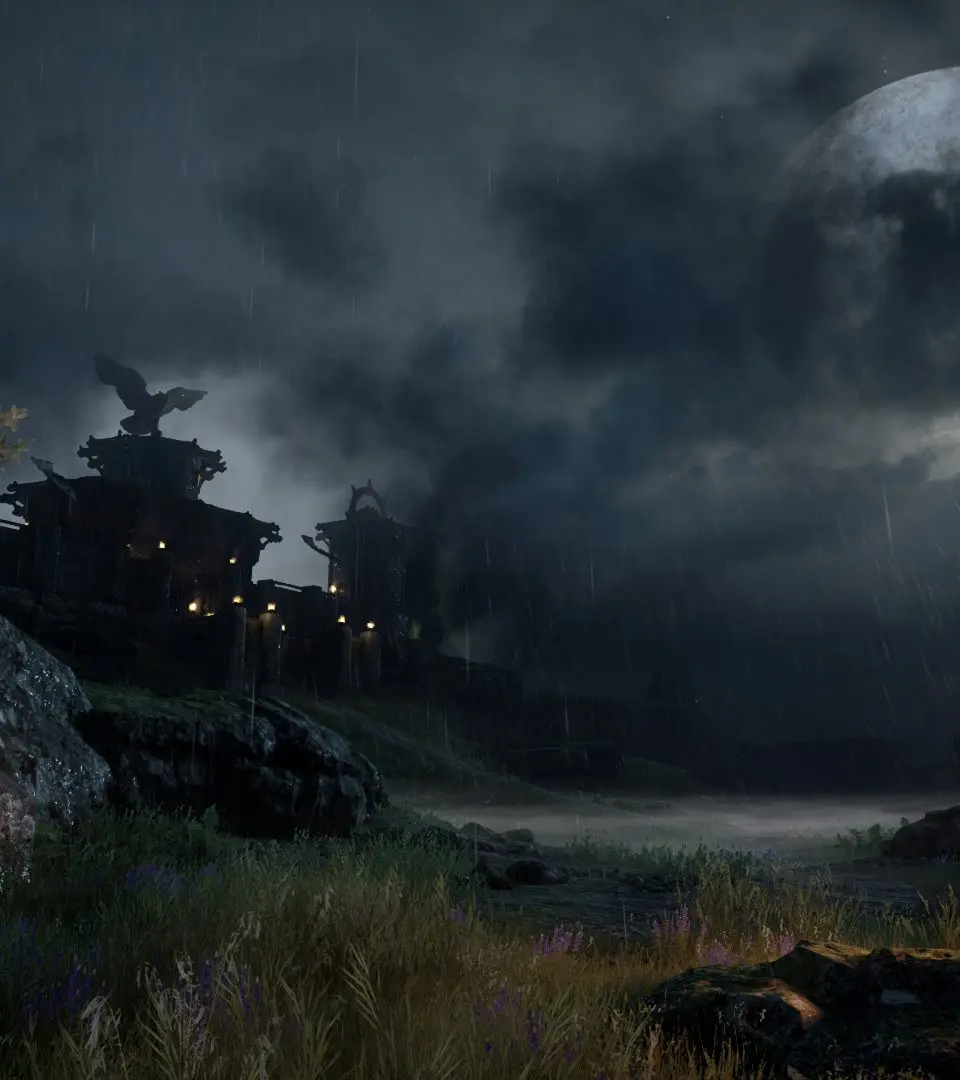
Reaching the Temple of Sacred Ashes
Following the initial chaos at the Conclave, your journey to the Temple of Sacred Ashes is a critical early-game segment that introduces core mechanics, expands on the narrative, and solidifies your understanding of the Fade and its dangers. This section is linear but offers opportunities for exploration and valuable early-game loot. Prepare for continuous combat and a significant cinematic event upon arrival.
Phase 1: The Ascent Through the Mountain Pass
After the initial cutscene and character creation, you'll find yourself in a snowy mountain pass, accompanied by Cassandra and Cullen. Your immediate objective is to follow the path upwards towards the Temple of Sacred Ashes.
- Initial Encounter: Almost immediately, you'll face your first group of Shades and a Despair Demon emerging from a Minor Fade Rift. This is your tutorial combat encounter. Focus fire on the Despair Demon first, as it can freeze party members.
- Solas's Introduction: Shortly after this first fight, you'll encounter Solas, an apostate mage, who will join your party. He provides crucial insight into the Fade and the nature of the rifts. His Spirit magic is invaluable for barrier generation and crowd control.
- Environmental Hazard - Ice Bridges: As you ascend, you'll cross several precarious ice bridges. Be mindful of your party's positioning, as some areas can be narrow. There are no direct environmental hazards to fall, but it adds to the atmosphere.
- Second Combat Encounter: You'll soon face another group of Shades and a Rage Demon. The Rage Demon is a melee threat; keep it controlled with Solas's abilities or Cassandra's taunts.
Phase 2: The Path to the Temple Gates
The path will continue to wind upwards, offering occasional detours for resources and lore.
- Lore and Resources: Keep an eye out for glowing resource veins (often Iron or Elfroot) along the main path and in small alcoves. There are also several Codex entries scattered around, providing background on the Conclave and the Fade.
- Third Combat Encounter: Expect a larger skirmish involving multiple Shades and two Despair Demons. Prioritize the Despair Demons to prevent your party from being frozen. Utilize Cassandra's Challenge to draw aggro and Solas's Barrier to mitigate damage.
- Optional Detour - Supply Cache: Just before reaching the main temple gates, there's a small, easily missed path off to the left (if facing the temple). This leads to a small supply cache containing a few Health Potions and some minor crafting materials. It's a worthwhile detour for early-game resources.
Phase 3: The Temple Courtyard and the Breach
Upon reaching the temple gates, you'll enter a more open courtyard area, leading directly to the massive Breach.
- Fourth Combat Encounter - Courtyard Brawl: This is one of the more challenging fights in this early section. You'll face a mix of Shades, Despair Demons, and a powerful Pride Demon.
- Strategy for Pride Demon: The Pride Demon is a mini-boss. It has a powerful melee attack and can summon lightning. Focus all your party's damage on it. Use Cassandra's Shield Bash to interrupt its abilities and Solas's Fade Step to reposition or escape its attacks. Keep your healer (if you have one, or rely on potions) ready.
- Rift Closure: After defeating the Pride Demon, you'll be prompted to close the Fade Rift. This introduces the mechanic of using your Mark to seal rifts, which is crucial throughout the game.
- The Breach: After closing the rift, proceed directly towards the massive tear in the sky – the Breach. This triggers a significant cinematic sequence that sets the stage for the rest of the game.
Recommended Party Composition & Strategy
For this initial segment, your party is largely predetermined, but understanding their roles is key:
- You (The Inquisitor): Your class will dictate your primary role.
- Warrior: Tank or damage dealer. Focus on drawing aggro or dishing out damage.
- Rogue: Damage dealer. Focus on flanking enemies for bonus damage.
- Mage: Damage dealer or support. Utilize elemental weaknesses or provide barriers.
- Cassandra (Warrior - Sword & Shield): Your primary tank. Use Challenge to draw enemy attention and Shield Bash for interrupts. Keep her in the thick of the fight.
- Solas (Mage - Spirit): Your primary support and crowd control. His Barrier is essential for mitigating damage, and Fade Step allows for quick repositioning. Use his offensive spells on vulnerable enemies.
- Cullen (NPC): Cullen is an NPC and will not be directly controllable in combat during this segment. He provides narrative context.
Notable Loot & Detours
While this area is mostly linear, there are a few points of interest:
- Supply Caches: Look for small wooden crates or sacks. They often contain Health Potions, minor gold, and sometimes common crafting materials like Elfroot or Iron.
- Codex Entries: Interact with glowing scrolls or books to unlock new lore entries. These are invaluable for understanding the world of Thedas.
- Optional Detour (Before Temple Gates): As mentioned above, a small path to the left just before the main temple gates leads to a hidden supply cache. This is the most significant optional detour in this section.
Common Pitfalls & Tips
- Resource Management: Early on, health potions are limited. Use Solas's Barrier liberally to reduce incoming damage and conserve potions.
- Focus Fire: Prioritize dangerous enemies like Despair Demons (for their freezing) and Rage Demons (for their high damage). For the Pride Demon, focus all damage on it.
- Environmental Awareness: While there are no direct environmental traps, the narrow paths can sometimes bottleneck your party. Position your ranged characters carefully.
- Save Frequently: Though the game auto-saves, making manual saves before major encounters is always a good practice.
Enemy Types Encountered
| Enemy Type | Description | Threat Level | Weaknesses/Resistances |
|---|---|---|---|
| Shade | Basic melee Fade creature. Fast but low health. | Low | Weak to Spirit, Resistant to Cold |
| Despair Demon | Ranged caster that uses Cold magic, including freezing attacks. | Medium | Weak to Fire, Resistant to Cold |
| Rage Demon | Aggressive melee demon with fire-based attacks. | Medium | Weak to Cold, Resistant to Fire |
| Pride Demon | Large, powerful demon acting as a mini-boss. Uses melee and lightning attacks. | High | Weak to Spirit, Resistant to Electricity |
Key Abilities & Items Referenced
- Challenge (Cassandra Ability): Taunts enemies, forcing them to attack Cassandra. Essential for tanking.
- Shield Bash (Cassandra Ability): Deals damage and can interrupt enemy abilities.
- Barrier (Solas Ability): Creates a temporary magical shield on allies, absorbing damage. Crucial for survival.
- Fade Step (Solas Ability): Allows Solas to quickly teleport a short distance, useful for repositioning or escaping danger.
- Health Potions: Restores a portion of health. Limited supply, use wisely.
- Elfroot: Common crafting material, used in various recipes.
- Iron: Common crafting material, used for weapon and armor upgrades.
- Resource Veins: Interactive nodes in the environment that provide crafting materials.
- Codex Entries: Lore snippets found throughout the world, providing background information.