
The Roamer Camp & The Shrine of the Roamers
Upon successfully restoring the next landmass, your journey will lead you to the vibrant, yet often misunderstood, Roamer Camp. This section will guide you through your interactions with the Roamers, the perilous journey into the Shrine of the Roamers, and the eventual recruitment of a crucial party member.
The Roamer Camp: A Haven for the Outcasts
As you arrive at the Roamer Camp, take the time to speak with the various Roamer NPCs. Their dialogue paints a poignant picture of their nomadic lifestyle and the pervasive prejudice they endure from the surrounding communities. Pay particular attention to the elder Roamers, as they will divulge crucial information about the ancient 'Shrine of the Roamers' – a sacred site now corrupted by a formidable monster. Your primary objective here is to offer assistance and investigate the shrine to liberate it from its malevolent inhabitant.
Key Interactions:
- Elder Roamer: Provides the backstory of the shrine and the monster's presence.
- Various Roamers: Offer insights into their culture and the challenges they face.
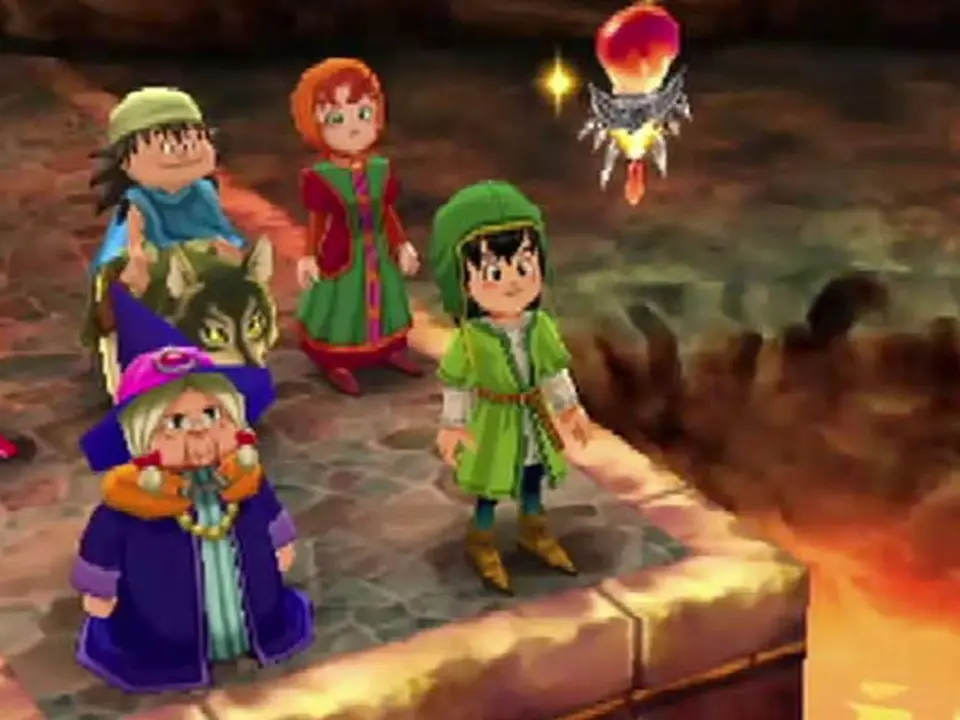
- Ruff (Initial Encounter): You'll spot a spirited young boy named Ruff within the camp. While he won't join you immediately, this is your first introduction to a character who will soon become an invaluable asset to your party.
Before venturing into the shrine, ensure your party is adequately prepared. The enemies within are significantly stronger than those you've recently faced.
Recommended Party Level: Levels 18-22
The Shrine of the Roamers: Puzzles, Peril, and a New Ally
The Shrine of the Roamers is a multi-level dungeon teeming with challenging enemies and intricate environmental puzzles. Your goal is to navigate its depths, overcome its guardians, and ultimately confront the monster at its heart.
Enemies Encountered:
Expect to face several foes that demand strategic combat. Prioritize healing and status ailment removal.
- Flying Fowl: Agile and can inflict Dazzle. Focus them down quickly.
- Muddy Hand: Can call for reinforcements and occasionally cast Sleep. Target them to prevent overwhelming numbers.
- Stone Golem: High defense and strong physical attacks. Use abilities that bypass defense or exploit elemental weaknesses if available (e.g., Sap/Decelerate).
- Spiked Hare: Fast and can deal critical hits.
- Healslime: While not a direct threat, they can heal other monsters, prolonging battles. Eliminate them first.
Shrine Walkthrough & Puzzle Solutions:
The shrine is characterized by its clever use of pressure plates and movable statues. Careful observation and methodical movement are key to progression.
Level 1: The Entrance Hall
- Upon entering, proceed straight. You'll encounter your first set of enemies.
- To your right, there's a small alcove with a chest.
- Continue north. You'll see a path leading down to Level 2.
Level 2: The Statue & Pressure Plate Chamber
This level introduces the core puzzle mechanic.
- You'll find a large, unmoving statue and several pressure plates on the floor.
- Puzzle 1: Activating the First Door
- Notice the four pressure plates arranged in a square. One of them is already depressed.
- You need to step on the remaining three plates to activate the door. The order doesn't matter for this initial set.
- Once all four are depressed, a door to the east will open.
- Proceed through the newly opened door. You'll find another chest.
- Return to the main chamber and head west. You'll find a movable statue.
- Puzzle 2: The Movable Statue
- Push the movable statue onto the single, isolated pressure plate in the western section of the room.
- This will open another door, leading further into the shrine.
- Descend to Level 3.
Level 3: The Shifting Platforms
This level requires precise movement and understanding of the pressure plate mechanics.
- You'll see a series of platforms that rise and fall based on pressure plates.
- Puzzle 3: Navigating the Platforms
- Step on the first pressure plate to raise a platform. Quickly move onto it.
- Look for another pressure plate on the platform you're on. Step on it to raise the next platform in sequence.
- Continue this pattern, moving from platform to platform, ensuring you don't fall off. If you do, you'll land on Level 2 and have to restart this section.
- The final platform will lead you to a corridor.
- Follow the corridor. You'll find a healing spring – a welcome sight! Use it to fully restore HP and MP.
- Just past the healing spring, you'll find a staircase leading to Level 4.
Level 4: The Guardian's Lair & Ruff's Recruitment
This is where you'll confront the monster plaguing the shrine and finally recruit Ruff.
- As you enter, you'll see a large, imposing monster guarding a central altar. This is the Boss: Gracos V.
- Boss Battle Strategy: Gracos V
- Weaknesses: Gracos V is susceptible to abilities that lower defense (e.g., Sap) and can be slowed down (e.g., Decelerate). Fire-based attacks are also moderately effective.
- Attacks: Gracos V uses powerful physical attacks, can cast Kafrizzle (strong fire magic), and occasionally uses Meditate to restore its own HP.
- Recommended Party Setup:
- Hero: Focus on physical attacks, use healing spells as needed.
- Maribel: Primarily for offensive spells (e.g., Sizz, Sizzle) and support spells (e.g., Sap, Decelerate).
- Gabo/Kiefer (if applicable): Physical damage dealers.
- Tactics:
- Start by casting Sap on Gracos V to lower its defense.
- Keep your party's HP above 50% at all times, as Kafrizzle can be devastating.
- If Gracos V uses Meditate, try to out-damage its healing with your strongest attacks.
- Maintain Decelerate to reduce its turns.
- After defeating Gracos V, the monster will dissipate, and the shrine will be cleansed.
- Ruff, who has been observing your battle, will now approach you. Impressed by your strength and courage, he will offer to join your party permanently. Accept his offer!
- Ruff's Abilities: Ruff is a unique character with high agility and powerful beastly attacks. He also learns several useful support and offensive skills naturally. His unique 'Howl' ability can sometimes stun enemies, and his 'Claw' attacks are potent.
Treasures of the Shrine:
Be diligent in your exploration to uncover all the valuable items hidden within the Shrine of the Roamers.
| Item | Location | Description/Use |
|---|---|---|
| Mini Medal | Level 1, Alcove to the right of the entrance. | Collect these for valuable rewards later in the game. |
| Leather Shield | Level 2, Behind the first pressure plate door. | Basic shield, provides a small defense boost. |
| Seed of Strength | Level 3, Hidden in a pot near the healing spring. | Permanently increases one character's Strength by a small amount. |
| Antidotal Herb x2 | Various pots and barrels throughout the shrine. | Cures poison. Always useful to have on hand. |
| Medicinal Herb x3 | Various pots and barrels throughout the shrine. | Restores a small amount of HP. |
| 50 Gold Coins | Level 2, In a chest near the movable statue. | Standard currency. |
With Gracos V defeated and Ruff now a part of your team, you have not only aided the Roamers but also gained a powerful new ally. Return to the Roamer Camp to inform them of your success and witness their gratitude. This concludes your adventure in the Roamer Camp and the Shrine of the Roamers.