
Full Walkthrough: Ancient Ruins of Rauh
The Ancient Ruins of Rauh present a sprawling, multi-layered challenge, accessible after navigating the treacherous Shadow Keep. This guide will meticulously detail your path through its crumbling structures, hidden passages, and formidable foes, ensuring you uncover every secret and claim every valuable item.
Accessing the Ruins and Southern Section
Your journey into the Ancient Ruins of Rauh begins by crossing the bridge from Shadow Keep. As you step onto the ancient stones, immediately activate the Ancient Ruins of Rauh (South) Site of Grace to establish your foothold.
- Initial Exploration: From the Site of Grace, head south. You'll encounter several Rauh Warriors patrolling the initial pathways. These foes are agile and often wield dual blades; consider using parries or guard counters to create openings.
- First Item Cache: Look for a collapsed section of wall to your right (west). Behind it, you'll find a corpse holding 3x Golden Runes [10].
- Path to the Lower Levels: Continue along the main path. You'll soon reach a crumbling staircase leading downwards. Be wary of a Rauh Archer positioned on an elevated platform to your left, providing covering fire for ground units.
- Hidden Alcove: Before descending fully, check the alcove directly beneath the archer's platform for a Miquella's Lily.
Eastern Section: The Sunken Courtyard
Descending the staircase leads you into the Eastern Section, characterized by a partially flooded courtyard and more aggressive Rauh Warriors.
- Navigating the Water: The water here can slow your movement. Prioritize eliminating the Rauh Warriors who will attempt to ambush you from the submerged ruins. Some may wield spears, offering greater reach.
- Scadutree Fragment: In the center of the sunken courtyard, amidst a cluster of broken pillars, you'll find a Scadutree Fragment. This is a crucial item for increasing your Scadutree Blessing.
- Path to Elevated Platform: Look for a series of broken arches and ledges on the eastern wall. Carefully platform your way up to an elevated section. Here, you'll find a Rauh Sorcerer casting ranged spells. Dispatch them quickly.
- Treasure Chest: On this elevated platform, there's a small, intact building. Inside, a chest contains the Rauh's Blade Talisman, which boosts attack power when HP is full.
Western Section Part 1: The Crumbling Watchtowers
From the Eastern Section, head west, navigating through more ruined structures. This area features several watchtowers and more challenging enemy placements.
- Ambush Point: As you enter this section, be prepared for an ambush by 2x Rauh Knights emerging from behind a large rubble pile. These knights are tougher than standard warriors and often use shield charges.
- Watchtower Ascent: To your left, you'll see a large, partially intact watchtower. Find the ladder on its southern face and ascend. At the top, defeat the Rauh Archer Captain who guards a chest containing 5x Great Ghost Glovewort.
- Jumping Puzzle to Item: From the top of the watchtower, look north. You'll spot a distant, crumbling platform with an item glow. A well-timed jump (potentially requiring a running jump) will get you to 2x Somber Ancient Dragon Smithing Stone. Be careful not to miss, as the fall is lethal.
The Grand Stairway Section
Proceeding further west from the watchtowers will lead you to the imposing Grand Stairway, a central artery of the ruins.
- Grand Stairway Site of Grace: At the base of the stairway, activate the Ancient Ruins of Rauh (Grand Stairway) Site of Grace. This is a vital checkpoint before the upcoming challenges.
- Ascending the Stairs: The stairway itself is guarded by numerous Rauh Warriors and Rauh Sorcerers. Take your time, pulling enemies individually if possible. Watch out for rolling debris traps triggered by pressure plates on the stairs.
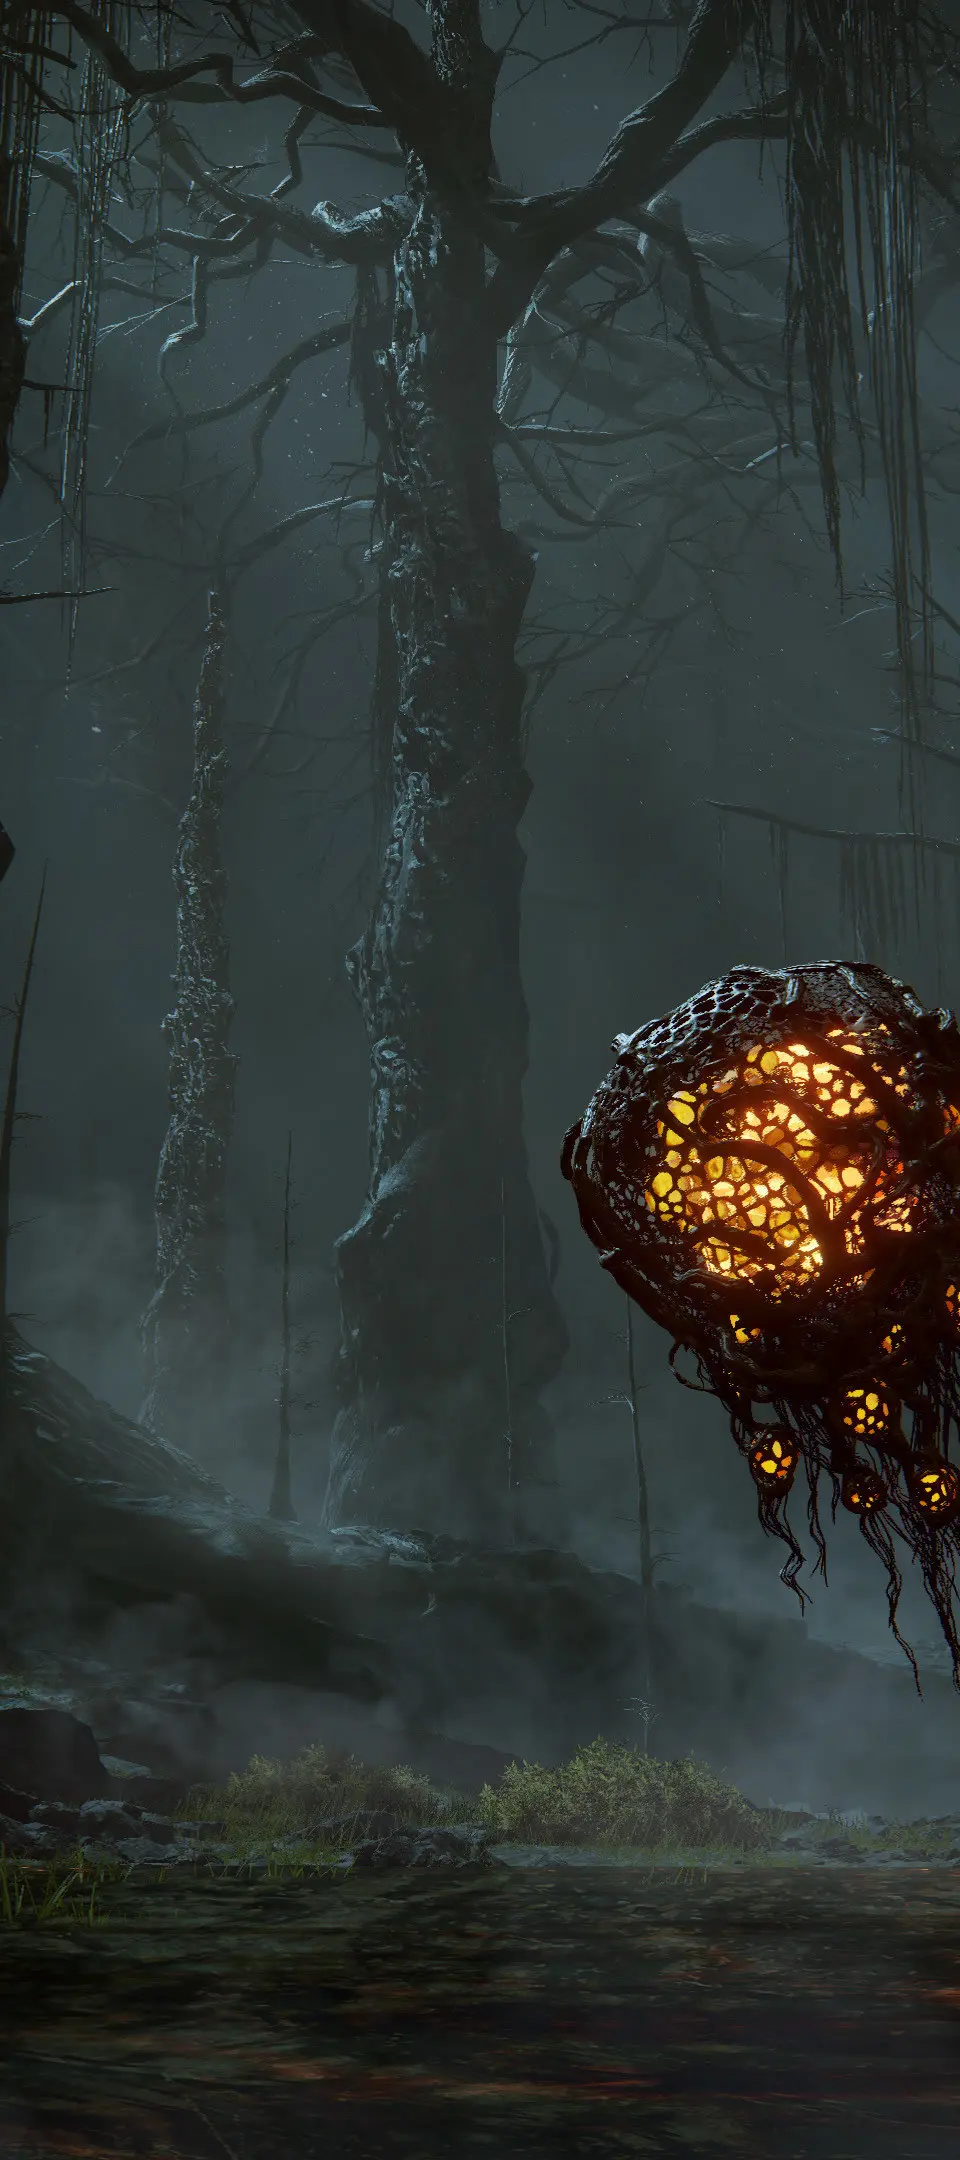
- Mid-Stairway Detour: Approximately halfway up, look for a broken section of railing on the left. Drop down to a ledge below to find a hidden cave entrance. Inside, you'll face a Lesser Putrid Avatar. Defeating it rewards you with the Putrid Scythe and 5x Rotten Grave Glovewort.
- Top of the Stairs: At the summit, you'll encounter a Rauh Commander, a larger, more heavily armored variant of the Rauh Knight. This enemy hits hard but is susceptible to parries. Defeating them yields Rauh Commander's Axe.
Western Section Part 2: The Church District Approach
Beyond the Grand Stairway, the ruins become more densely packed, hinting at a former religious center.
- Patrol Route: This area features a complex patrol route of Rauh Knights and Rauh Sorcerers. Consider using stealth or ranged attacks to thin their numbers before engaging in melee.
- Hidden Passage: On the northern side of this section, near a large, partially collapsed archway, look for a subtle crack in the wall. Attacking it will reveal a hidden passage leading to a small chamber containing the Spirit Ashes of the Rauh Sentinel.
- Elevated Walkway: A series of wooden walkways connect various crumbling buildings. Navigate these carefully, as some sections may collapse underfoot. You'll find 3x Starlight Shards on one of these precarious paths.
Boss Encounter: Romina in the Church of the Bud
At the westernmost point of the Ancient Ruins of Rauh lies the Church of the Bud, where you will face a formidable foe.
- Preparation: Before entering the church, ensure you are fully healed, have replenished your Flasks, and have any desired buffs active. The Ancient Ruins of Rauh (Church Entrance) Site of Grace is just outside.
- Boss: Romina, the Budding Blade: Romina is a swift and aggressive opponent, wielding twin blades that inflict heavy bleed buildup.
- Phase 1: Romina primarily uses quick, multi-hit combos and a lunging thrust. Her attacks are often followed by a brief recovery period, which is your window to counter. Watch for her spinning attack, which can be dodged by rolling into her.
- Phase 2 (approx. 50% HP): Romina's blades will begin to glow with a pale light, and she gains new abilities. She will frequently use a flurry of ranged blade projectiles and a devastating aerial dive attack. The dive attack has a clear wind-up; dodge to the side as she descends.
- Strategy: Focus on dodging her combos and punishing her recovery frames. Weapons with good poise damage can help stagger her. Consider using talismans that boost physical defense or reduce bleed accumulation. Summons can be effective for drawing aggro and creating openings.
- Rewards: Upon defeating Romina, you will receive Romina's Twinblades and a Great Rune Fragment, a key item for progressing the Shadow of the Erdtree story.
With Romina defeated, the Ancient Ruins of Rauh are fully explored, and your path forward into the deeper mysteries of the Shadow Realm is clear.