
Full Walkthrough: Cerulean Coast/Southern Shore
The Cerulean Coast, also known as the Southern Shore, is a captivating and often treacherous region within the Shadow of the Erdtree expansion. This area is characterized by its dramatic cliffs, hidden caves, and the ever-present sound of crashing waves. Prepare for encounters with unique enemies and the discovery of valuable items as you navigate its winding paths. This guide will detail the key locations, challenges, and rewards within this coastal expanse.
Exploring Cerulean Coast
Your journey into the Cerulean Coast will likely begin after progressing through other areas of the Shadow Realm. As you enter, keep an eye out for the Cerulean Coast Site of Grace, which will be your primary fast-travel point for this region. The coast itself is a sprawling area with many nooks and crannies to explore, often featuring treacherous drops and hidden alcoves.
- Initial Exploration: From the first Site of Grace, head south along the coastline. You'll encounter various aquatic and coastal creatures. These include the aggressive Coastal Ogre, which wields a large club and can perform devastating slams and sweeps, and smaller, swarming Brine Crabs. These crabs are fast, can pinch with their claws, and often attack in groups, making them a nuisance.
- Hidden Paths: Look for narrow ledges and small caves tucked into the cliff faces. These often contain crafting materials like Miquella's Lily, valuable Runes, or even hidden enemies. One such path might lead to a hidden chest containing a Smithing-Stone [3].
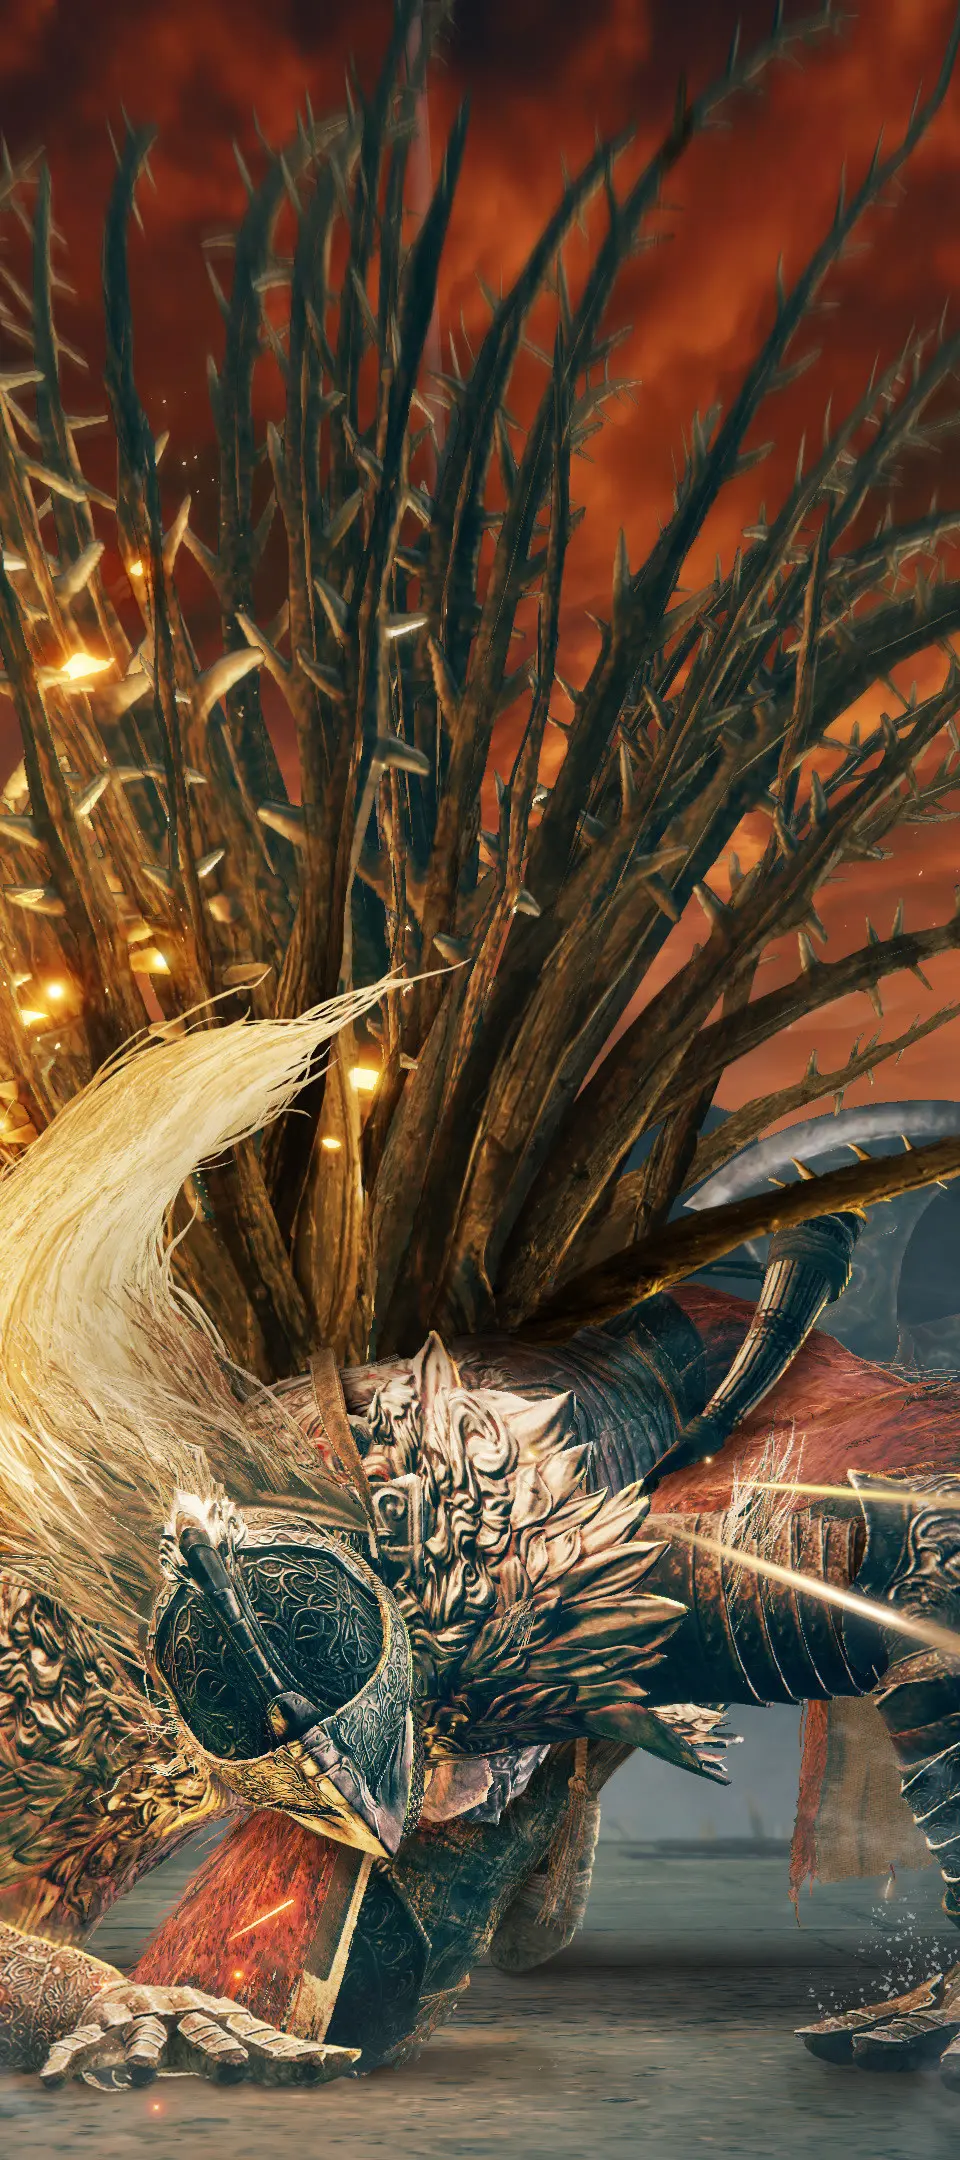
- Gargoyle-like Creatures: Perched on cliffs and rock formations are the Stone Gargoyles. These formidable foes are often encountered in groups or as solitary guardians. They possess a stone-like hide, making them resistant to physical damage, and attack with powerful claw swipes, tail whips, and a devastating breath attack that can inflict Frostbite. They are notorious for dropping down unexpectedly onto unsuspecting Tarnished. It's advisable to engage them from a distance if possible or to be extremely vigilant with your dodges.
- Watch for Ambushes: Several areas along the coast feature enemies that will ambush you from above or from behind rock formations. Always be aware of your surroundings.
Exploring Stone Coffin Fissure
A significant landmark on the Cerulean Coast is the Stone Coffin Fissure, a deep gash in the landscape that leads to subterranean areas. This fissure is crucial for progression and holds several secrets, including a notable mini-boss.
- Finding the Entrance: The entrance to the Stone Coffin Fissure is typically found by following the main path along the coast until you see a noticeable break in the terrain, often marked by a cluster of large, weathered stones and a distinct drop into the earth.
- Fissure Cross - Site of Grace: Upon entering the fissure, you'll quickly discover the Fissure Cross Site of Grace. Activate this immediately, as the fissure can be a challenging area with limited safe zones.
- Navigating the Fissure: The fissure is a linear but multi-layered dungeon. Expect platforming sections across precarious ledges and encounters with unique subterranean enemies. These include the Stone Coffin Warrior, a heavily armored foe that wields a large hammer and can perform powerful, ground-shattering attacks, and the agile Grave Warden Hound, a spectral canine that can phase through attacks and deliver rapid bites.
- Encountering the Spirit Form of Misbegotten Crusader: Deep within the Stone Coffin Fissure, you will be confronted by the Spirit Form of Misbegotten Crusader. This is a mini-boss encounter that requires careful dodging and well-timed attacks.
- Location: The Spirit Form of Misbegotten Crusader is found in a large, open chamber at the deepest point of the Stone Coffin Fissure, typically after a series of challenging platforming and combat encounters.
- Attack Patterns: This boss is a fast and aggressive foe, wielding a massive greataxe. Its attacks are heavily telegraphed but hit extremely hard. Expect wide, sweeping horizontal attacks, powerful overhead slams that can create shockwaves, and a charging attack that covers significant ground. It also has a grab attack that can deal massive damage.
- Strategy: Focus on dodging its sweeping attacks and overhead slams by rolling *into* its attacks. Look for openings to strike after its combos, particularly after its overhead slams. Its weakness lies in its susceptibility to stance breaks; repeated heavy attacks or critical hits can stagger it, providing a window for a critical hit. Using a Spirit Ash like the Black Knife Tiche, which is agile and can apply a damage-over-time effect, or a tanky summon like the Lhutel the Headless, can draw aggro and provide crucial breathing room. Ranged attackers should maintain distance and exploit openings.
- Rewards: Defeating the Spirit Form of Misbegotten Crusader yields a significant amount of Runes and the valuable Misbegotten Crusader's Greataxe. This greataxe boasts high physical attack power and a unique weapon skill, "Crusader's Charge," which allows for a powerful, forward-lunging attack.
- Contents of the Stone Coffin Fissure: Beyond the mini-boss, the Stone Coffin Fissure is rich with exploration rewards. You can find numerous Smithing-Stone [3] and Smithing-Stone [4] scattered throughout its various ledges and hidden alcoves. Additionally, keep an eye out for Miquella's Lily and Ghostflame Butterfly, essential crafting components. A particularly well-hidden chest near the end of the fissure, often behind a breakable wall or accessible via a tricky jump, contains the Grave Warden's Greaves, a piece of heavy armor offering excellent physical and poise defense. Be wary of the numerous Stone Coffin Warriors and Grave Warden Hounds that patrol the area, as well as the occasional ambush from Stone Gargoyles that may have found their way into the deeper sections.
Belurat Gaol and the Spirit Ash of the Wandering Noble
Continuing your exploration within the Stone Coffin Fissure or a connected cave system, you will eventually find your way to the area surrounding Belurat Gaol. This is a key location for obtaining a useful Spirit Ash.
- Locating Belurat Gaol: Belurat Gaol is often found in a more secluded part of the fissure, perhaps after a challenging enemy encounter or a tricky platforming section. It's a distinct, imposing structure that stands out from the natural cave formations, often appearing as a ruined prison or fortress.
- Inside Belurat Gaol: The gaol itself might be guarded by spectral enemies or other hostile spirits, such as Spectral Soldiers or Wraiths. The primary objective within is to find a specific item, often located in a chest or dropped by a particular enemy.
- Spirit Ash Reward: Within Belurat Gaol, you will find the Spirit Ash of the Wandering Noble. This summon is particularly useful in the early to mid-game, as it can distract enemies with its relatively high health and aggressive melee attacks, allowing you to heal or reposition. It summons a group of spectral nobles who will charge into combat.
Southern Nameless Mausoleum
After navigating the Stone Coffin Fissure and potentially defeating the Misbegotten Crusader, you'll emerge into another section of the Cerulean Coast, or a connected cave system, where the Southern Nameless Mausoleum is located. This mausoleum is a point of interest for lore enthusiasts and often contains valuable items, including a key upgrade material.
- Locating the Mausoleum: The mausoleum is usually situated in a more secluded part of the coast, perhaps on a raised plateau overlooking the sea or at the end of a hidden, winding path accessible from the fissure or a coastal cave.
- Inside the Mausoleum: Expect to find spectral enemies or other guardians within, such as Grave Wardens, which are slow but heavily armored knights that wield large axes and can perform powerful, sweeping attacks. The primary objective here is often to collect a specific item or activate a mechanism that reveals a hidden passage or treasure.
- Loot: The Southern Nameless Mausoleum is known to contain a Scadutree Fragment, which is vital for increasing your Shadow Realm Blessing, and potentially other rare crafting materials or a unique consumable item like a Golden Rune [7].
Path to Dragon's Pit (Alternative Entry)
While the primary entry to the Cerulean Coast is often from the Gravesite Plain, it's also possible to access a different section of the Southern Shore, specifically the path leading to the Dragon's Pit, from another direction. This alternative entry point is typically found after progressing through other areas of the Shadow Realm, such as the eastern side of the map, and offers a more direct, albeit dangerous, route.
- The Entrance from Dragon's Pit: If you've approached from the "other side of Southern Shore," you'll find yourself at the mouth of a perilous area, often marked by the skeletal remains of a colossal beast and a distinct, oppressive atmosphere.
- Into the Dragon Area: This section is aptly named due to the presence of formidable dragon-type enemies. Be prepared for aerial assaults from Dragonkin Soldiers, which wield spears and can unleash devastating ice breath attacks, and potentially other draconic foes. The terrain here is often open and exposed, making cover scarce. Consider using ranged attacks, swift melee strikes, and fire-resistant armor or consumables to deal with these foes.
- Charo's Hidden Grave: Navigating through the Dragon Area will eventually lead you to Charo's Hidden Grave. This is another significant landmark, likely containing lore, unique items, or even a boss encounter. It is often found in a sheltered alcove or a small clearing amidst the dragon-infested territory, providing a brief respite from the overwhelming danger.