
Floor 3: Black Powder Mine
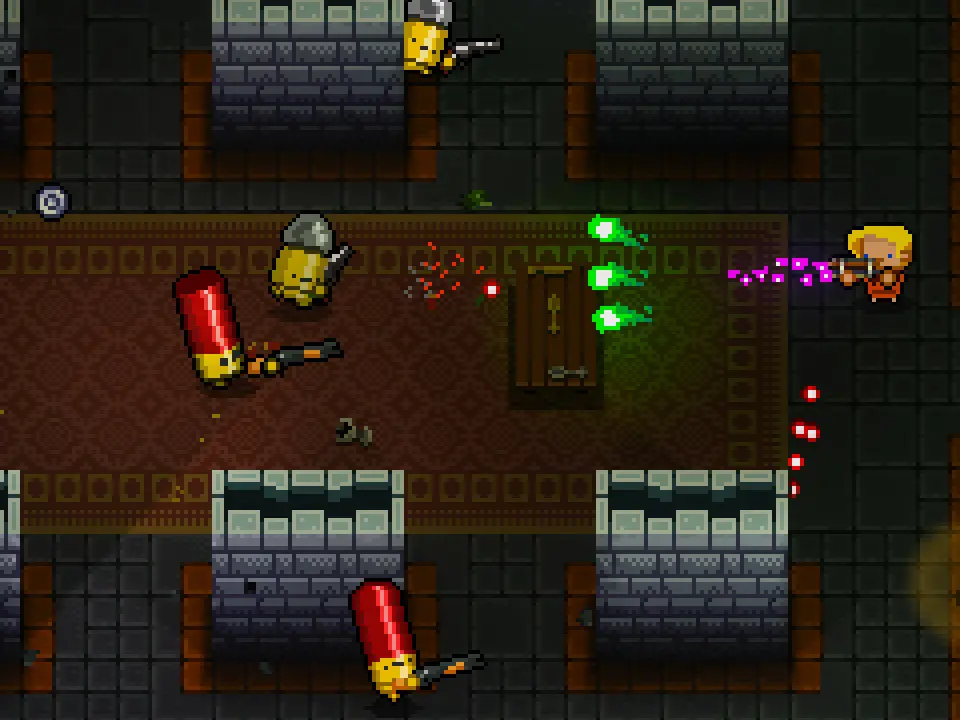
The Black Powder Mine serves as a significant difficulty spike in Enter the Gungeon, characterized by tight corridors and high-risk environmental hazards. Beyond standard explosive barrels, players must navigate Turret Rooms containing fixed Gunvun positions and Rolling Boulder Traps that trigger when players cross specific floor tiles. Be on the lookout for Hidden Rooms, which frequently spawn behind cracked walls in chest rooms or the elevator exit; use a blank or an explosive weapon to reveal them. A unique interactable here is the Minecart system: while riding a cart, you gain a slight speed boost and can crush smaller enemies like Bullet Kin, but be wary of the Shroomer’s projectiles which can knock you into pits. Pay close attention to dark rooms where only a small circle of light surrounds the player; prioritize killing the "Glow-in-the-dark" enemies first to restore vision.
The most notorious boss of this floor is the Mine Flayer. To survive this encounter, stay toward the bottom of the arena to maximize the time you have to react to his bouncing bell projectiles. When he disappears and leaves Claymore Mines across the floor, do not panic; weave through them carefully or use a high-fire-rate weapon to clear a path. His most dangerous phase involves turning into a bell and ringing out expanding rings of bullets—stay far back and dodge-roll toward the center of the rings. Other potential bosses include the Cannonbalrog, where you should hug the walls during his darkness phase, and the Treadnaught, which requires constant movement to avoid being cornered by its summoned tank-kin and explosive shells.
Mastering this floor requires managing high-priority targets like the Fuse-Kin, who will sprint toward you to detonate, and Lead Maiden, whose projectiles retract back toward the source. Always check the shop for the Gnawed Key if you plan to access the optional Resourceful Rat’s Lair, as it consistently spawns on this floor for 115 shells (though the price reduces with subsequent runs). This floor demands superior positioning and environmental awareness to conserve health for the grueling Trek through the Hollow and the Forge.