
Navigating the Pulse Vestige (Chapter 3)
Welcome, L'Cie, to the treacherous depths of the Pulse Vestige! This section of Chapter 3 marks a significant turning point, introducing you to crucial combat mechanics and challenging enemies. While the game previously offered glimpses of Cocoon's fal'Cie technology, the Pulse Vestige plunges you into a derelict structure of ancient Pulse origin, teeming with mechanical foes and offering valuable resources. Mastering Paradigm Shifts here is not optional; it's essential for survival.
Initial Exploration and Paradigm Shift Introduction
Upon entering the Pulse Vestige, the game provides a comprehensive tutorial on the Paradigm Shift system. This dynamic combat mechanic allows you to instantly switch between pre-defined roles for your party members, adapting to the flow of battle. Take this opportunity to familiarize yourself with its nuances. We recommend setting up at least three core Paradigms immediately:
- Aggression (COM/RAV): Focuses on Staggering enemies quickly. Ideal for initiating combat and building the Chain Gauge.
- Defense/Healing (COM/MED): Prioritizes survivability. Switch to this when HP is low or status effects need to be cured.
- Balanced (COM/RAV/MED or RAV/RAV/MED): Offers a mix of offense and support, useful for sustained damage while maintaining health.
The initial corridors are linear, serving as a training ground for these new mechanics. You'll encounter your first Pulsework Gladiators here. These mechanical foes can be surprisingly resilient if you don't utilize Paradigm Shifts effectively. Remember to:
- Start with an offensive Paradigm (e.g., COM/RAV) to build the Chain Gauge.
- Once an enemy is Staggered, unleash your most powerful attacks.
- If your party's HP drops significantly, immediately switch to a defensive/healing Paradigm (e.g., COM/MED) to recover.
- Don't be afraid to experiment with different role combinations to find what works best against specific enemy types.
Key Encounters and Collectibles
As you delve deeper, keep an eye out for Treasure Spheres. These contain vital components for upgrading your weapons and accessories later in the game. Missing them now means more grinding later!
Notable Enemies in the Vestige:
- Pulsework Gladiator: Mechanical, weak to Lightning. Can inflict Slow. Focus on Staggering them quickly.
- Orion: Flying mechanical unit, weak to Wind. Can be annoying with ranged attacks. Use Ravagers to bring them down.
- Vespid Soldier: Organic, weak to Fire. Often appear in groups. Area-of-effect attacks are useful.
Step-by-Step Walkthrough:
- Entrance Chamber: After the Paradigm Shift tutorial, proceed forward. You'll encounter a few Pulsework Gladiators. Practice your shifts.
- First Junction: The path splits briefly. One route often leads to a Treasure Sphere, while the other continues the main path. Always explore dead ends for loot.
- Elevated Walkways: You'll navigate a series of elevated platforms and ramps. Expect more encounters with Gladiators and Orions. This is a good place to practice targeting flying enemies.
- Large Circular Chamber: This area often features multiple enemy groups. Consider using a Sentinel if you find yourself overwhelmed, especially against multiple Gladiators.
- Path to the Boss Arena: The Vestige's winding corridors will eventually lead you to a distinct, open arena. This is where you'll face the chapter's boss. Ensure your party is fully healed and your Eidolon gauge is charged if you plan to use it.
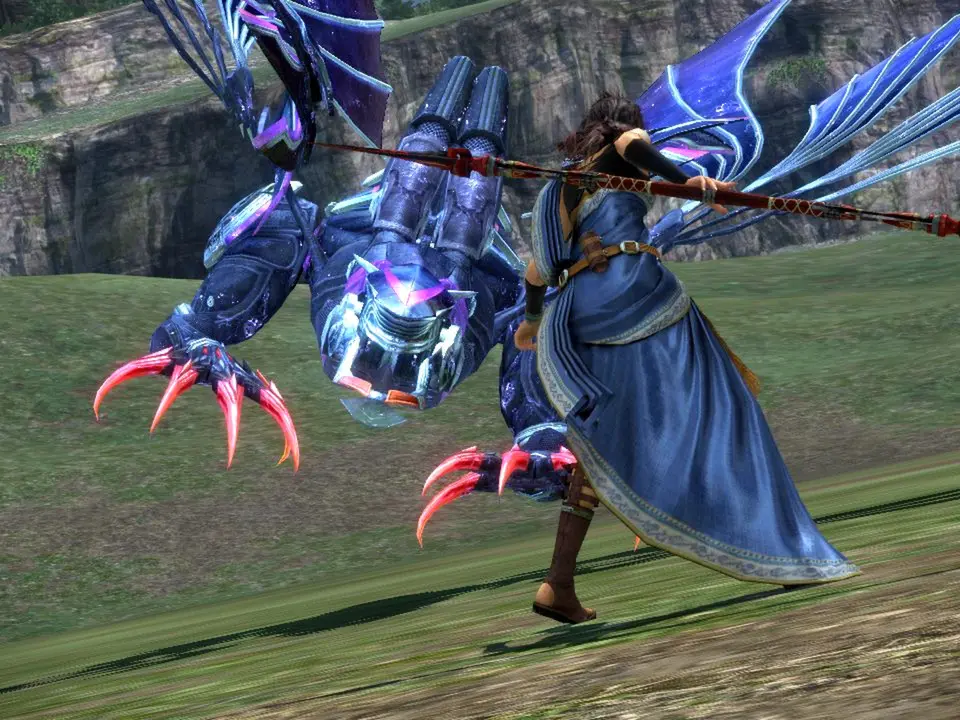
Boss Battle: Manasvin Warmech
The culmination of your journey through the Pulse Vestige is the formidable Manasvin Warmech. This massive, multi-limbed machine is a significant challenge and requires careful strategy.
Manasvin Warmech Overview:
- Weakness: Lightning (primary), Water (secondary).
- Resistances: Fire, Ice, Earth.
- Immunities: Most status ailments.
- Key Attacks:
- Missile Barrage: Deals moderate area-of-effect damage.
- Laser Beam: Single-target, high damage.
- Crushing Blow: Melee attack, targets the character with highest aggro.
- Repair: The Warmech will occasionally attempt to repair itself, restoring a small amount of HP. This is your cue to unleash maximum damage.
Recommended Party & Paradigms (Chapter 3):
At this point, your party will likely consist of Lightning, Sazh, and Vanille.
| Paradigm Name | Lightning | Sazh | Vanille | Notes |
|---|---|---|---|---|
| Aggression | Commando | Ravager | Ravager | Your primary Staggering Paradigm. Focus Lightning attacks. |
| Healing Focus | Commando | Medic | Medic | Crucial for recovering from Missile Barrage. Switch here when HP drops. |
| Buff & Blitz | Commando | Synergist | Ravager | Sazh buffs the party (Bravery, Faith). Vanille continues to build Chain. |
| Defensive Strike | Commando | Sentinel | Medic | Use if the Warmech is focusing heavy attacks on one character. Sazh draws aggro. |
Battle Strategy:
- Phase 1 (Staggering): Start with Aggression (COM/RAV/RAV). Focus all attacks, especially Lightning-elemental spells from Vanille and Sazh, on the Manasvin Warmech to build its Chain Gauge.
- Healing & Buffing: When the Warmech charges its Missile Barrage or your HP drops, quickly switch to Healing Focus (COM/MED/MED). Once recovered, consider a brief switch to Buff & Blitz (COM/SYN/RAV) to have Sazh cast Bravery and Faith on Lightning and Vanille.
- Exploiting Stagger: Once the Manasvin Warmech is Staggered, switch back to Aggression or a similar high-damage Paradigm. Unleash everything you have. This is your window for maximum damage.
- Dealing with Repair: If the Warmech attempts to repair itself, immediately switch to your highest damage output Paradigm and try to interrupt it or deal enough damage to negate the repair.
- Eidolon (Optional): If you're struggling, remember you have access to your Eidolons. Using them will instantly Stagger the boss and provide a powerful ally for a short duration. However, it consumes your entire TP gauge, so use it wisely.
Rewards and Post-Battle Progression
Defeating the Manasvin Warmech yields significant experience and valuable loot, including components that will be crucial for early weapon upgrades. After the battle, the path forward will open, leading you out of the Pulse Vestige and deeper into Chapter 3's narrative. Ensure you save your game immediately after this challenging encounter!