
Candyland Course: Hole 17 - The Confectionery Gauntlet
Welcome to Hole 17 of the Candyland Course, affectionately known as "The Confectionery Gauntlet." This par 3 hole is a true test of precision, timing, and understanding of the unique physics that govern the Candyland environment. It combines bouncy jelly surfaces, sticky caramel patches, and rotating lollipop obstacles into a challenging sequence that demands a well-thought-out strategy. While a hole-in-one is technically possible, a consistent two-shot approach is often the safest and most reliable path to a par.
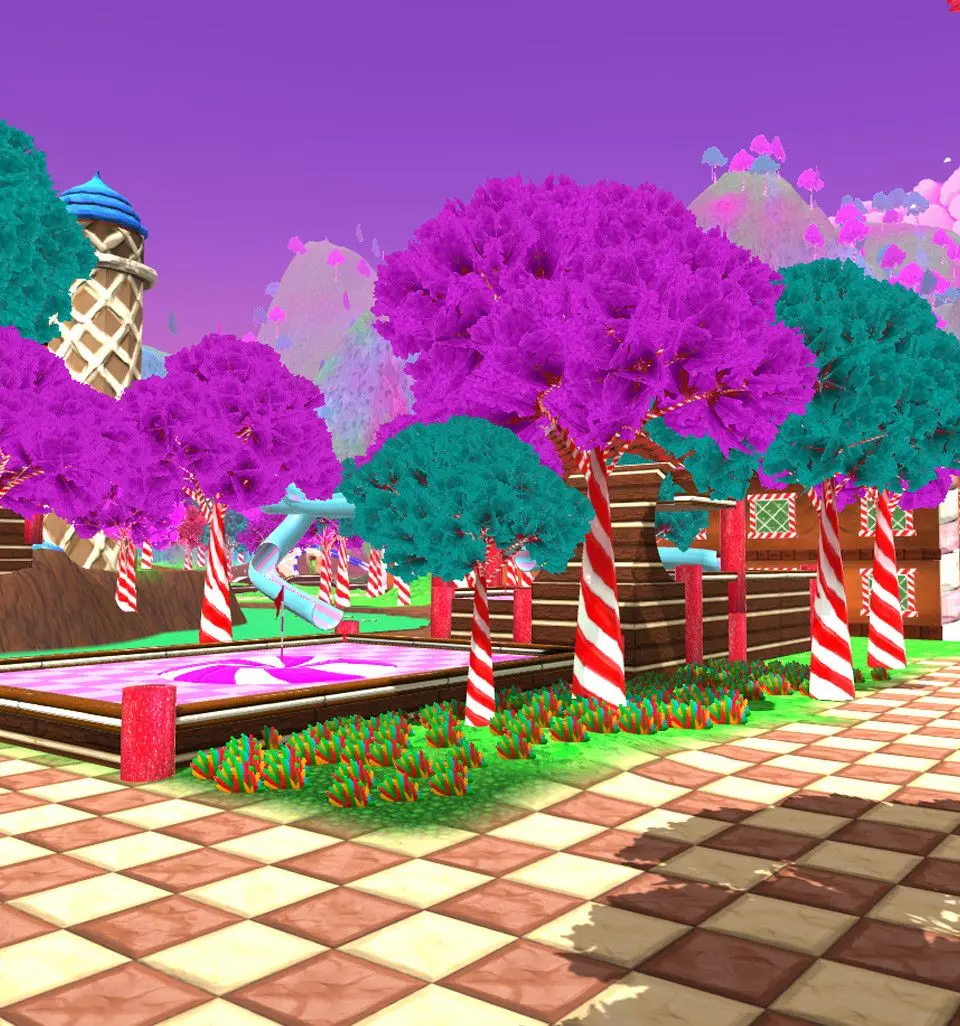
Hole Overview & Key Obstacles
- Starting Platform: A standard, flat platform to begin.
- First Gap & Jelly Bounce Pad: A significant gap immediately follows the starting platform, requiring a precise shot onto a large, circular bouncy jelly pad. This pad is crucial for gaining elevation and distance.
- Sticky Caramel River: After the jelly bounce, your ball will likely land near or on a wide river of sticky caramel. This slows your ball significantly and alters its trajectory.
- Rotating Lollipop Gate: Beyond the caramel, a series of large, rotating lollipops form a gate. Timing is paramount to pass through without being knocked off course.
- Final Approach & Green: A relatively clear path to the hole once past the lollipops, though slight inclines may be present.
Strategy: The Two-Shot Master Plan
For most players, a two-shot strategy is highly recommended for consistent pars on Hole 17. Attempting a hole-in-one requires extreme precision and luck, especially with the rotating lollipops.
Shot 1: The Jelly Launch
Your primary goal for the first shot is to safely clear the initial gap and land squarely on the bouncy jelly pad. This sets up your second shot for success.
- Aiming Point: Aim directly for the center of the large, circular bouncy jelly pad. Avoid hitting the edges, as this can lead to unpredictable bounces or even falling into the abyss.
- Power Recommendation: 65-70% Power. This range provides enough force to clear the gap and land with sufficient momentum on the jelly pad, ensuring a good bounce. Too little power and you'll fall short; too much, and you risk overshooting the pad or bouncing off at an undesirable angle.
- Follow-up: The jelly pad will launch your ball forward. The ideal outcome is for your ball to land just beyond the caramel river, or at least on the far side of it, setting up a clear shot through the lollipop gate. If you land in the caramel, don't panic – it's still part of the plan.
Shot 2: Navigating the Caramel & Lollipop Gate
This shot requires careful consideration of the caramel's slowing effect and precise timing for the rotating lollipops.
Scenario A: Landed Beyond the Caramel (Ideal)
If your first shot was perfect and you landed past the caramel river:
- Positioning: You should be on a relatively flat surface, a short distance from the rotating lollipops.
- Aiming Point: Observe the rotation pattern of the lollipops. Aim for the center of the gap between two lollipops when they are at their widest point.
- Timing: Wait for the lollipops to open up. As they begin to close, hit your shot. The goal is for your ball to pass through the gap just as it's closing, but before it's fully obstructed. This requires a quick reaction time.
- Power Recommendation: 30-40% Power. This should be enough to clear the lollipops and roll onto the green without overshooting the hole. Adjust slightly based on your exact distance to the lollipops.
Scenario B: Landed Within the Sticky Caramel
If your first shot landed in the caramel river, don't despair. This is a common outcome and still allows for a par.
- Positioning: Your ball will be significantly slowed by the caramel.
- Aiming Point: Similar to Scenario A, you need to aim for the gap between the rotating lollipops. However, account for the caramel's drag.
- Timing: This is even more critical. Because your ball will move slower through the caramel, you need to hit your shot earlier in the lollipops' rotation cycle. Aim to hit when the gap is about 75% open, allowing the ball to slowly traverse the caramel and reach the gate as it's still open.
- Power Recommendation: 50-60% Power. You need significantly more power to overcome the stickiness of the caramel. This range should propel your ball through the caramel and past the lollipops. Be careful not to overcompensate and launch your ball too far past the hole.
Shot 3 (If Necessary): The Putt
Once past the lollipops, the green is relatively straightforward. Focus on a gentle putt to sink the ball.
- Power Recommendation: 5-15% Power. Adjust based on distance and any subtle inclines on the green.
Common Pitfalls & How to Avoid Them
- Falling Short on Shot 1: Hitting with too little power on the first shot will cause you to fall into the abyss before reaching the jelly pad. Always err on the side of slightly more power (up to 70%) to ensure you clear the gap.
- Overpowering Shot 1: Too much power can cause your ball to bounce off the jelly pad at an extreme angle, potentially landing out of bounds or in a difficult position. Stick to the 65-70% range.
- Misjudging Caramel Drag: Underestimating how much the caramel slows your ball is a common mistake. If you land in the caramel, remember to significantly increase your power for the next shot.
- Poor Lollipop Timing: This is the biggest obstacle. Patience is key. Watch the rotation pattern for a few cycles before taking your shot. Don't rush it. If you hit a lollipop, your ball will be deflected, often into the abyss or back into the caramel.
- Over-shooting the Green: Once past the lollipops, the hole isn't far. Be mindful of your power on the final approach to avoid rolling past the hole and having a difficult return putt.
Advanced Tips for the Ace Attempt
For those daring enough to attempt a hole-in-one, here’s a highly risky but potentially rewarding strategy:
- Power: 85-90% Power. This is a powerful shot designed to carry you over the caramel and through the lollipops in one go.
- Aiming: Aim slightly to the right of the center of the jelly pad. The extreme power will cause a higher, longer bounce. You want to land the bounce so that your trajectory carries you directly towards the lollipop gate.
- Lollipop Timing: This is where the luck comes in. You need to hit your shot precisely when the lollipops are wide open, allowing your high-speed ball to pass through. Even a slight miscalculation will result in a collision and likely an out-of-bounds.
- Spin: Consider adding a slight amount of topspin to help maintain forward momentum after the jelly bounce, but be careful not to overdo it, as it can make the shot even harder to control.
Mastering Hole 17 is a significant step towards conquering the Candyland Course. By understanding the unique physics of the bouncy jelly and sticky caramel, and by timing your shots through the rotating lollipops, you'll consistently achieve par or better on this challenging "boss hole." Good luck, and happy golfing!