Floor 1: The Entrance
Welcome to the brutal world of Hotline Miami 2: Wrong Number. This guide will walk you through "The Entrance," the introductory level for the Fans campaign, featuring the formidable Mark (Bear Mask). This level serves as an excellent primer for Mark's unique playstyle and the game's core mechanics.
Character & Loadout: Mark (Bear Mask)
You begin this level as Mark (Bear Mask), one of the four members of The Fans. Mark's signature ability is his capacity to dual-wield SMGs, granting him unparalleled firepower and an aggressive, high-risk, high-reward approach to combat. His mask ability essentially doubles your potential damage output but also consumes ammunition at an accelerated rate. There are no alternative masks available for Mark in this level, so embrace the dual-wielding chaos.
Initial Strategy & Engagement
Upon spawning, your immediate priority is to equip Mark's starting weapons. Look directly in front of you:
- Weapon Pickup: Two SMGs (Submachine Guns) will be readily available on the ground. Pick them up to activate Mark's dual-wielding ability.
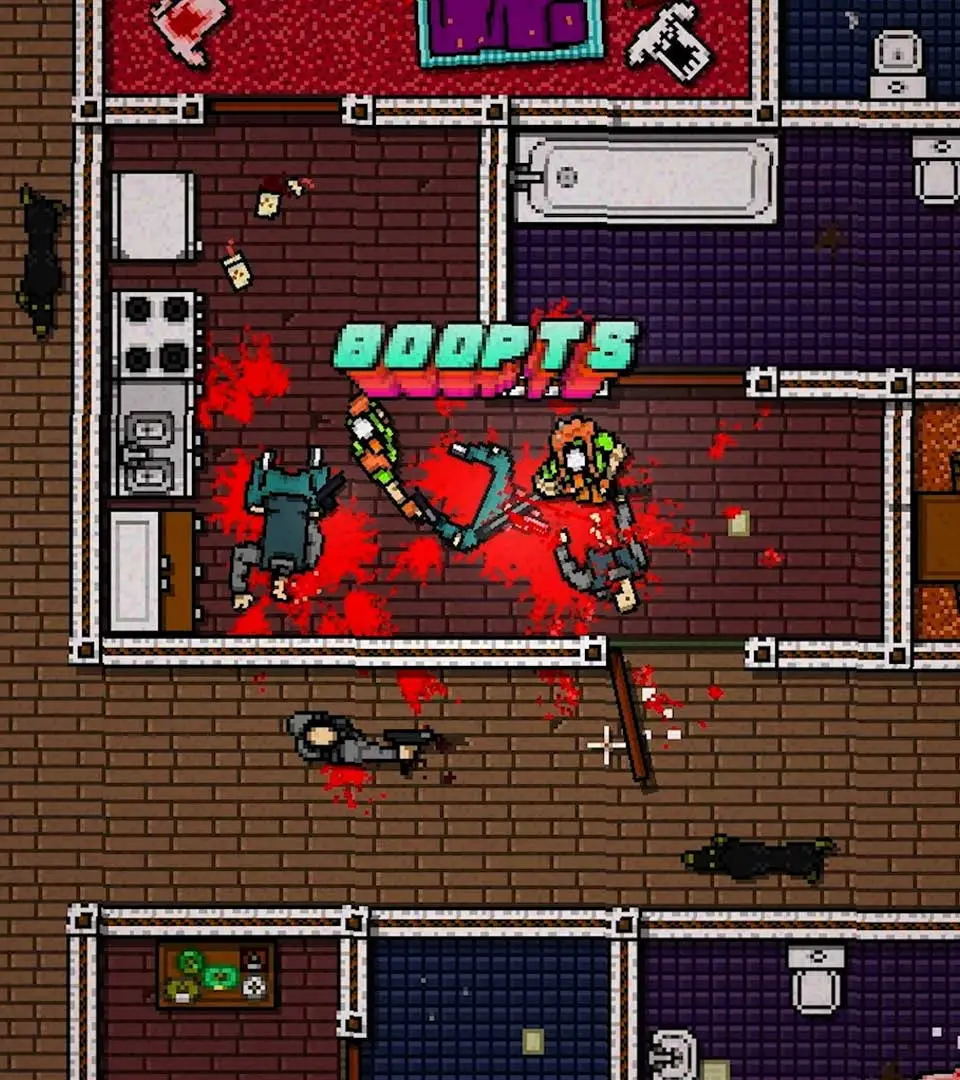
The main entrance hall is your first combat zone. Expect multiple enemies here, typically armed with various firearms and melee weapons. Mark's dual SMGs excel at clearing rooms quickly, but precision and awareness are still key.
- Target Prioritization: Always prioritize enemies wielding firearms (shotguns, pistols, other SMGs) over those with melee weapons. They pose a greater immediate threat.
- Ammo Management: While "spray and pray" can be effective with Mark, be mindful of your ammunition. Each SMG has a limited magazine, and you'll burn through bullets rapidly. Reload frequently during lulls in combat or when retreating to cover.
- Environmental Stuns: Even with Mark's overwhelming firepower, don't forget core mechanics. Doors can be used to stun enemies, creating openings for quick executions or weapon swaps. This is particularly useful if you find yourself low on ammo or need to reposition.
- Corner Peeking: Utilize corners and doorways to your advantage. Briefly expose yourself to draw enemy fire, then duck back into cover to reload or reposition before re-engaging.
Walkthrough: Ground Floor
The ground floor of "The Entrance" is a relatively straightforward series of interconnected rooms. Your objective is to eliminate all hostiles before proceeding.
- Entrance Hall Clearance:
- Immediately after picking up your SMGs, engage the enemies in the large entrance hall. These typically include 2-3 armed thugs and 1-2 melee opponents.
- Use the pillars and furniture for cover.
- Keep moving to avoid being flanked.
- First Side Room (Left/Right):
- After clearing the main hall, proceed into the adjacent rooms. There are usually two small rooms flanking the main hall, one on each side.
- These rooms often contain 1-2 enemies each, sometimes a patrol.
- Weapon Cache: Look for potential weapon drops here. You might find a Shotgun, another SMG, or a Pistol. If you're running low on SMG ammo, a fresh weapon can be a lifesaver.
- Corridor Engagement:
- Beyond the side rooms, a short corridor connects to the next major area. Expect 1-2 enemies patrolling this corridor or positioned at its end.
- Approach cautiously, using your SMGs to quickly dispatch any threats.
- Main Dining/Lounge Area:
- This larger area often features several enemies, including a mix of armed and unarmed thugs.
- Utilize the furniture for cover and break line of sight.
- Consider a "door stun" if an enemy is positioned directly behind a door you need to open.
- Clear this area thoroughly.
Transition to Upper Floors
Once the entire ground floor is clear of enemies, the path to the next section will become accessible. Look for the staircase:
- Staircase Location: The stairs are typically located towards the back of the main dining/lounge area, often on one of the longer walls.
- Confirmation: The game will usually provide an audio cue or a subtle visual indicator (like a blinking arrow) once all enemies on the current floor are neutralized, signaling you to proceed.
Common Pitfalls & Tips
- Ammo Depletion: Mark's high fire rate can lead to running out of ammo quickly. Always be on the lookout for dropped weapons from defeated enemies.
- Over-Aggression: While Mark encourages aggression, blindly rushing into rooms will lead to a quick death. Use your speed to reposition and flank, not just to charge.
- Melee Threats: Don't underestimate melee enemies. If they close the distance, they can stun or kill you. Keep them at range with your SMGs.
- Reload Discipline: Make reloading a habit. It's better to reload with a few bullets left than to be caught empty-handed in a firefight.
- Weapon Swapping: If you run out of SMG ammo, don't hesitate to pick up a different weapon (shotgun, pistol, even a melee weapon) to finish off remaining enemies. Adaptability is crucial.