
Mission: The Old Guard's Warning
Objective: Meet with the mysterious informant at the abandoned warehouse.
This mission marks a significant difficulty spike in your journey through the Hawaiian underworld. anticipate a challenging multi-wave combat encounter and prepare accordingly. It is highly recommended that your party is at least Level 18-20 with Tier 3 (Blue Rarity) or better gear equipped for all active members. Failing to prepare can lead to frustration and repeated attempts.
Walkthrough: Infiltrating the Warehouse
-
Travel to the Warehouse District: Head to the designated area on your map, located on the western outskirts of Honolulu, near the docks. The district is characterized by its dilapidated industrial buildings and graffiti-covered walls. As you approach, you'll notice an increase in enemy patrols – these are typically low-level thugs, but they serve as a warning of what's to come.
- Location: Western Honolulu, marked as "Old Port Warehouses" on your map.
- Enemies En Route: Scattered groups of "Street Thugs" (Level 15-17). Engage them for extra XP or avoid them if you wish to conserve resources.
-
Locate the Abandoned Warehouse: The specific warehouse for this mission is distinguishable by a faded red "No Entry" sign and a broken chain-link fence. The mission marker will guide you directly to its entrance.
- Landmark: Look for a large, single-story warehouse with a corrugated metal roof, slightly set apart from the others.
-
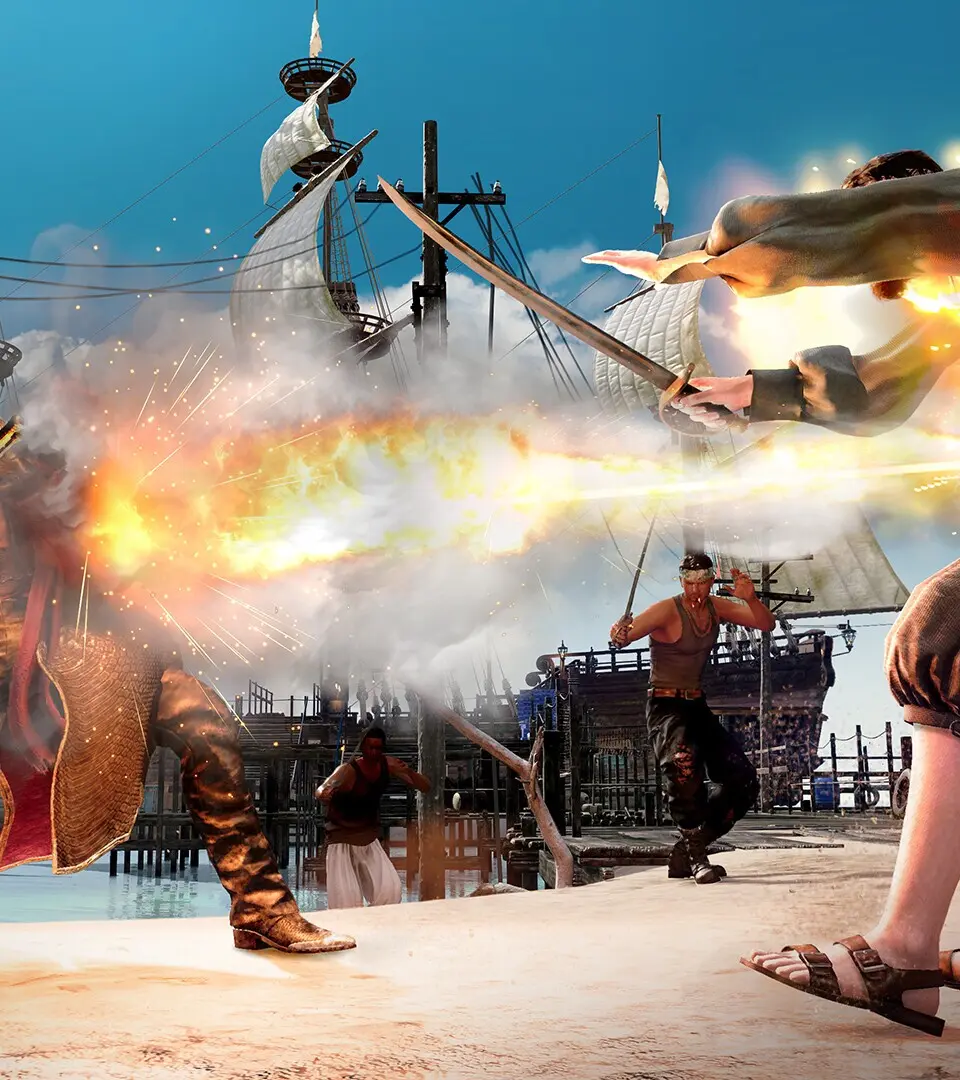
The Ambush - Multi-Wave Combat Encounter: Upon entering the warehouse, the doors will slam shut behind you, triggering an immediate ambush. You will face three consecutive waves of well-armed thugs. There are no breaks between waves, so resource management is crucial.
- Wave 1: 4x "Brawler Thug" (Melee, Level 19), 2x "Pistol Wielder" (Ranged, Level 20).
- Wave 2: 3x "Brawler Thug" (Melee, Level 19), 3x "Shotgun Enforcer" (Ranged, Level 21, high damage).
- Wave 3: 2x "Shotgun Enforcer" (Ranged, Level 21), 1x "Heavy Bruiser" (Melee, Level 22, high HP/defense), 2x "Knife Specialist" (Melee, Level 20, high critical chance).
Combat Strategy & Recommended Loadout
This fight is a test of both your party's strength and your tactical prowess. Prioritize targets and manage your abilities effectively.
- Prioritize Ranged Threats: Enemies like "Pistol Wielders" and especially "Shotgun Enforcers" can deal significant damage from a distance. Use characters with high mobility or ranged attacks (e.g., Ichiban's "Hero's Vigor" for AoE, Saeko's "Umbrella Strike" for single-target ranged) to eliminate them quickly.
- Area-of-Effect (AoE) Skills: Utilize AoE attacks to thin out groups of "Brawler Thugs" and "Knife Specialists." Characters like Nanba with his "Fire Breath" or Adachi with "Guard Breaker" are excellent for crowd control.
- Focus Fire on Heavy Bruiser: In Wave 3, the "Heavy Bruiser" has high HP and defense. Concentrate your strongest single-target attacks on him once the ranged threats are neutralized. Consider using debuffs like "Defense Down" or "Attack Down" to make him more manageable.
- MP Management: This is a long fight. Avoid spamming your most expensive skills early on. Use basic attacks and lower-cost abilities to conserve MP for later waves or critical moments. Keep an eye on your party's MP bars.
- Healing & Buffs: Don't hesitate to use healing items (e.g., Staminan X, Tauriner) or healing skills (e.g., Saeko's "Healing Wave") if any party member's HP drops below 50%. Buffs like "Attack Up" or "Defense Up" can turn the tide, especially against the "Heavy Bruiser."
Recommended Party Composition & Jobs:
| Character | Recommended Job | Key Skills/Role |
|---|---|---|
| Ichiban Kasuga | Hero (Default) | AoE (Hero's Vigor), Single Target (Mega Swing), Healing (Hero's Embrace) |
| Adachi | Detective (Default) | Tanking, Defense Debuffs (Guard Breaker), Single Target Damage |
| Saeko Mukoda | Hostess / Idol | Healing (Hostess's Hospitality / Healing Wave), Ranged Magic Damage, Buffs |
| Nanba | Homeless (Default) | AoE Magic Damage (Fire Breath), Debuffs (Pigeon's Gauge), MP Recovery |
The Informant & Critical Revelation
After successfully defeating all three waves of enemies, the true purpose of the warehouse becomes clear. The mysterious informant, a grizzled ex-Yakuza named Kenjiro "The Serpent" Tanaka, will emerge from the shadows. A tense dialogue sequence will follow, revealing crucial information about the main antagonist, Captain Kaito "The Kraken" Mori, and his operations in Hawaii. Pay close attention to Tanaka's words, as they provide vital clues for future missions.
Rewards & Post-Mission Notes
Upon completion of the dialogue, you will receive your rewards:
- Experience Points (XP): 2500 XP (significant boost for your party).
- Cash: 500 USD.
- Key Item: Warehouse Key. This key is absolutely essential for unlocking a locked storage room in a later main story mission, "Echoes of the Past." Do not forget to pick it up; it will automatically be added to your inventory.
- New Substories Unlocked: Completing this mission may trigger the availability of new substories in the surrounding Honolulu area. Check your map for new "!" icons.
The Warehouse Key is a critical item. While it doesn't have an immediate use, it will be required to progress in a future main quest. Ensure you've saved your game after completing this challenging encounter!