
Defeating the Fourth E.M.M.I.
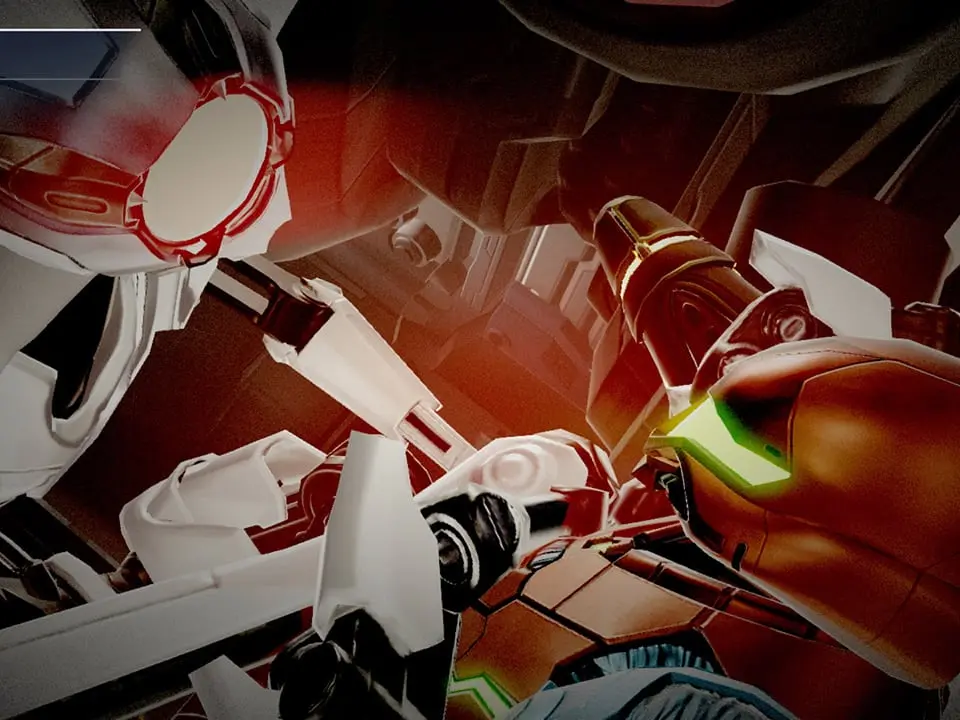
As you delve deeper into the aquatic labyrinth of Burenia, you'll inevitably encounter the chilling presence of the fourth E.M.M.I. unit. This particular model, designated E.M.M.I.-04SB, is a formidable adversary, distinguished by its unique Spin Boost ability. Unlike previous E.M.M.I.s, 04SB leverages this enhanced mobility to traverse its environment with incredible speed, making evasion a constant challenge. Its patrol routes often encompass both submerged and partially exposed areas, demanding acute awareness of your surroundings and mastery of Samus's movement capabilities.
The encounter with E.M.M.I.-04SB is a critical juncture in your journey through ZDR, as its defeat grants you a powerful new ability essential for further exploration. Prepare for a high-stakes chase where precision and timing are paramount.
E.M.M.I.-04SB Overview
- Location: Burenia
- Model Number: E.M.M.I.-04SB
- Unique Ability: Spin Boost (grants exceptional speed and maneuverability, especially when traversing vertical shafts or open areas)
- Threat Level: High (its speed makes it difficult to outrun once detected)
- Reward: Cross Bomb
Phase 1: Navigating the E.M.M.I. Zone and Locating the Central Unit
Upon entering the E.M.M.I. Zone in Burenia, your primary objective is to locate the Central Unit, which is the source of the Omega Cannon's power. This zone is characterized by its multi-layered structure, featuring numerous water-filled passages, vertical shafts, and narrow corridors. E.M.M.I.-04SB's Spin Boost allows it to cover ground rapidly, so maintaining stealth is crucial.
Recommended Gear:
- Gravity Suit: Essential for unhindered movement in water, allowing you to move at normal speed and negate water resistance. Without it, your movement will be severely hampered, making evasion nearly impossible.
- Grapple Beam: Useful for traversing specific sections, though less critical for direct E.M.M.I. evasion in this zone.
- Phantom Cloak: Your primary stealth tool. Use it judiciously to bypass E.M.M.I.-04SB's patrol paths or escape immediate detection. Remember its energy consumption.
Step-by-Step Navigation:
- From the entrance to the E.M.M.I. Zone, proceed cautiously. E.M.M.I.-04SB's patrol routes are extensive and often unpredictable due to its speed.
- Your immediate goal is to reach the upper-right section of the zone where the Central Unit is typically located. This often involves navigating a series of underwater tunnels and vertical shafts.
- Utilize your Pulse Radar frequently to map out E.M.M.I.-04SB's current position and projected path. This is your most valuable asset for avoiding detection.
- When E.M.M.I.-04SB is nearby, either hide in a safe alcove, use your Phantom Cloak, or attempt to sneak past during a brief window when its back is turned. Do not engage unless absolutely necessary for escape.
- Once you reach the Central Unit chamber, initiate the power transfer sequence. This will temporarily disable the E.M.M.I. and grant you the Omega Cannon.
Phase 2: The Omega Cannon and E.M.M.I.-04SB's Demise
With the Omega Cannon charged, you now possess the only weapon capable of destroying E.M.M.I.-04SB. The challenge lies in creating an opening to land the two critical shots: one to destroy its faceplate and another to eliminate its core.
Strategy for Engagement:
- Locate a Firing Lane: After activating the Omega Cannon, E.M.M.I.-04SB will become aggressive and actively hunt you. Your priority is to find a long, unobstructed corridor or a large open chamber where you can create sufficient distance. The large, central chamber with the water current is often an ideal location.
- Charge the Omega Stream: Hold down the Omega Cannon button to charge the Omega Stream. This takes a few seconds, during which you are vulnerable.
- Lure and Evade: Allow E.M.M.I.-04SB to approach. Its Spin Boost makes it incredibly fast, so you'll need to react quickly. As it closes in, use your Flash Shift to dash past it or create a sudden burst of distance.
- Destroy the Faceplate: Once you have a clear line of sight and E.M.M.I.-04SB is relatively close (but not close enough to grab you), unleash the charged Omega Stream. Aim for its head. If successful, its protective faceplate will shatter, revealing the glowing core.
- Charge the Omega Blaster: Immediately after destroying the faceplate, begin charging the Omega Blaster (the second shot). This is a single, powerful shot.
- Deliver the Final Blow: E.M.M.I.-04SB will likely be stunned for a brief moment after its faceplate is destroyed. Use this window to reposition if necessary and fire the Omega Blaster directly into its exposed core. A successful hit will cause the E.M.M.I. to explode.
Common Pitfalls:
- Getting Grabbed During Charge: E.M.M.I.-04SB's speed means it can close distances rapidly. Do not attempt to charge the Omega Stream if it's already too close.
- Missing the Core Shot: The Omega Blaster has a narrow hitbox. Ensure you have a clear, direct shot at the core. Missing means you'll have to repeat the process of creating an opening.
- Running Out of Room: Avoid getting cornered. Always have an escape route planned.
Reward: The Cross Bomb
Upon the destruction of E.M.M.I.-04SB, Samus will absorb its data, granting her the powerful Cross Bomb ability. This upgrade significantly enhances your explosive capabilities.
Cross Bomb Details:
- Function: Replaces the standard Bomb. When deployed, the Cross Bomb explodes in a cross-shaped pattern, sending four energy blasts horizontally and vertically.
- Utility:
- Environmental Destruction: Destroys specific Cross Bomb Blocks, opening new pathways and revealing secrets.
- Combat: More effective against certain enemies than the standard Bomb due to its larger area of effect. Can also be used to propel Samus in Morph Ball form, similar to the Bomb Jump, but with greater height and horizontal reach.
- Puzzle Solving: Essential for navigating areas that require simultaneous destruction of multiple blocks or precise propulsion.
- Activation: While in Morph Ball form, press the 'Y' button (default mapping) to deploy.
The Cross Bomb is a vital upgrade that will open up numerous previously inaccessible areas throughout ZDR, particularly in Burenia and other water-logged regions. Master its use to uncover hidden passages, collect crucial items, and progress further into the planet's mysteries.