
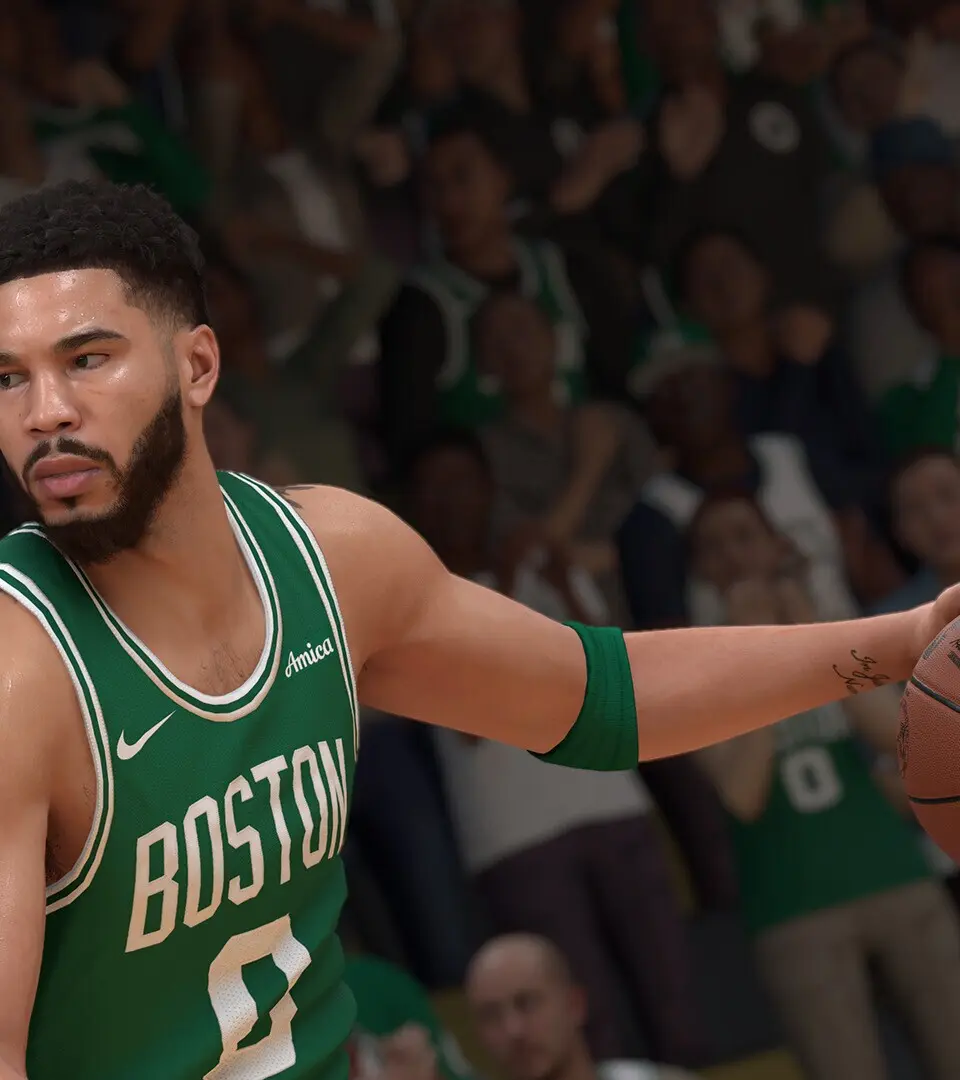
Understanding the User Interface (UI)
Mastering the User Interface (UI) in NBA 2K25 is crucial for both on-court success and efficient menu navigation. This comprehensive guide will break down every essential UI element, from the critical in-game displays that dictate your performance to the intricate menu systems that manage your progression and customization. Understanding where to find key information, how to interpret visual cues, and how to tailor the UI to your preferences will significantly enhance your overall experience and efficiency.
On-Court UI Elements: Your Real-Time Information Hub
During gameplay, the UI provides immediate feedback and critical data. Paying close attention to these elements can mean the difference between a clutch play and a costly turnover.
- Shot Meter:
- Location: Typically appears above your player's head or beside their feet when attempting a shot.
- Function: Indicates the ideal timing for releasing your shot. Filling the meter to the "green" zone results in a higher percentage shot.
- Types: NBA 2K25 offers several shot meter styles.
- Default: A vertical bar that fills up.
- Arc: A curved arc that fills along the shot trajectory.
- Free Throw Only: Removes the shot meter for field goals, relying solely on visual cues and muscle memory.
- No Meter: Completely removes the shot meter for all shots, offering a boost to shot percentage for skilled players.
- Customization: You can change your preferred Shot Meter type in the Settings > Controller Settings > Shot Meter. Experiment to find what works best for your playstyle.
- Stamina Bar:
- Location: A horizontal bar located directly beneath your player's feet or nameplate.
- Function: Represents your player's current energy level. Depletes rapidly with intense actions like sprinting, turbo dribbling, and aggressive defense.
- Interpretation: A full white bar indicates peak stamina. As it depletes, it turns yellow, then red. Low stamina significantly impacts shot accuracy, speed, and defensive effectiveness.
- Boosts: Certain badges (e.g., Handles for Days) and Gatorade boosts can mitigate stamina drain.
- Play Call Indicator:
- Location: Usually appears near the bottom of the screen, often above the team logos, or as an overlay on the court.
- Function: Displays the currently called offensive or defensive play. For offensive plays, it often shows the primary ball handler and the intended action (e.g., "Pick & Roll," "Isolation," "Post Up"). Defensive indicators might show "Man-to-Man" or "Zone."
- Interpretation: Crucial for understanding team strategy. Follow the on-screen cues for player movement and passing lanes.
- Accessing Play Calls: Use the D-Pad (console) or corresponding keyboard keys (PC) to bring up the Play Call menu during a possession.
- Scoreboard & Game Clock:
- Location: Prominently displayed at the top of the screen.
- Function: Shows the current score, game time remaining, and the current quarter/overtime period.
- Additional Info: Often includes team fouls, timeouts remaining, and possession arrow.
- Player Icons/Nameplates:
- Location: Above each player on the court.
- Function: Displays player names, jersey numbers, and often a small icon indicating their position or current status (e.g., hot/cold zones, defensive assignment).
- Hot/Cold Zones: Small flame (hot) or ice (cold) icons indicate a player's current shooting performance from that area of the court.
- Defensive Settings Overlay:
- Location: Can be toggled on/off, often appearing as text above defensive assignments.
- Function: Shows your current defensive strategy for individual players or the team (e.g., "Tight," "Smother," "Go Over," "Go Under").
- Access: Usually accessed via the D-Pad during defensive possessions.
Main Menu Navigation: Your Gateway to Game Modes & Customization
The main menu is your central hub for accessing all game modes, managing your player, and customizing your experience. Its intuitive design allows for quick access to various sections.

- MyCAREER:
- Description: Embark on your personalized journey from a rookie prospect to an NBA legend. This mode features a story-driven narrative, character progression, and interaction with NPCs.
- Sub-menus: Includes your Player Progression (attributes, badges), Endorsements, Social Media, Agent interactions, and the ability to access The City/Neighborhood.
- MyTEAM:
- Description: Collect player cards, build your dream roster, and compete in various online and offline challenges.
- Sub-menus: Card Collection, Lineup Management, Pack Market, Auction House, Challenges, Domination, Triple Threat, and Unlimited modes.
- MyNBA:
- Description: Take control of an NBA franchise or an entire league. Manage rosters, finances, scouting, and team strategy over multiple seasons.
- Sub-menus: Roster, Staff, Trades, Draft, Free Agency, League Settings, and GM/Owner tasks.
- Play Now:
- Description: Jump into quick exhibition matches with current NBA teams, classic teams, or custom rosters.
- Sub-menus: Quick Play, Play With Friends, Blacktop (streetball), and NBA Today.
- The City/Neighborhood:
- Description: The expansive online social hub where MyCAREER You can compete in streetball games, visit stores, train, and interact with other players.
- Key Locations: Gatorade Training Facility (boosts), Swag's (apparel), REC Center (5v5 Pro-Am), Ante-Up (high-stakes games), and various courts.
- 2KTV:
- Description: In-game show featuring interviews, community highlights, and often offers VC rewards for answering trivia questions.
- Features:
- Description: Contains various customization options, roster management, and game settings.
- Sub-menus:
- Roster: Edit player attributes, tendencies, and create custom rosters.
- Settings: Crucial for personalizing your experience (see "UI Customization Options" below).
- 2K Share: Download community-created content like draft classes, rosters, and sliders.
- Credits: View the development team.
UI Customization Options: Tailoring Your Experience
NBA 2K25 offers extensive customization options to fine-tune the UI to your preferences, allowing you to focus on what matters most to your gameplay.
Accessing Settings: From the main menu, navigate to Features > Settings. During an in-game pause, you can also access a condensed version of these settings.
Key UI-Related Settings:
- Controller Settings:
- Shot Meter: As detailed above, choose your preferred shot meter type (Default, Arc, Free Throw Only, No Meter).
- Shot Timing: Decide if shot timing applies to Layups, Free Throws, or all shots.
- Shot Feedback: Choose whether to display shot feedback (Excellent, Slightly Early/Late) for all shots, free throws only, or off.
- Pro Stick Function: Customize how the Pro Stick (right analog stick) functions for shooting, dribbling, or both.
- Video Settings (Display Options):
- Action Replays: Toggle automatic replays on/off.
- Camera: Select your preferred camera angle (2K, Broadcast, Drive, etc.) and customize zoom/height.
- Shot Clock Display: Choose between a static or flashing shot clock.
- Player Indicators: Adjust the visibility of player names, positions, and stamina bars.
- Play Art: Toggle on/off the visual overlays for offensive and defensive plays. This can be very helpful for learning plays but might be distracting for experienced players.
- Defensive Play Art: Specific visual cues for defensive assignments and strategies.
- On-Court Coach: Toggle on/off visual cues for passing, shooting, and defensive help. Useful for beginners.
- Fatigue Indicator: Turn on/off the visual indicator for player fatigue.
- Substitution Messages: Control when substitution alerts appear.
- Audio Settings:
- While not directly UI, adjusting commentary volume or crowd noise can impact your ability to hear important in-game cues.
Common Pitfalls & Tips for UI Management:
- Information Overload: Especially for new players, the default UI can feel overwhelming. Don't hesitate to go into Settings > Video Settings and turn off elements like "On-Court Coach" or "Play Art" once you're comfortable with the basics.
- Shot Meter Preference: Many veteran players opt for "No Meter" for a slight shot percentage boost, relying on visual cues. Practice extensively in MyCOURT or the Gatorade Training Facility if you choose this option.
- Stamina Awareness: Always keep an eye on your stamina bar. Over-dribbling or constantly sprinting will quickly drain it, leading to missed shots and slower defense. Utilize timeouts or substitutions to rest key players.
- Play Call Discipline: Even if you know the play, watching the Play Call Indicator helps ensure your teammates are in the correct positions and executing the strategy as intended.
- Custom Camera: Experiment with different camera angles. The "2K" camera is popular for competitive play, but "Broadcast" offers a more TV-like experience. Find what gives you the best court vision.
By thoroughly understanding and customizing NBA 2K25's UI, you'll gain a significant advantage, making informed decisions on the court and navigating the game's extensive features with ease.