
The Alchemist's Laboratory
Deep within the world of Noita lies the Alchemist's Laboratory, a perilous secret area offering immense rewards for those brave and skilled enough to conquer its challenges. This hidden biome, typically found far to the left or right of the main vertical shaft, is a high-risk, high-reward endeavor. It houses unique enemies, powerful spells, and a formidable boss whose defeat permanently unlocks new magical capabilities for all future runs.
Accessing the Laboratory
Reaching the Alchemist's Laboratory is a significant undertaking that often requires advanced digging capabilities and careful navigation through hazardous environments. There are two primary locations where the Laboratory can spawn:
- West Side: Located far to the left, typically past the Desert and through the Lukki Lair.
- East Side: Located far to the right, often past the Pyramid and through the Fungal Caverns or Coal Mines.
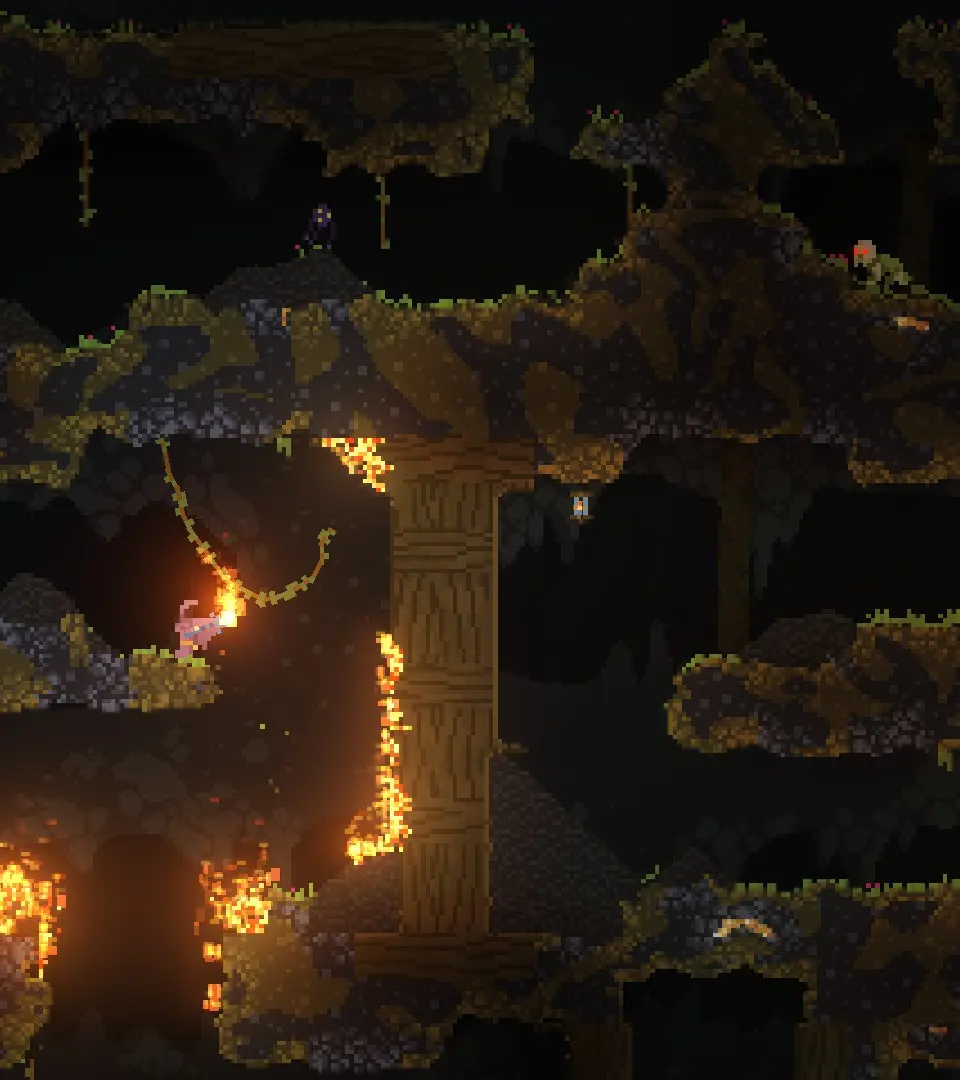
Regardless of its side, the Laboratory is usually situated deep underground, often at a similar depth to the Hiisi Base or Underground Jungle. Expect to encounter the following environmental challenges:
- Dense Rock: Significant digging spells (e.g., Black Hole, Digging Bolt, Acid Trail) or powerful explosives are almost mandatory.
- Toxic Sludge and Lava: These common hazards will require careful movement or immunities (e.g., Toxic Immunity, Fire Immunity) to traverse safely.
- Dangerous Biomes: The path to the Laboratory often cuts through other late-game biomes, exposing you to their unique dangers before you even reach your destination.
Unique Inhabitants and Hazards
The Alchemist's Laboratory is home to several unique and dangerous enemies, distinct from those found in other biomes. Understanding their attacks and weaknesses is crucial for survival.
- Haulikkohiisi (Shotgun Hiisi): A heavily armored Hiisi variant wielding a powerful shotgun. They deal high damage at close range. Prioritize ranged attacks or use terrain to your advantage.
- Robottilukki (Robot Lukki): A mechanical spider that fires energy projectiles. They are agile and can be difficult to hit. Explosives or piercing spells work well.
- Robottihämähäkki (Robot Spider): Smaller, faster versions of the Robottilukki, often appearing in groups. Their projectiles are less damaging but can overwhelm. Area-of-effect spells are effective.
- Robottivihollinen (Robot Enemy): Various other robotic foes with different attack patterns, including melee and ranged variants. Generally resistant to physical damage but vulnerable to electrical and explosive damage.
- Alchemist's Constructs: Golems and other animated statues that guard the deeper parts of the Laboratory. They are slow but possess high health and deal heavy melee damage. Keep your distance.
Beyond the enemies, the Laboratory itself presents hazards:
- Explosive Barrels: Scattered throughout, these can be detonated by stray projectiles or your own attacks, causing chain reactions. Use them to your advantage against enemies, but be wary.
- Acid Puddles: Small pools of acid can appear, dealing continuous damage if stepped in.
- Electrical Traps: Some areas may have exposed wiring or devices that periodically emit electrical discharges.
The Alchemist Boss Fight: Kolmisilmä
The ultimate challenge of the Laboratory is facing its creator, Kolmisilmä (Finnish for "Three-Eyed"). This formidable boss is a floating, multi-eyed entity that employs several magical and physical attacks. Defeating Kolmisilmä is a significant milestone, permanently unlocking powerful spells for all future runs.
Kolmisilmä's Attacks:
- Homing Projectiles: Kolmisilmä frequently fires a barrage of slow-moving, homing energy projectiles. These can be shot down or dodged.
- Laser Beam: A powerful, sustained laser beam that deals high damage. Kolmisilmä will typically charge this attack, giving you a brief window to move out of the line of fire.
- Summon Minions: Kolmisilmä can summon various robotic minions (Robottilukki, Robottihämähäkki) to aid it in battle. Prioritize taking these out to avoid being overwhelmed.
- Teleportation: The boss frequently teleports around the arena, making it difficult to pin down.
- Explosive Orbs: Occasionally, Kolmisilmä will summon explosive orbs that float towards you before detonating.
Strategy for Defeating Kolmisilmä:
The key to defeating Kolmisilmä lies in a combination of mobility, sustained damage, and crowd control. Here's a recommended approach:
- Arena Control: The boss arena is relatively open. Use the pillars and walls for cover from projectiles and the laser beam. Be mindful of the edges of the arena, as falling into the void can be instant death.
- Mobility is Key: Spells or perks that enhance movement (e.g., Teleport Bolt, Accelerating Shot, Extra Movement Speed perk) are invaluable for dodging attacks and repositioning.
- Damage Type: Kolmisilmä has moderate resistances across the board. However, high-DPS wands with piercing, explosive, or rapid-fire projectiles are generally effective. Spells like Spark Bolt with Trigger combined with powerful damage modifiers (e.g., Critical Hit, Damage Plus) or concentrated beams (e.g., Luminous Drill, Energy Sphere) work well.
- Minion Management: Do not ignore the summoned minions. They can quickly chip away at your health or distract you from dodging Kolmisilmä's main attacks. Area-of-effect spells (e.g., Fireball Orbit, Lightning Bolt) are excellent for clearing them out.
- Defensive Perks: Perks like Projectile Repulsion Field, Electricity Immunity (for some of its attacks), and Extra Health can significantly increase your survivability.
- Wand Builds:
- High-DPS Trigger Wand: A rapid-fire wand with Spark Bolt with Trigger and a powerful damage payload (e.g., Chainsaw, Drilling Shot, Heavy Shot, Critical Hit) is highly effective for consistent damage.
- Explosive Wand: Wands built around Bomb, Giga Bomb, or Explosive Projectile can deal burst damage, especially if combined with Homing.
- Beam/Drill Wand: A fast-casting wand with Luminous Drill or Energy Sphere can melt the boss's health bar if you can maintain line of sight. Add Mana to Damage for extra punch.
Rewards for Victory: Unlocked Spells
Upon defeating Kolmisilmä, you will be rewarded with a significant amount of gold and, more importantly, the permanent unlocking of several powerful spells. These spells will then have a chance to appear in future runs, greatly expanding your magical arsenal.
The following spells are unlocked:
- Black Hole: A powerful digging spell that creates a temporary black hole, consuming most materials. Essential for advanced exploration and accessing secret areas.
- Giga Black Hole: An even larger and more destructive version of Black Hole.
- Summon Tentacle: Summons a large, damaging tentacle that attacks enemies. Can be unpredictable but powerful.
- Summon Tentacle With Timer: A version of Summon Tentacle that despawns after a set duration.
- Divide By: A highly sought-after modifier spell that multiplies the number of projectiles or effects of the spell it's attached to. Essential for creating incredibly powerful wands.
- Heavy Shot: A projectile modifier that significantly increases damage but also adds weight, causing projectiles to drop faster.
- Light Shot: A projectile modifier that reduces weight and slightly increases projectile speed, but also reduces damage.
These unlocks are game-changing, particularly Black Hole and Divide By, which open up new strategies and possibilities for exploration and wand crafting in all subsequent playthroughs. The Alchemist's Laboratory is a challenging but ultimately rewarding journey for any aspiring Noita.