
Quest: The Key to Freedom
Quest Giver: N/A (Automatic upon entering the Cathedral Rooftops)
Location: Oriath, Cathedral Rooftops, Cathedral Apex, The Feeding Trough
Reward: Completion of Act 5, access to Act 6, two Passive Skill Points, one Respec Point, and a significant step towards unlocking your Ascendancy.
The Key to Freedom is the climactic finale of Act 5, serving as the ultimate test of your character's progression and build before you venture into the second half of the Path of Exile 2 campaign. This quest culminates in a brutal confrontation with Kitava, the God of Corruption, whose defeat signifies a major turning point in your journey.
Prepare for a multi-phase boss encounter that demands high survivability, precise movement, and a well-optimized build. This guide will walk you through each step, from navigating the ravaged streets of Oriath to conquering the monstrous deity.
Walkthrough: Navigating Oriath's Demise
-
Cathedral Rooftops:
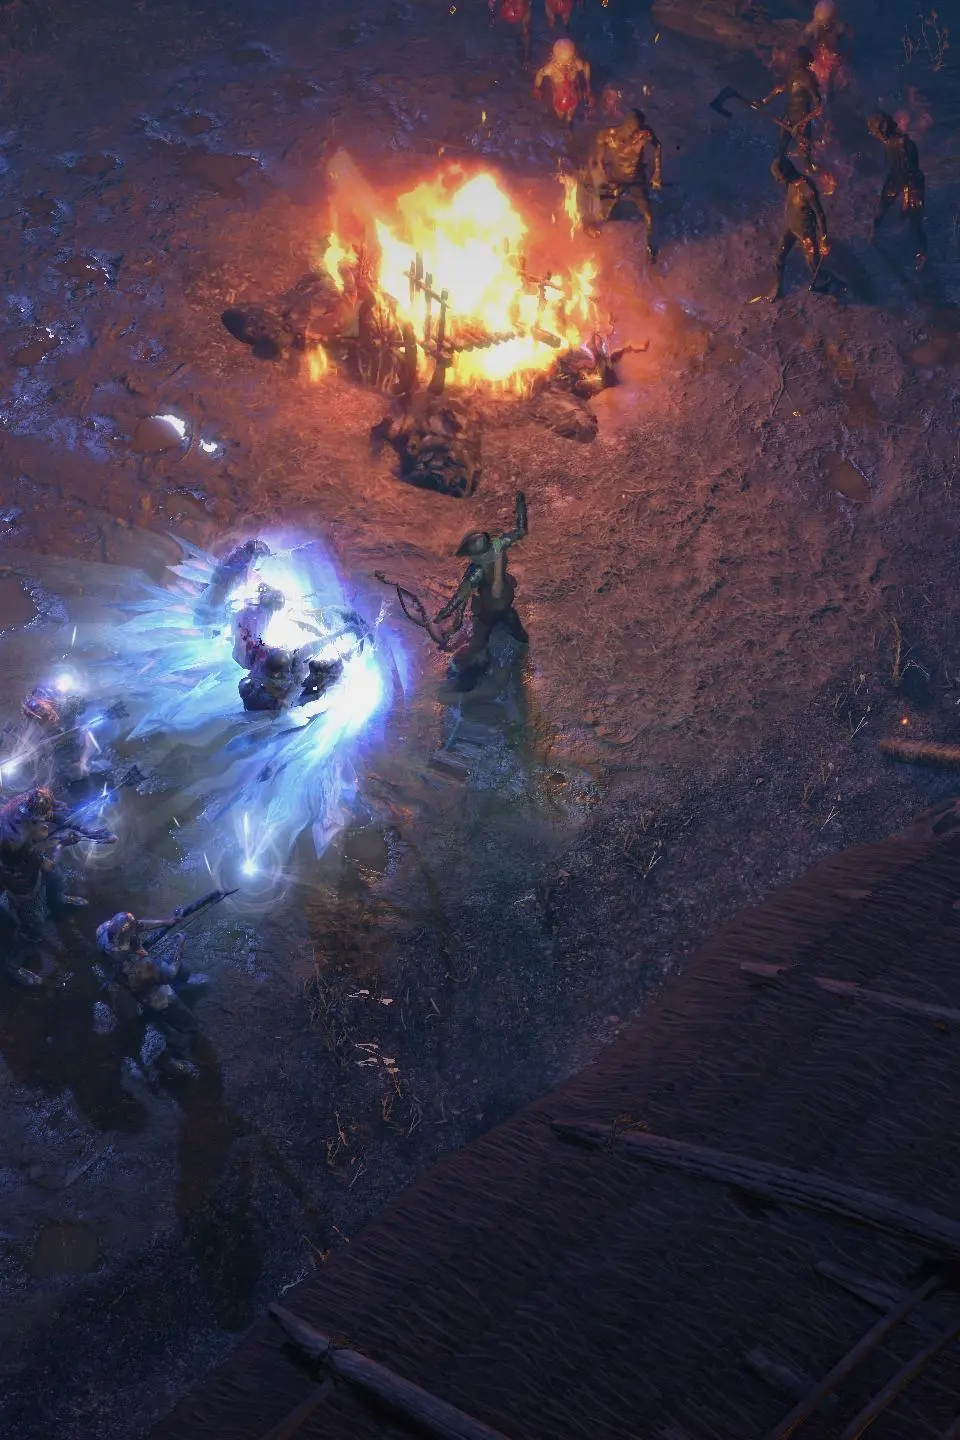
Upon entering the Cathedral Rooftops, you'll immediately feel the oppressive atmosphere of Kitava's corruption. The area is linear but fraught with danger. Expect to encounter several corrupted Oriathan enemies, including:
- Corrupted Templars: Melee fighters, often in groups.
- Oriathan Zealots: Ranged spellcasters, prioritize these to avoid sustained damage.
- Kitava's Chosen: Larger, more dangerous elites with unique abilities.
Proceed through the rooftops, following the main path. There are no significant detours here, but be mindful of environmental hazards and enemy ambushes. Your primary objective is to reach the entrance to the Cathedral Apex.
-
Cathedral Apex:
The Cathedral Apex is a grand, yet decaying, structure. The path twists and turns, leading you higher towards Kitava's lair. Expect increased enemy density and more challenging encounters. Keep an eye out for:
- Corrupted Priests: Can heal other enemies or cast damaging spells.
- Oriathan Guardians: Heavily armored foes that can be difficult to take down quickly.
Continue your ascent, clearing out the corruption. The atmosphere grows darker, and the sounds of Kitava's presence become more pronounced. Eventually, you will reach the entrance to The Feeding Trough.
Boss Encounter: Kitava, the God of Corruption
Kitava is a multi-phase boss with devastating physical and fire attacks. This fight is a true test of your build's resilience and your ability to adapt to complex mechanics. He has several unique mechanics, including a notorious "heart-eating" phase that requires precise timing and damage output.
Recommended Preparations:
- Life and Defenses: Aim for high maximum life/energy shield and robust elemental resistances, especially Fire Resistance. Overcapping Fire Resistance is highly recommended.
- Movement Skill: A reliable movement skill (e.g., Flame Dash, Whirling Blades, Leap Slam) is crucial for dodging Kitava's attacks and repositioning.
- Flasks: Ensure your life flasks are instant recovery or have charges readily available. A Basalt Flask or Granite Flask can provide significant physical damage reduction. A Ruby Flask is invaluable for fire damage mitigation.
- Damage Type: Kitava does not have significant elemental weaknesses, but physical damage is generally effective. Focus on sustained damage rather per-hit burst.
- Minions/Totems: Minions or totems can help draw aggro and provide consistent damage, making certain phases easier to manage.
Kitava's Phases and Abilities:
Kitava's fight is generally divided into two main phases, with a crucial transition mechanic.
Phase 1: Ground Combat
Kitava starts on the ground, using several powerful attacks:
- Slam Attack: A slow, telegraphed physical slam that deals massive damage in a frontal cone. Easily dodged by moving behind or to the side of Kitava.
- Fire Breath: Kitava breathes a stream of fire in a cone. Deals continuous fire damage. Move out of the cone immediately.
- Heart Tentacles: Kitava summons tentacles from the ground that deal physical damage and can apply a debuff. These are often accompanied by smaller corrupted enemies. Clear them quickly to avoid being overwhelmed.
- Charge: Kitava charges across the arena, dealing physical damage to anything in his path. Use your movement skill to get out of the way.
- Ground Spikes: Kitava slams the ground, causing spikes to erupt in a line or circle. Watch for the ground indicators and move.
Transition Phase: The Heart of Corruption
After taking a significant amount of damage in Phase 1, Kitava will retreat to the background and expose his heart. This is the critical "heart-eating" mechanic:
- Exposed Heart: Kitava's heart will appear in the center of the arena. You must deal as much damage as possible to it within a short time frame.
- Corrupted Blood Pool: As the heart is exposed, a pool of corrupted blood will form around it. Standing in this pool deals continuous physical and chaos damage.
- Heart-Eating Mechanic: If you fail to destroy the heart quickly enough, Kitava will "eat" it, regaining a substantial portion of his health and prolonging the fight. This is a common pitfall. Focus all your damage on the heart during this phase.
Phase 2: Elevated Combat & Enhanced Abilities
Once the heart is destroyed, Kitava will return to the foreground, often with enhanced versions of his Phase 1 abilities and some new tricks:
- Volatile Orbs: Kitava may summon multiple slow-moving fire orbs that explode on impact or after a delay, leaving burning ground. Keep moving to avoid these.
- Chains of Corruption: Kitava can chain players, restricting movement. Break free by moving away or dealing damage to the chain.
- Enhanced Slams/Breaths: His basic attacks may have larger areas of effect or deal more damage.
- Minion Spawns: Expect more frequent and aggressive minion spawns to distract you.
Strategy Tips:
- Stay Mobile: Kitava's attacks are heavily telegraphed but hit hard. Constant movement is your best defense.
- Prioritize the Heart: During the transition phase, unleash all your damage on the exposed heart. This is where high single-target damage truly shines.
- Manage Minions: Don't let the smaller corrupted enemies overwhelm you. Clear them periodically, especially if they are interfering with your ability to dodge Kitava's main attacks.
- Flask Management: Use your flasks strategically. Don't be afraid to pop a life flask early if you take a big hit. Ruby Flasks are excellent for mitigating his fire damage.
- Learn the Tells: Pay close attention to Kitava's animations and audio cues. Each of his attacks has a distinct tell that you can learn to react to.
- Don't Get Greedy: After landing a few hits, be prepared to move. Overcommitting to damage can lead to being caught by a powerful attack.
Rewards for Victory
Upon defeating Kitava, the God of Corruption, you will have successfully completed Act 5 of Path of Exile 2. This monumental achievement grants you:
- 2 Passive Skill Points: These are crucial for further developing your character's build.
- 1 Respec Point: Allows you to reallocate a single passive skill point, offering flexibility for minor build adjustments.
- Access to Act 6: The campaign continues in the ravaged lands beyond Oriath, with new challenges and story elements.
- Pantheon System Unlock: You will gain access to the Pantheon system, allowing you to select major and minor gods to grant powerful defensive and utility bonuses.
Congratulations, Exile! You have overcome one of the most significant hurdles in the Path of Exile 2 campaign. The journey ahead is long, but your victory over Kitava proves you are ready for whatever challenges await.