
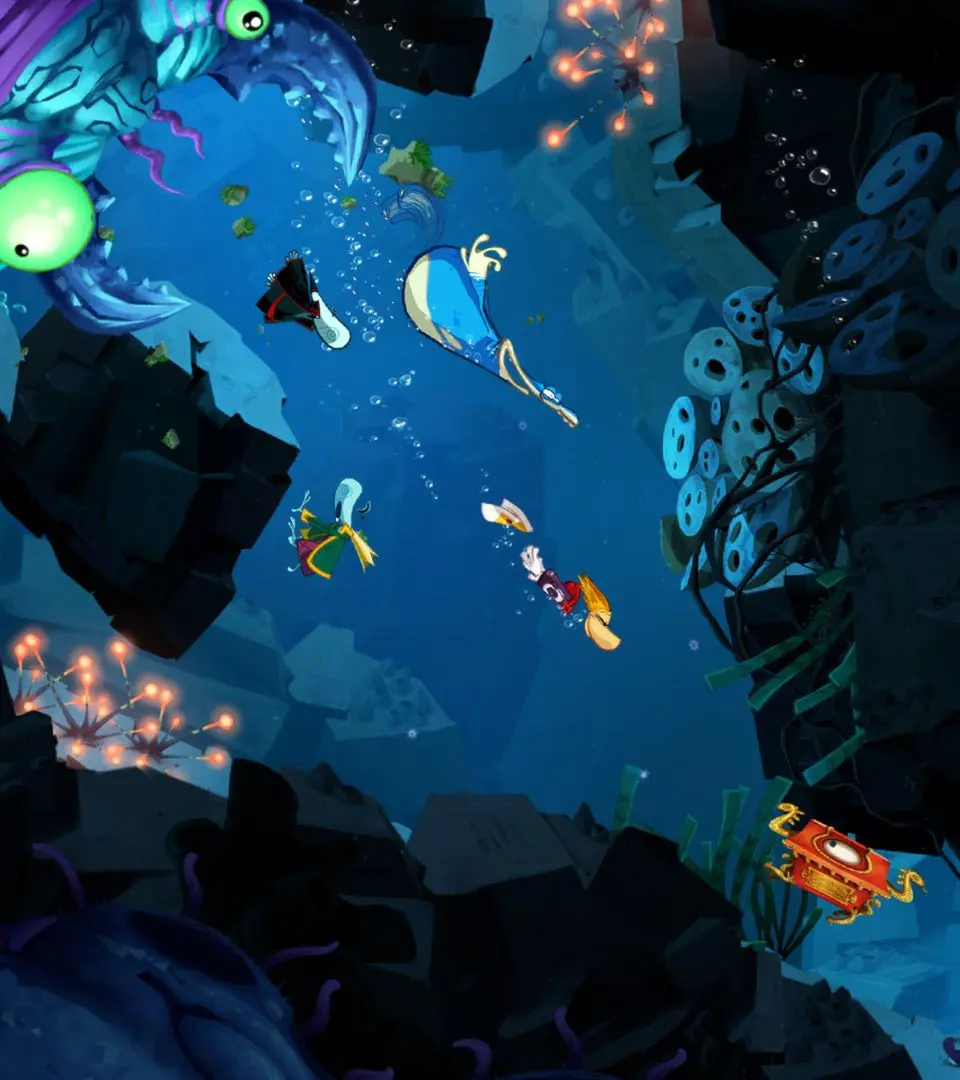
Freaking Flipper
Welcome to "Freaking Flipper," a vibrant underwater adventure that introduces Rayman and his friends to the exhilarating world of swimming! This level is a fantastic showcase of the game's aquatic mechanics, challenging players to master new movement abilities while navigating treacherous currents, avoiding dangerous sea creatures, and uncovering hidden secrets beneath the waves.
Objectives:
- Collect 170 Lums: Gather enough Lums to unlock the Lum King and earn a bonus Electoon.
- Rescue 2 Electoons: Discover and free the two main Electoons hidden within the level.
- Reach the end of the level: Successfully navigate all underwater challenges to complete the stage.
- Time Trial (Optional): Complete the level within the par time to earn an additional Electoon.
New Abilities & Essential Mechanics:
Before diving in, it's crucial to understand the unique mechanics of underwater gameplay:
- Swimming: Rayman and his pals can now swim freely in any direction. Use the left analog stick/directional pad for movement.
- Faster Swim (Hold Jump): Holding down the Jump button (A on Xbox, X on PlayStation, B on Nintendo) will make your character swim significantly faster. This is vital for navigating strong currents and escaping enemies.
- Bubble Punch (Attack Button): Your standard Attack button (X on Xbox, Square on PlayStation, Y on Nintendo) still performs the bubble punch, which is effective against most aquatic enemies.
- Dive (Down + Attack): This is a critical new ability! Pressing Down + Attack will make your character perform a powerful, fast dive. The Dive is essential for:
- Breaking Obstacles: Certain cracked coral formations or weak rock barriers can only be shattered with a Dive. Look for visual cues like cracks or slightly different textures.
- Rapid Movement: Use Dive for quick bursts of speed, especially when navigating tight spaces or dodging projectiles.
- Activating Switches: Some underwater mechanisms might require a Dive to trigger.
- Breath Meter: Contrary to some beliefs, Rayman Origins absolutely features a breath meter when underwater. This meter is represented by a series of bubbles above your character's head. If it depletes, Rayman will start taking rapid damage until he surfaces or finds an air bubble.
- Air Bubbles: These are your lifelines! Look for streams of bubbles rising from the seabed or emerging from specific plants. Swimming into them will instantly replenish your breath meter. Plan your routes to ensure you always have access to air.
Walkthrough:
- Initial Descent & Controls Tutorial:
The level begins with a plunge into the deep. Take a moment to get accustomed to the swimming controls. Practice both regular swimming and the faster swim by holding the Jump button. You'll immediately encounter a few docile fish; use your bubble punch to clear them out. This initial section is generally safe, allowing you to experiment with movement.
- Navigating Currents & First Electoon (Electoon #1):
Soon, you'll encounter your first strong currents. These will push you forcefully in one direction. To overcome them, you'll need to use your faster swim (hold Jump). There's often a hidden path or a breakable barrier just before or after the first major current section. Look for a slightly darker patch of coral or a small alcove to the upper-left or lower-right of the main path. Use your Dive (Down + Attack) to smash through any cracked obstacles. The first Electoon is typically found in one of these short, branching side paths, often guarded by a few Piranhas or a single Spiky Fish.
- Environmental Puzzles & Air Management:
As you progress, the level introduces simple environmental puzzles. These often involve:
- Timed Gates: Activating a switch (sometimes requiring a Dive) that opens a gate for a limited time. You'll need to use your faster swim to pass through before it closes.
- Moving Platforms/Objects: Some sections feature large, slow-moving aquatic platforms or objects that you need to ride or push to clear a path.
- Bubble Streams: Navigating sections where air bubbles are sparse. You'll need to carefully plan your route, swimming from one bubble stream to the next, while avoiding enemies. Prioritize air over Lums if your breath meter is low.
- Enemy Encounters & Strategies:
You'll face several aquatic foes:
- Piranhas: Small, fast-moving fish that charge at you. A single bubble punch usually dispatches them. They often appear in groups.
- Spiky Fish (Pufferfish): These inflate with spikes when you get close. They are invulnerable when spiky. Wait for them to deflate, then hit them with a bubble punch. Alternatively, you can often swim past them quickly using the faster swim or Dive.
- Large, Fast-Moving Fish (Barracudas/Sharks): These often patrol specific routes or charge across the screen. They are usually too large to defeat with a bubble punch. Your best strategy is to dodge them using faster swim or a well-timed Dive. Learn their patterns and anticipate their movements.
- Electric Eels: Found in specific areas, these emit electrical pulses. Wait for the pulse to dissipate before swimming past, or use the faster swim to dash through the gaps in their attack.
- Second Electoon & Challenging Passage (Electoon #2):
The second Electoon is typically located in a more challenging sequence. This often involves a combination of strong currents, multiple enemy types, and a section requiring precise use of the Dive ability. Look for it after a particularly long underwater tunnel or a section with many breakable blocks. It might be hidden behind a series of blocks that need to be Dived through in quick succession, or in a chamber accessible only by navigating a difficult current while avoiding a large fish.
- Reaching the Exit:
The final stretch of "Freaking Flipper" usually involves a last gauntlet of enemies and currents. Keep an eye on your breath meter and use your faster swim and Dive effectively. The level concludes when you reach a surface exit or a portal that transports you out of the water.
Tips for Freaking Flipper:
- Conserve Breath: Always be aware of your breath meter. If it's getting low, prioritize finding an air bubble over collecting Lums or fighting enemies.
- Master the Dive: The Dive ability is your best friend in underwater levels. Practice using it to break obstacles and for quick bursts of speed.
- Learn Enemy Patterns: Especially for larger, undefeatable enemies, observing their movement patterns is key to safe passage.
- Explore Side Paths: Many Lums and often the first Electoon are hidden in short, branching paths that require a keen eye to spot. Don't just follow the main current.
- Use Faster Swim Strategically: It's not just for currents; use it to quickly cross open areas, escape enemy pursuit, or make a dash for an air bubble.
- Don't Be Afraid to Restart: If you're struggling with a particular section, sometimes it's better to restart from the last checkpoint with a full breath meter and fresh health.
By mastering these techniques and paying close attention to your surroundings, you'll conquer "Freaking Flipper" and emerge victorious with all its hidden treasures!