
3-1: Marshlands
Welcome to the treacherous Marshlands, a sprawling, water-logged environment that demands careful navigation and tactical combat. This chapter introduces new enemy types and challenges, requiring players to master boat movement and engage in combat both on land and from the water. Prepare for ambushes and resource management as you seek the keys to unlock the path forward.
Key Objectives:
- Navigate the Marshlands by Boat: use the motorboat to traverse the expansive watery areas, reaching various islands and avoiding environmental hazards.
- Collect the Two Sacred Keys: Locate and acquire two distinct keys – the Stone Tablet (Left Half) and the Stone Tablet (Right Half) – from specific locations within the marsh. These are crucial for unlocking the gate to the next area.
- Neutralize All Threats: Engage and defeat various Majini, including the formidable Giant Majini, as well as dangerous wildlife like crocodiles.
- Reach the Exit Gate: Once both keys are acquired, proceed to the large gate and use them to open the path to the next chapter.
Enemy Encounters:
The Marshlands are teeming with a diverse array of enemies, each requiring specific tactics. Resource management and situational awareness are paramount.
- Tribal Majini: The most common enemy, often armed with spears, bows, or machetes. They can appear in large groups and are adept at ambushing from the tall grass or water. Prioritize headshots or leg shots to stun for melee follow-ups.
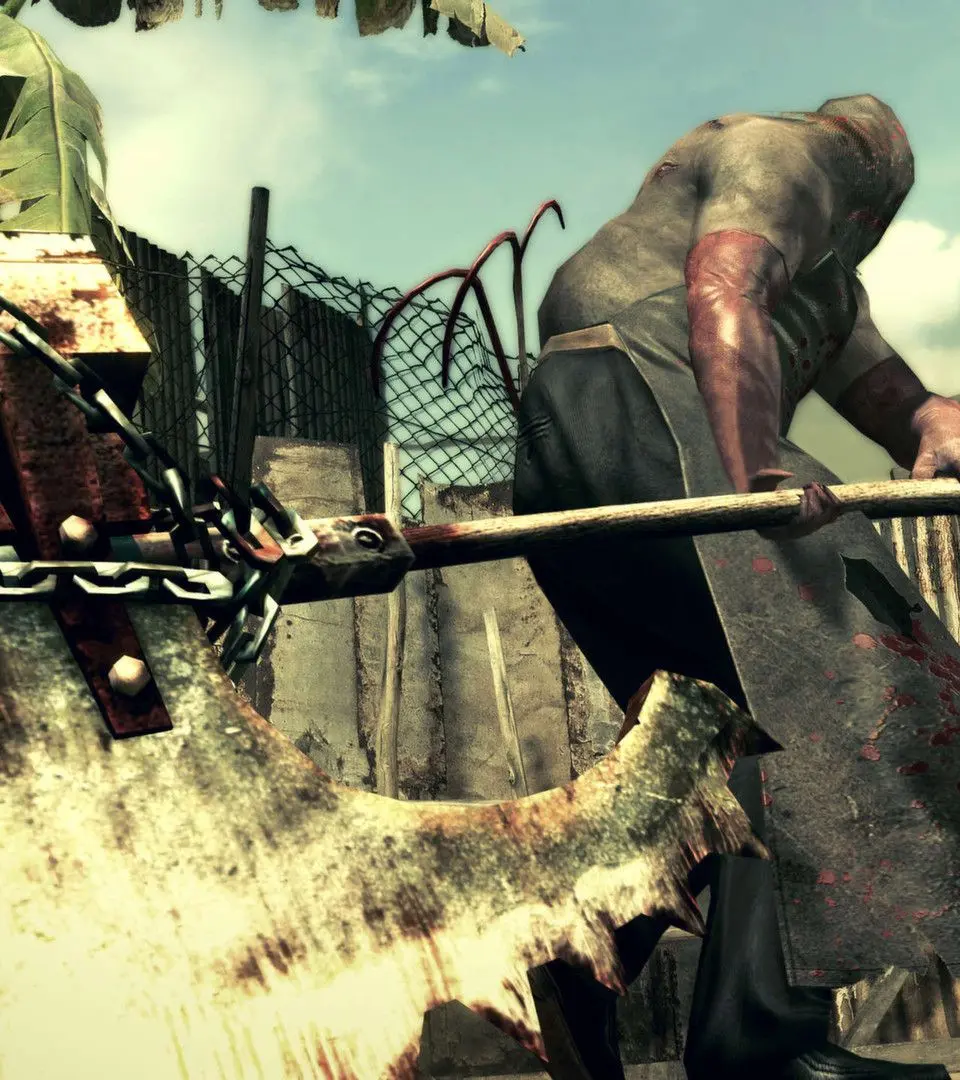
- Giant Majini: These hulking, muscular Majini are significantly more resilient than their regular counterparts. They wield large, crude weapons (like clubs or axes) and deal heavy damage.
- Tactical Advice: The Giant Majini's primary weak point is its head, but it's often difficult to hit consistently due to its erratic movements and large frame. Aim for the chest or legs to stagger it, then follow up with a powerful weapon like a shotgun or magnum to the head. Explosive rounds (grenade launcher) or grenades are highly effective for staggering and dealing burst damage. If possible, kite them around environmental obstacles or use the boat's speed to create distance. They are slow, so maintaining distance is key.
- Cephalo: These parasitic organisms can burst from the necks of certain Majini upon death. They are fast, agile, and have a long, whip-like appendage.
- Tactical Advice: Shotguns are excellent for dealing with Cephalos at close range, often one-shotting them. If you see a Majini with a pulsating neck, prepare for a Cephalo emergence and prioritize killing it quickly before it transforms.
- Duvalia: Similar to Cephalos, these parasites emerge from specific Majini. They are heavily armored on the front, resembling a large, bipedal mouth.
- Tactical Advice: The Duvalia's weak point is its soft, exposed back. You must either flank it or wait for it to expose its back during an attack animation. Shotguns or powerful single-shot weapons are recommended once its weak spot is exposed.
- Crocodiles: These dangerous reptiles lurk in the water and can instantly kill you if you fall in or get too close while disembarked.
- Tactical Advice: Avoid the water whenever possible. If you must enter the water (e.g., to retrieve an item), move quickly and be prepared to shoot any crocodile that surfaces near you. They can be killed with a few pistol shots, but it's best to avoid confrontation.
Walkthrough & Strategy:
Upon starting the chapter, you'll immediately gain control of a motorboat. This will be your primary mode of transportation. The marsh is non-linear, but the objective remains the same: find both halves of the Stone Tablet.
- Initial Navigation & First Island (Stone Tablet - Left Half):
- From your starting point, head generally north-east. You'll soon spot a larger island with a small settlement.
- Disembark your boat and proceed cautiously. This island is heavily populated with Tribal Majini, some armed with bows on elevated platforms. Take them out from a distance if possible.
- Navigate through the huts and shacks. You'll encounter a Giant Majini here. Use the tactical advice above to defeat it.
- After clearing the area, locate the hut containing the Stone Tablet (Left Half). It's usually found on a table or hanging on a wall inside one of the larger structures.
- Before leaving, thoroughly search the island for ammunition, healing items, and treasures. There's often a Diamond (Brilliant) or similar valuable gem hidden here.
- Second Island (Stone Tablet - Right Half):
- Return to your boat and head towards the western or southern part of the marsh. Look for another significant island, often distinguishable by a larger, more imposing structure or a distinct landmark.
- As you approach, be wary of Majini in smaller boats or on the shore attempting to ambush you. You can shoot them from your boat.
- Disembark and prepare for another intense firefight. This island will also feature numerous Tribal Majini and at least one more Giant Majini.
- The Stone Tablet (Right Half) is typically found within the main structure on this island. It might require a short puzzle or simply clearing all enemies to access.
- Again, scour the island for resources. There might be a Gold Bar or other high-value treasure.
- Reaching the Exit Gate:
- Once both halves of the Stone Tablet are in your inventory, return to your boat.
- Navigate towards the large, ornate gate located in the central-northern part of the marsh. It's usually quite prominent and distinct from the surrounding environment.
- Approach the gate and interact with the mechanism. Chris and Sheva will automatically combine the two tablet halves, opening the gate and allowing you to proceed to the next chapter.
Recommended Loadout & Strategy Tips:
- Shotgun: Essential for crowd control, dealing with Cephalos/Duvalias, and staggering Giant Majini. The M3 or Ithaca M37 are excellent choices.
- Rifle (S75/Dragunov): Useful for picking off Majini on elevated platforms or at long range from your boat, conserving pistol ammo.
- Magnum (S&W M29/L. Hawk): Your go-to for burst damage against Giant Majini, especially after a successful stagger. Conserve ammo for these encounters.
- Grenade Launcher (Explosive Rounds): Highly effective against Giant Majini for staggering and significant damage. Also good for clearing groups of Tribal Majini.
- Hand Grenades/Proximity Mines: Excellent for ambushes, clearing groups, or setting traps for Giant Majini.
- First Aid Sprays/Healing Items: Always carry a good supply. The Giant Majini can inflict heavy damage quickly.
- Boat Combat: You can shoot from the boat, which is useful for clearing enemies on the shore or in other boats. However, the boat itself can take damage, so avoid ramming into obstacles or taking too much fire.
- Resource Management: Ammunition can be scarce. Prioritize headshots, use melee follow-ups, and only use powerful weapons when absolutely necessary.
- Explosive Barrels: Keep an eye out for red explosive barrels scattered around the islands. Shooting these when enemies are nearby can clear groups or heavily damage a Giant Majini.
Common Pitfalls & Missables:
- Falling into Water: Instant death by crocodile. Be extremely careful when disembarking or moving near the water's edge.
- Ignoring Crocodiles: While not a direct objective, ignoring crocodiles can lead to unexpected deaths if you get too close.
- Running out of Ammo: The Marshlands can be a grind if you're not conserving ammo. Search every nook and cranny for supplies.
- Missing Treasures: Many islands have hidden treasures that can be easily overlooked. Take your time to explore each area thoroughly after clearing enemies.
- Underestimating Giant Majini: These enemies can quickly deplete your health if you don't have a solid strategy. Don't rush them.