Restore Power to the Elevator
Following your investigation of the casino area and the subsequent events, your immediate objective is to restore power to a critical elevator, typically located in the ship's lower decks. This multi-stage puzzle is essential for progressing deeper into the Queen Zenobia and uncovering its secrets. Be prepared for dark, claustrophobic environments and numerous encounters with the Ooze bio-organic weapons (BOWs).
Objective: Locate and Install Power Components
The elevator's power system requires several key components to become operational. In Resident Evil: Revelations, these components are consistently Fuses. You will need to find a total of three (3) Fuses to complete the puzzle and restore power.
- Component Type: Fuses (always three required).
- Puzzle Mechanism: A large, inactive control panel or engine mechanism, usually located within the main Engine Room (B1).
- Tools Required: Your flashlight for navigation and the Genesis scanner for identifying hidden items and enemy weak points.
Step-by-Step Walkthrough: Engine Room (B1)
Your journey to restore power will primarily take place in the ship's Engine Room, specifically on Deck B1. This area is characterized by its intricate machinery, narrow walkways, and pervasive darkness. The layout can be confusing, so pay close attention to your map and scanner.
- Accessing the Engine Room (B1):
- From the casino, proceed through the previously unlocked pathways leading down to the ship's lower levels. You will typically enter the Engine Room (B1) from a connecting corridor after navigating some maintenance shafts or partially flooded areas.
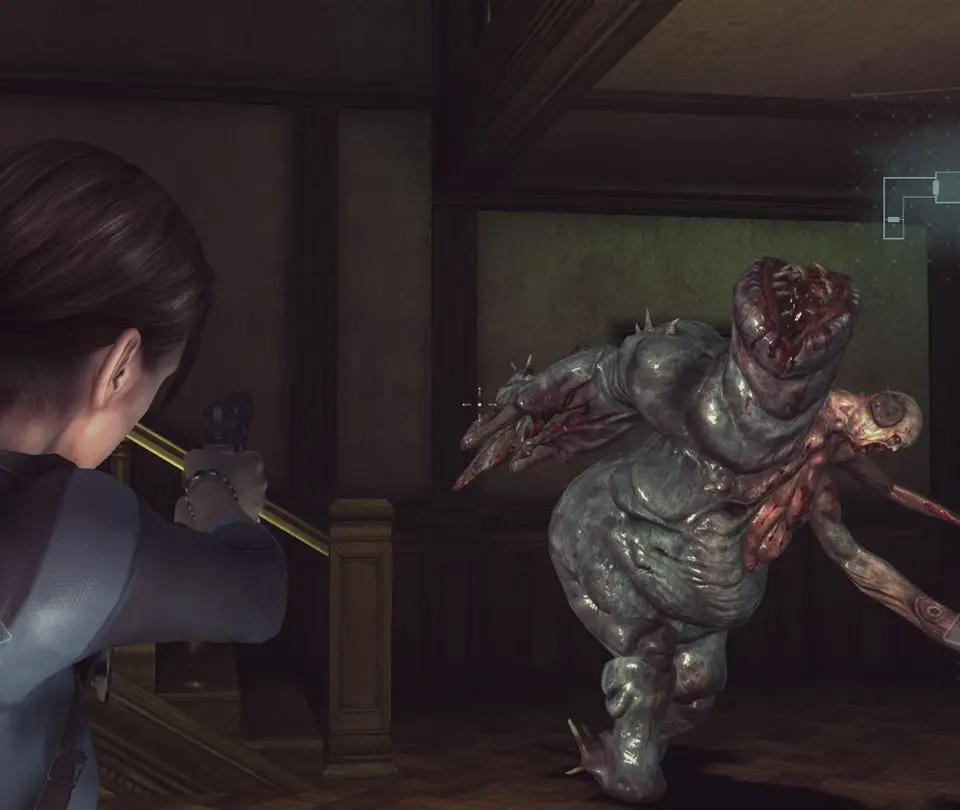
- Enemies: Expect to encounter several Ooze, including the standard variety and potentially some Pincers in the flooded sections leading to B1. Utilize your Genesis scanner to locate their weak points (usually the orange core) and conserve ammo.
- Initial Exploration and First Fuse:
- Upon entering the main Engine Room (B1), activate your flashlight immediately. The area is dimly lit and full of hazards.
- The central puzzle mechanism, a large panel with three empty slots, will be prominent. Interact with it to confirm your objective and see the missing fuse slots.
- First Fuse Location: This fuse is often found very close to the entry point or the central mechanism. Scan the immediate surroundings with your Genesis. It might be on a workbench, a broken console, or even submerged in shallow water near the main power conduit. For example, check the small alcove directly opposite the main power panel.
- Enemies: A few Ooze will likely spawn as you begin your search. Prioritize eliminating them to secure the area. Use the environment to your advantage, such as exploding barrels.
- Navigating the Upper Walkways and Second Fuse:
- Look for stairs or ladders leading to the upper walkways of the Engine Room. These elevated paths often provide access to other sections and offer a vantage point.
- Second Fuse Location: This fuse is typically located on one of these upper walkways, sometimes requiring you to cross a precarious beam or navigate around active machinery. For instance, after climbing the first set of stairs, follow the walkway around the perimeter. The fuse might be on a control panel overlooking the main engine, or in a small office accessible from the upper level. Keep your Genesis active; it can highlight items from a distance, even through grates.
- Enemies: More Ooze will appear, often dropping from vents or emerging from the water below. Be wary of surprise attacks from above or below. A good strategy is to clear the ground floor before ascending.
- Optional: Explore any side rooms or alcoves accessible from the walkways. These often contain ammo, herbs, or custom parts. Use your Genesis scanner liberally.
- Reaching the Lower Levels/Flooded Sections and Third Fuse:
- To find the final fuse, you will likely need to descend into the lower, often partially flooded, sections of the Engine Room. Look for ladders or submerged pathways. This area is usually more dangerous and requires careful navigation.
- Third Fuse Location: This fuse is frequently found in the deepest, most dangerous part of the Engine Room. It might be behind a locked door that requires a specific keycard found elsewhere in B1 (e.g., in a small security office on an upper level), or in a section guarded by a tougher Ooze variant. A common location is within a submerged corridor or a small, water-filled room accessible only by dropping down from a higher platform. You might need to swim briefly.
- Enemies: This area is usually heavily infested. Expect multiple Ooze, potentially a Scagdead (a larger, more resilient Ooze with a chainsaw-like arm), or even a pair of Pincers in the water. Prepare for a significant combat encounter. The tight spaces make dodging difficult.
- Strategy: Use environmental hazards if possible (e.g., exploding barrels, steam vents). The Shotgun is highly effective in these close-quarters, multi-enemy engagements. If facing a Scagdead, aim for its exposed core when it opens its mouth, or use explosives. For Pincers, a Shock Grenade can stun them, allowing for easy knife kills or headshots.
- Installing the Components:
- Once all three Fuses are collected, return to the central puzzle mechanism (the main power panel).
- Interact with the panel. You will automatically place the Fuses into their respective slots.
- A brief animation will play, indicating that power has been restored to the elevator system.
Recommended Loadout and Strategy Tips
The Engine Room is a challenging area with numerous Ooze enemies. Proper preparation and strategic combat are key to survival.
- Weapons:
- Shotgun (M3/Hydra): Indispensable for close-quarters combat against multiple Ooze. Equip damage and capacity upgrades. Its wide spread can hit multiple targets or deal massive damage to a single Ooze's weak point.
- Assault Rifle (P-90/MP5): Good for sustained fire against larger Ooze or for picking off enemies at medium range. Useful for controlling crowds or dealing with Ooze that drop from ceilings.
- Handgun (PC356/Government): Conserve ammo for headshots on standard Ooze or for activating environmental traps. Excellent for precision shots on weak points when enemies are stunned or at a distance.
- Grenades (Pulse/Shock/Frag):
- Pulse Grenades: Excellent for stunning groups of Ooze, especially Pincers in water, allowing for easy follow-up attacks or escape. They also reveal hidden enemies.
- Shock Grenades: Particularly effective against Pincers, temporarily disabling them and making them vulnerable.
- Frag Grenades: Good for clearing groups of standard Ooze or dealing heavy damage to a Scagdead.
- Custom Parts: Prioritize parts that enhance your primary combat weapons.
- Damage/Fire Rate: Essential for increasing your offensive capabilities, especially against tougher Ooze variants.
- Capacity: Reduces reloads during intense fights, crucial when facing multiple enemies.
- Long Range: Can be useful for handguns or rifles to maintain accuracy at a distance.
- Auto Loader: If you find one, this is a game-changer, automatically reloading your holstered weapon.
- Daze/Stun: Increases the chance of staggering enemies, providing critical openings.
- Genesis Scanner:
- Use it constantly! Not only does it reveal hidden items (ammo, herbs, custom parts), but it also highlights enemy weak points (the orange core of Ooze) and allows you to scan enemies for bonus healing items. Scanning 100% of enemies in an area often yields a Green Herb.
- The scanner can also reveal invisible enemies or enemies hiding in dark corners.
- Environmental Awareness:
- The Engine Room often has explosive barrels or steam pipes. Shoot these to your advantage to deal damage to groups of enemies or create temporary barriers.
- Watch for submerged enemies. Pincers are particularly dangerous in water and can grab you, dealing significant damage. Keep your distance or use Shock Grenades.
- Utilize narrow corridors to funnel enemies, making them easier to hit with shotgun blasts or grenades.
- Health Management:
- Keep a close eye on your health. The Ooze can deal significant damage quickly. Use herbs proactively if you're low, especially before entering a known combat zone.
- Scanning enemies with Genesis can yield green herbs, so make it a habit to scan every enemy you encounter, even after defeating them.
Common Pitfalls and Missables
Navigating the Engine Room can be tricky. Be aware of these common mistakes:
- Missing Fuses: The Fuses can be surprisingly well-hidden. Always use your Genesis scanner in every new area and re-scan areas you've cleared. Check high ledges, under machinery, in shallow water, and behind obstacles. They often blend into the environment.
- Running Low on Ammo: The Engine Room is a gauntlet. Conserve ammo where possible, prioritize headshots on weak points, and don't be afraid to use your knife on downed Ooze or for breaking crates. Only engage when necessary; sometimes, running past enemies is a viable strategy if you're critically low on resources.
- Getting Overwhelmed: If you find yourself surrounded, use a grenade or a powerful shotgun blast to create space. Retreat to a more defensible position if necessary. Don't be afraid to fall back to a previous, cleared room to regroup.
- Ignoring Documents: While not always critical for the puzzle itself, documents scattered around the Engine Room can provide lore, hints about enemy weaknesses, or even reveal hidden item locations on your map. Always read them.
- Forgetting to Heal: The final push to the third fuse often involves a tough fight. Ensure you're at full health and have healing items readily available before engaging the larger enemy groups or Scagdead.
- Not Using the Map: The Engine Room's multi-layered structure can be confusing. Regularly check your map to understand your current position, identify unexplored areas, and plan your route.
Post-Puzzle: Activating the Elevator
Once power is restored, return to the previously inactive elevator. Interact with the control panel, and it will now function, allowing you to proceed to the next section of the ship. Be prepared, as activating a major mechanism like this often triggers new enemy spawns or leads directly into a significant encounter or boss fight. Ensure your inventory is organized, your preferred weapons are equipped, and you have sufficient healing items before proceeding.