
Accessing the Laboratory
Welcome, S.T.A.R.S. operative. You've braved the horrors of the Spencer Mansion and the treacherous Guardhouse, but the true nightmare awaits. The Laboratory is the sinister heart of the Umbrella Corporation's illicit research, a subterranean complex where the T-Virus was cultivated and unleashed. This section will guide you through the critical steps to gain entry to this high-security facility, detailing the key items required, their locations, and the specific actions needed to unlock its secrets. The Laboratory is not merely another area to explore; it's the final act of your investigation, leading directly to the game's climactic confrontations and the ultimate truth behind the mansion incident.
Gaining access to the Laboratory is a multi-step process that hinges on your successful navigation of the Guardhouse and the acquisition of specific key items. Depending on your chosen character (Chris Redfield or Jill Valentine), the exact sequence and item names may vary slightly, but the core objective remains the same: activate the hidden entrance.
Prerequisites for Laboratory Access
Before you can even think about entering the Laboratory, you must have successfully completed the following:
- Defeated Plant 42: This monstrous botanical weapon, located in the Guardhouse, must be neutralized.
- Acquired the V-JOLT (Optional but Recommended for Jill): While not strictly required for access, using the V-JOLT on Plant 42 makes the fight significantly easier for Jill. Chris must fight it head-on.
- Obtained the necessary key items from the Guardhouse: These are crucial for unlocking the Laboratory entrance.
Step-by-Step Guide to Laboratory Entry
1. Retrieving the MO Disks (All Versions)
After dealing with Plant 42 in the Guardhouse, your primary objective is to collect the MO Disks. These are essential for activating the hidden elevator that leads to the Laboratory.
- MO Disk 1 Location: This disk is typically found in the Aqua Ring area of the Guardhouse, often in a small office or control room accessible after draining the water.
- MO Disk 2 Location: The second MO Disk is usually located in the Bedroom within the Guardhouse, often on a desk or nightstand.
Important Note: Ensure you have both MO Disks in your inventory. Without them, you cannot proceed.
2. Locating the Hidden Laboratory Entrance
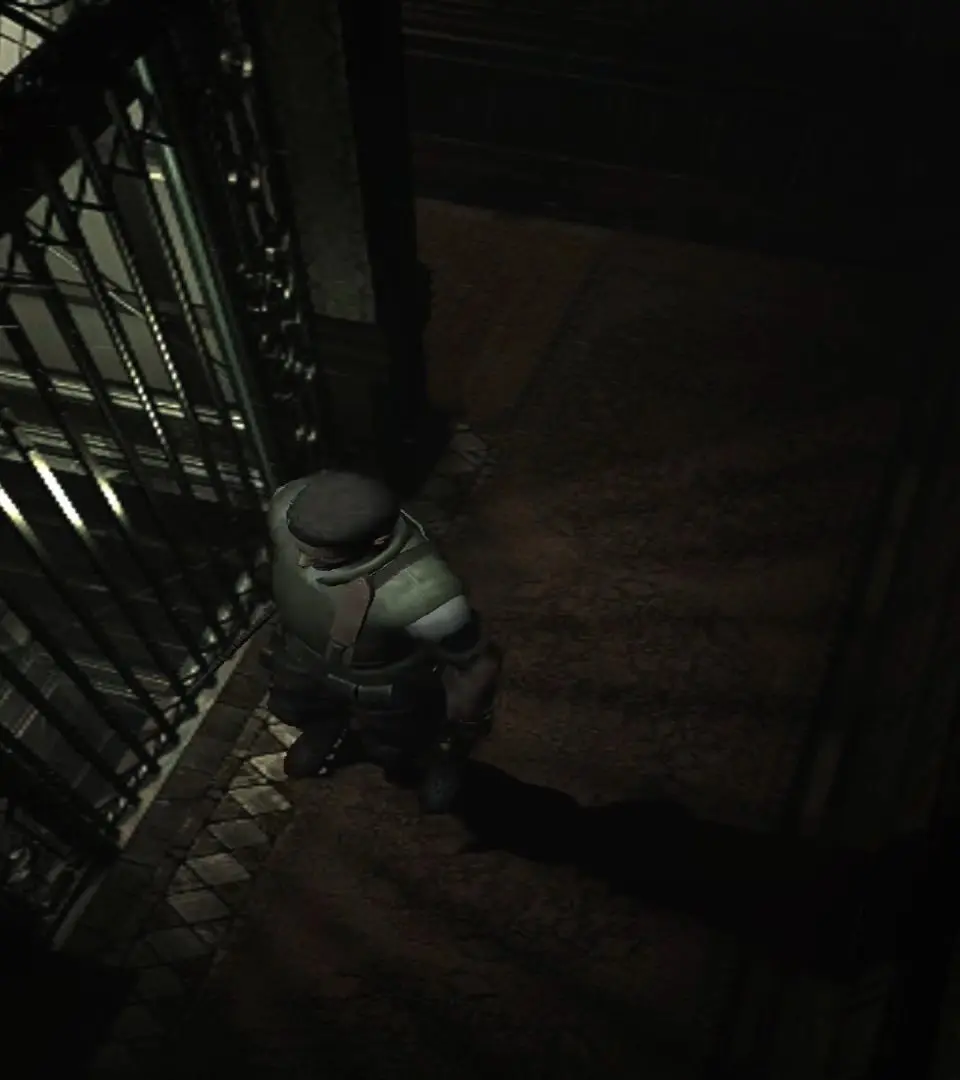
The entrance to the Laboratory is not overtly obvious. It's cleverly concealed within the mansion itself, disguised as a common utility area or an unused corridor. The exact location can vary slightly between game versions (e.g., original, Remake, Director's Cut), but it's consistently found in the Mansion's Basement/Underground area.
- Common Entrance Location: In most iterations, the Laboratory entrance is accessed via a hidden elevator or a secret passage located near the Tiger Statue room or the Art Room in the mansion's basement. Look for a small, unassuming room or corridor that you may have previously overlooked.
- Specifics for Resident Evil Remake (REmake): In the 2002 Remake and subsequent ports, the entrance is typically found in the Underground area, specifically in the corridor leading to the Power Generator Room (where you restored power earlier) or the area near the Aqua Ring access point from the mansion. You'll be looking for a specific door or panel that requires the MO Disks.
3. Activating the Elevator/Secret Passage
Once you've located the hidden entrance, you'll need to use the MO Disks to activate it. This usually involves a puzzle or a console interaction.
- MO Disk Console: You will find a console or a panel with slots for the MO Disks. Insert both disks into their respective slots.
- Inputting the Code (REmake Specific): In the Remake, after inserting the MO Disks, you'll often be prompted to input a specific code. This code is usually found on a document within the Guardhouse or the mansion itself. Pay close attention to any notes or files you've picked up. A common code involves the "8462" sequence, but always verify with in-game documents.
- Power Restoration: In some versions, the elevator or passage might require power to be restored to the area. Ensure you've activated any nearby power generators or switches. This is often a separate puzzle completed earlier in the game.
What to Expect in the Laboratory
The Laboratory is a significant shift in atmosphere and challenge. Be prepared for:
- Increased Enemy Threat: Expect to encounter more advanced and dangerous B.O.W.s (Bio-Organic Weapons) such as:
- Chimeras: Fast, agile, and often found clinging to ceilings. They are a significant threat in close quarters.
- Advanced Hunters: Stronger and more aggressive variants of the Hunters you've faced before. Their pounces can be devastating.
- Zombie Scientists: Often found in research areas, these zombies can be more resilient.
- Resource Scarcity: While some ammo and healing items can be found, resources become even more critical. Manage your inventory wisely.
- Complex Layout: The lab is a maze of interconnected rooms, including research facilities, prison cells, power generator rooms, and observation decks. Navigation can be challenging.
- Keycard and Passcode Puzzles: Expect to find various keycards (e.g., MO Disks, Lab Keycards, Master Key) and passcodes that are essential for progressing through locked doors and activating machinery. These are often found on dead scientists or in hidden documents.
- Crucial Documents: The Laboratory is rich with lore and backstory, revealing the full extent of Umbrella's experiments. Pay close attention to files, research notes, and diaries for critical plot details and puzzle solutions.
- The Tyrant: Be aware that your actions in the Laboratory will inevitably lead to the awakening of the ultimate B.O.W. – the Tyrant. Prepare for multiple encounters with this formidable foe.
Recommended Loadout for the Laboratory
Before descending into the Laboratory, ensure your inventory is optimized:
- Primary Weapon:
- Chris: Shotgun or Magnum.
- Jill: Shotgun or Grenade Launcher (Flame/Acid Rounds are highly effective against many B.O.W.s).
- Secondary Weapon: Handgun (for weaker enemies and conserving powerful ammo).
- Defense Item: Dagger (Chris) or Stun Gun/Flash Grenade (Jill) for emergency escapes.
- Healing Items: At least 2-3 First Aid Sprays or a combination of Green Herbs.
- Key Items: Ensure you have the MO Disks and any other relevant keycards acquired from the Guardhouse.
- Empty Inventory Slots: Leave 1-2 slots open for new key items and documents you'll find.
The Laboratory is the final gauntlet before the game's conclusion. Stay vigilant, manage your resources, and meticulously explore every corner to uncover the truth and escape the nightmare.