Starlight Carnival Act 2
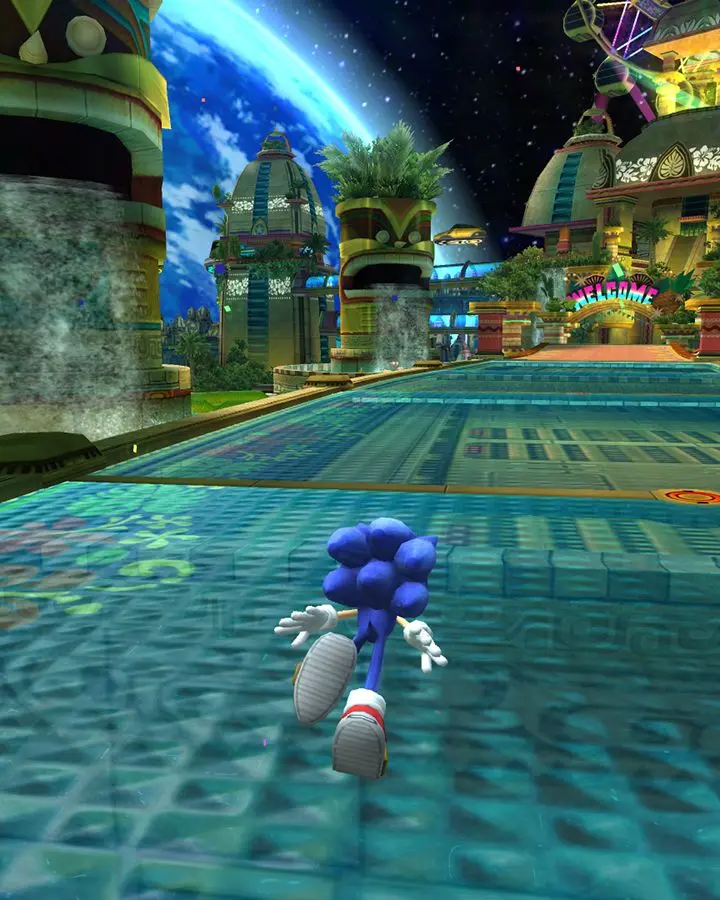
Welcome to Starlight Carnival Act 2, a dazzling display of neon lights and challenging platforming. This act introduces the invaluable Green Wisp (Hover), transforming Sonic's aerial capabilities. The Hover Wisp allows Sonic to glide gracefully through the air, following trails of rings, traversing vast chasms, and reaching otherwise inaccessible areas. Mastering its use is crucial for achieving a high score and, more importantly, for snagging all five elusive Red Star Rings.
The Hover Wisp's ability to maintain altitude and precise movement makes it perfect for navigating the intricate, often vertical, layouts of Starlight Carnival. Be mindful of its limited duration; strategic activation and deactivation are key to maximizing its potential. Look for sections with long lines of rings suspended in the air – these are often indicators of prime Hover Wisp usage opportunities.
Red Star Ring Locations & Strategies
Collecting all five Red Star Rings in Starlight Carnival Act 2 requires keen observation, precise platforming, and expert utilization of the Green Hover Wisp. Each ring presents a unique challenge, often tucked away in hidden paths or requiring specific Wisp maneuvers.
-
Red Star Ring 1: The Initial Ascent
Almost immediately after the act begins, you'll encounter a series of boost pads launching you upwards. As you reach the peak of this initial ascent, look to your left. There will be a large, seemingly empty gap. Activate your Green Hover Wisp here and glide across this chasm. The first Red Star Ring is located on a hidden platform on the other side, often obscured by the vibrant background. This requires quick reflexes to activate the Wisp mid-air and guide Sonic to the platform.
Pitfall: Missing the Wisp activation window will send Sonic plummeting. Be ready to jump and immediately activate the Hover Wisp after the boost pad sequence.
-
Red Star Ring 2: The Moving Platform Gauntlet
Further into the act, you'll come across a section dominated by large, horizontally moving platforms that transport Sonic across a void. As you navigate these, keep an eye out for a particularly wide gap between two platforms where a trail of rings curves sharply downwards and then upwards. Instead of waiting for the next platform, activate your Green Hover Wisp and follow this ring trail. The second Red Star Ring is positioned at the apex of this curved ring path, requiring careful Wisp control to maintain altitude and collect it before landing on the subsequent platform.
Strategy: Don't be afraid to briefly deactivate and reactivate the Hover Wisp to adjust your trajectory if you find yourself drifting too high or too low.
-
Red Star Ring 3: The Ring Maze
This ring is found in a more enclosed, vertical section of the level. After a series of grind rails, you'll enter an area with numerous small, interconnected platforms and a dense arrangement of regular rings forming a sort of "maze." Look for a specific path of rings that leads upwards and then sharply to the right, through a narrow opening. Activate your Green Hover Wisp and meticulously guide Sonic through this tight ring formation. The third Red Star Ring is nestled at the very end of this intricate path, just before you exit this section.
Tip: Small, controlled movements with the analog stick/D-pad are more effective than broad sweeps when navigating tight spaces with the Hover Wisp.
-
Red Star Ring 4: The Laser Corridor Ascent
Towards the latter half of the act, you'll encounter a vertical shaft filled with rotating laser beams and occasional enemies. Instead of taking the obvious path up, look for a series of small, barely visible platforms or ring trails leading into a side alcove on the upper-right. This alcove is often guarded by a single enemy or a stationary laser. Use your Green Hover Wisp to carefully ascend into this alcove, dodging any obstacles. The fourth Red Star Ring is located at the very top of this hidden vertical path.
Warning: The lasers here can be tricky. Time your Wisp activation to glide between their rotations, or use a quick burst of speed if you have a Boost Wisp available to get past them quickly.
-
Red Star Ring 5: The Grand Finale Glide
The final Red Star Ring is typically found near the very end of the act, often requiring a combination of speed and precise Hover Wisp usage. After a high-speed section involving multiple boost pads and springs, you'll be launched into a final aerial sequence. Instead of simply landing on the next platform, look for a very long, arcing trail of rings that extends far beyond the main path, curving downwards and then back up. Activate your Green Hover Wisp and commit to following this extended ring trail. The fifth Red Star Ring is positioned at the furthest point of this grand glide, often requiring you to use almost the entire duration of the Wisp. You'll then land on a platform leading directly to the goal ring.
Key Strategy: Conserve your Hover Wisp until this point if possible, or ensure you have a fresh one. This glide is lengthy and demands sustained Wisp power. Don't be afraid to experiment with the angle of your jump before activating the Wisp to get the optimal starting trajectory.
Mastering the Green Hover Wisp in Starlight Carnival Act 2 is not just about collecting rings; it's about unlocking new pathways and experiencing the level in a more dynamic way. Practice these maneuvers, and you'll be soaring to 100% completion in no time!