
Terminal Velocity Act 1
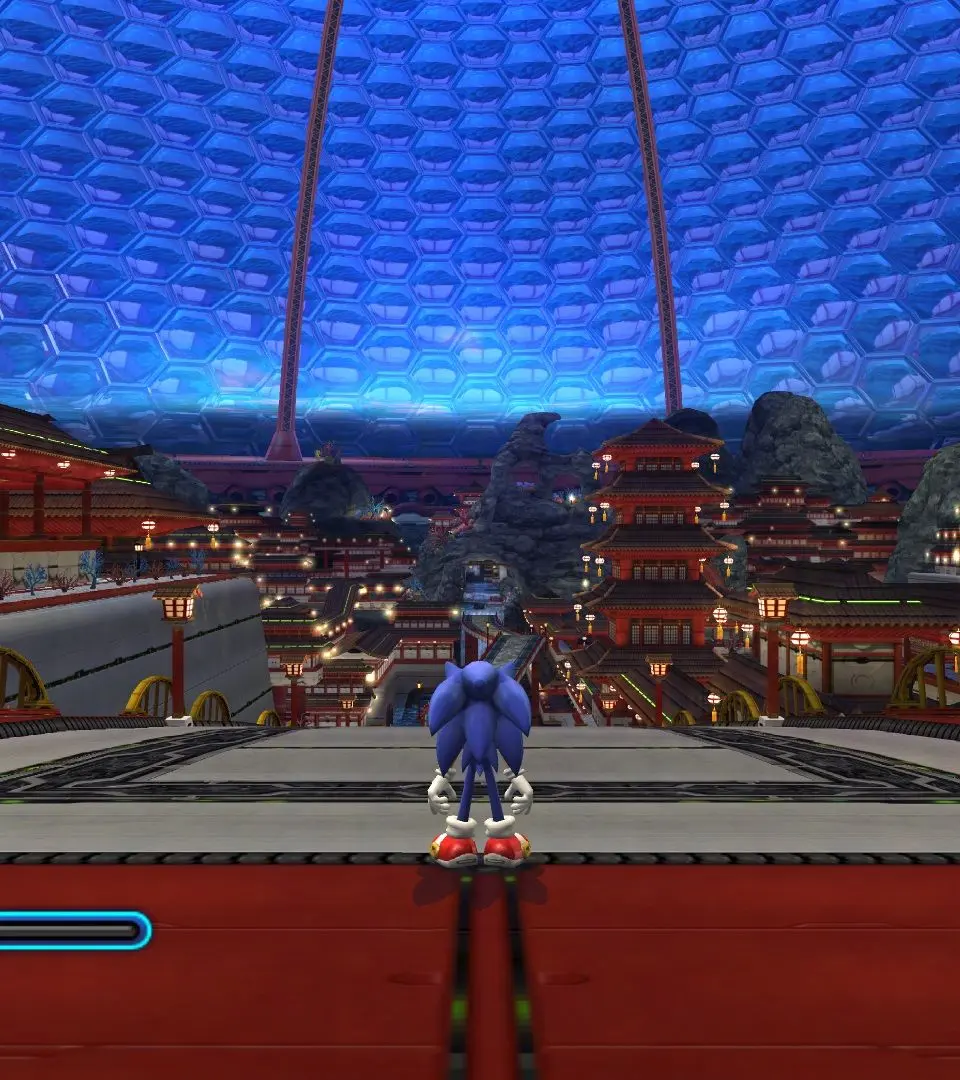
Terminal Velocity Act 1 is a breathtaking descent through the heart of Dr. Eggman's incredible Interstellar Amusement Park, specifically within the Asteroid Coaster zone. This act is a pure, unadulterated test of speed, reflexes, and precision platforming, designed as a continuous, high-speed plummet through a gauntlet of hazards. Unlike acts with numerous branching paths, Terminal Velocity Act 1 funnels Sonic down a singular, challenging route, demanding mastery of his core abilities to survive and thrive. Expect rapid-fire obstacles, strategically placed enemies, and environmental hazards that require split-second reactions.
General Strategy & Tips
- Maintain Boost: Your boost gauge is your lifeline. Prioritize hitting enemies and collecting White Wisps to keep it filled. Boosting not only increases your speed but also grants temporary invincibility, allowing you to plow through weaker enemies and some projectiles.
- Homing Attack Precision: Many sections require precise homing attacks to chain together enemies or reach distant platforms. Practice timing your jumps and attacks.
- Environmental Awareness: The environment is constantly changing. Look ahead for incoming obstacles, collapsing platforms, and enemy placements.
- Drift for Corners: Utilize Sonic's drift ability (holding the boost button while turning) to navigate sharp turns without losing too much momentum.
- Wisp Usage: While this act doesn't heavily feature specific Wisp powers for progression, keep an eye out for any Color Wisps that might offer a strategic advantage or a shortcut to a Red Star Ring.
Red Star Ring Locations & Specific Strategies
Collecting all five Red Star Rings in Terminal Velocity Act 1 requires keen observation, precise execution, and often a willingness to deviate slightly from the fastest path. Here's how to snag each one:
-
Red Star Ring 1: The Initial Drop
- Location: Shortly after the act begins, you'll enter a vertical shaft with several rows of enemies.
- Strategy: As you plummet, stay towards the left side of the shaft. The first Red Star Ring is nestled between a cluster of three enemies (typically Motobugs or similar basic foes). You'll need to perform a series of quick homing attacks to chain through these enemies and grab the ring without hitting the walls. A well-timed boost through this section can also secure it, but be prepared to adjust your trajectory immediately afterward.
- Common Pitfall: Boosting too early or too late can cause you to miss the ring or collide with the wall. Aim for a controlled descent with precise homing attacks.
-
Red Star Ring 2: The Precarious Platform
- Location: After the initial vertical drop, the level transitions into a more open, downward-sloping section with several small, isolated platforms.
- Strategy: Keep an eye out for a small, square platform that appears briefly on the right side of the main path, slightly below the normal trajectory. This platform is often guarded by a single enemy. You'll need to perform a quick jump off the main path, homing attack the enemy on the small platform, and then immediately grab the Red Star Ring that hovers just above it. Be ready to jump back to the main path quickly to avoid falling into the abyss.
- Common Pitfall: Hesitation will cause you to miss the platform entirely. This requires a swift, decisive action.
-
Red Star Ring 3: The Projectile Gauntlet
- Location: Further into the act, you'll encounter a section where projectiles (often missiles or laser blasts) are fired rapidly from the background or side walls.
- Strategy: This Red Star Ring is located in the center of the path during a particularly dense barrage of incoming projectiles. The key here is not just speed, but precise dodging. You'll need to weave left and right, utilizing quick steps (double-tapping the directional pad) to avoid the projectiles while maintaining your forward momentum. The ring is often positioned just after a particularly tricky wave of projectiles, rewarding those who can navigate the chaos.
- Common Pitfall: Focusing too much on dodging can cause you to slow down and miss the ring, or conversely, rushing blindly can lead to taking damage and losing rings.
-
Red Star Ring 4: The Collapsing Structure
- Location: Towards the latter half of the act, you'll enter a section with rapidly collapsing or disappearing platforms and structures.
- Strategy: This ring is situated on a platform that collapses almost immediately after you land on it. You'll need to jump onto this specific platform (often slightly off the main path, perhaps to the left), grab the Red Star Ring, and then immediately jump or homing attack to a stable platform or enemy to avoid falling. Timing is absolutely crucial here; a split-second delay will send you plummeting.
- Common Pitfall: Overthinking or underestimating the speed of the collapse. Trust your instincts and react instantly.
-
Red Star Ring 5: The Final Ascent/Descent Challenge
- Location: Near the very end of the act, often during a final intense sequence of obstacles or enemies before the goal ring.
- Strategy: The final Red Star Ring is typically placed in a challenging, high-speed section that demands a perfect combination of boost and homing attacks. Look for it suspended high above the main path, requiring a well-timed jump and homing attack chain off a series of airborne enemies or a strategically placed spring. Alternatively, it might be at the end of a long boost ramp, requiring you to maintain maximum speed and hit a specific jump panel to launch you towards it. Pay close attention to any Color Wisps (like the Cyan Laser or Yellow Drill) that might appear just before this section, as they could provide a unique way to reach it.
- Common Pitfall: Rushing the final section without observing the optimal path. Sometimes, a slight slowdown to assess the situation is better than a blind dash.
Common Pitfalls & Missables
- Falling Off: The most common way to fail this act. Always prioritize staying on the path, even if it means sacrificing a few rings.
- Hitting Obstacles: Boost provides invincibility, but it's not infinite. Large obstacles or certain enemy types will still stop you.
- Missing Boost Opportunities: Not collecting White Wisps or hitting enemies means your boost gauge will deplete, making it harder to maintain speed and invincibility.
- Underestimating Enemy Placement: Enemies are often placed not just as obstacles, but as tools for homing attack chains to reach higher areas or maintain momentum.
Mastering Terminal Velocity Act 1 is a rewarding experience that hones your fundamental Sonic skills. With practice and these detailed strategies, you'll be collecting all Red Star Rings and achieving S-Ranks in no time!