
Mirage Saloon Zone Act 1
Welcome to the arid, yet surprisingly dynamic, landscape of Mirage Saloon Zone Act 1! This zone immediately distinguishes itself with its unique environmental hazards and exhilarating traversal mechanics. Prepare for a high-speed dash through a desert canyon, complete with treacherous quicksand, powerful sand geysers, and the iconic mine cart sequences that demand quick reflexes.
Your primary objective, as always, is to reach the end of the Act and confront the boss. Along the way, keep an eye out for hidden pathways, collectible rings, and the elusive Giant Ring that leads to a Special Stage.
Act 1 Walkthrough: Navigating the Desert Canyon
Mirage Saloon Zone Act 1 offers multiple paths, catering to different playstyles and character abilities. We'll outline a general high-speed route, highlighting key features and potential detours.
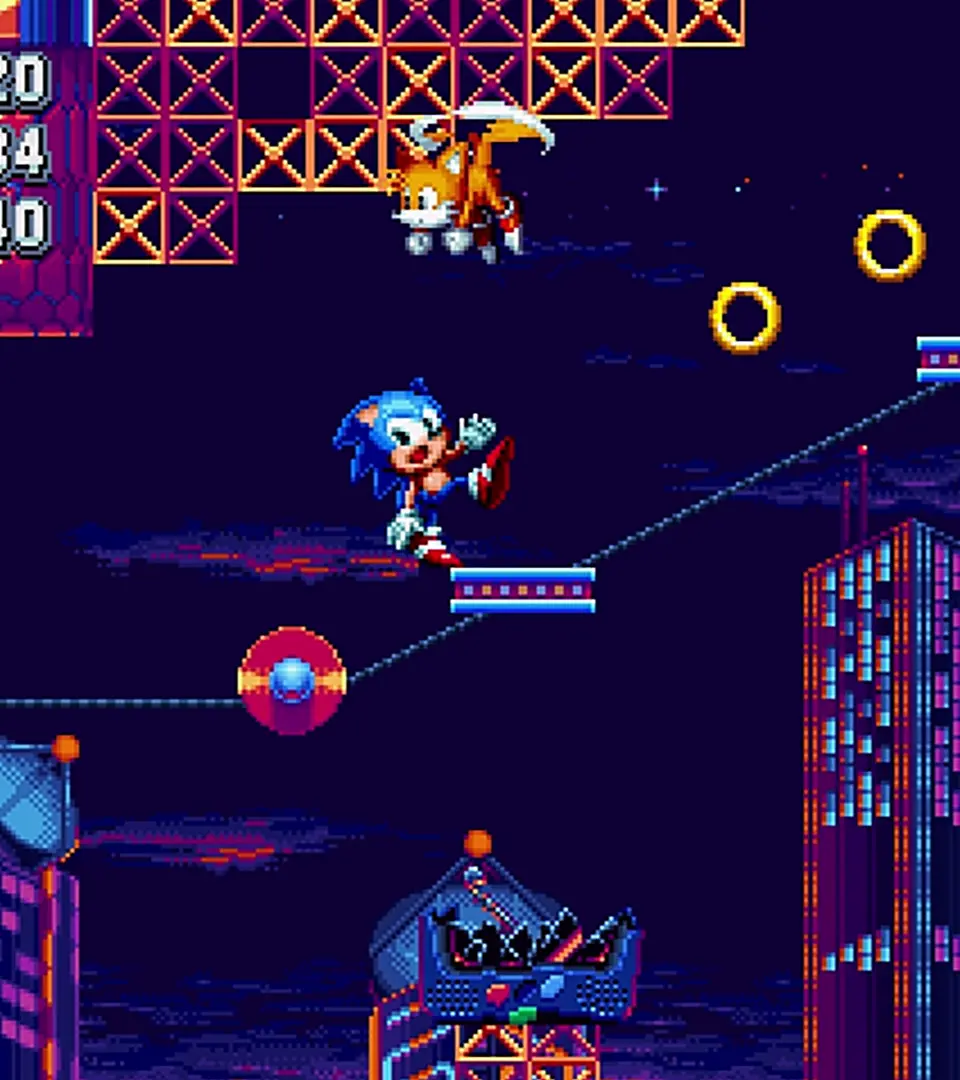
- Initial Dash & Sand Geysers: The Act begins with a straightforward dash. You'll quickly encounter your first sand geysers. These are crucial for reaching higher platforms and uncovering secrets. Stand on a geyser as it's erupting to be launched upwards.
- Quicksand Pits: Be wary of the numerous quicksand pits. While they won't instantly defeat you, they significantly slow your momentum, making you vulnerable to enemy attacks. Use your jump or character-specific abilities (e.g., Sonic's Drop Dash, Tails' flight) to clear them efficiently. Some quicksand pits hide pathways beneath them; a careful descent can reveal bonus areas or even the Giant Ring.
- Mine Cart Mayhem: A signature element of Mirage Saloon is the mine cart sections.
- Entering Carts: Simply jump into an empty cart to board it.
- Controlling Carts: You have limited control. Use the jump button to hop over obstacles or switch tracks at designated junctions. Some junctions require you to press a direction (left/right) while jumping to choose your path.
- Hazards: Watch out for broken tracks, enemy robots (especially the Buzz Bombers that drop bombs), and other carts that might collide with yours. A well-timed jump can save you from a nasty crash.
- Enemy Encounters: The desert is patrolled by several Eggman's badniks:
- Caterkiller Jr.: Standard caterpillar-like enemies. Spin Dash or jump on their heads.
- Buzz Bomber: Flying robots that drop bombs. Prioritize taking them out, especially during mine cart sequences.
- Snail Blaster: Stationary turrets that fire projectiles. Approach cautiously and attack when their shell opens.
- Sandworm: These emerge from the quicksand. Jump over them or attack their head when it surfaces.
- Hidden Pathways & Giant Ring:
- High Paths: Many sand geysers lead to elevated routes, often containing more rings, power-ups, and fewer enemies. These are generally the fastest routes.
- Low Paths: Beneath quicksand or through destructible walls (often marked by cracks) can lead to secret areas.
- Giant Ring Location: The Giant Ring in Act 1 is typically found by taking a high path. Look for a series of sand geysers that launch you to an unusually high platform or a hidden alcove shortly after a mine cart sequence. It's often guarded by a few enemies or requires a precise jump.
Boss Battle: Heavy Gunner
The end of Mirage Saloon Zone Act 1 brings you face-to-face with the formidable Heavy Gunner, one of the elite Heavy King's lieutenants. This battle takes place atop a moving train, adding an extra layer of challenge.
Heavy Gunner Strategy:
The Heavy Gunner pilots a heavily armored train car, equipped with a powerful cannon and a squad of Eggman's minions. The key to victory lies in patience and precise timing.
- Phase 1: Minion Barrage & Cannon Fire
- The Heavy Gunner will initially stay out of reach, sending out waves of Egg Robos (or similar flying badniks) to attack you.
- Simultaneously, the train car's cannon will fire projectiles. These can be jumped over or dodged by moving to the far edges of the screen.
- Action: Focus on destroying the Egg Robos. Each time you defeat a wave, the Heavy Gunner's train car will briefly lower, exposing its cockpit.
- Phase 2: Vulnerability Window
- After a wave of minions is defeated, the Heavy Gunner's cockpit will briefly open, revealing the Heavy Gunner himself. This is your only opportunity to deal damage.
- Action: Immediately jump and attack the Heavy Gunner's exposed head. A single hit is all you can usually get before he retracts.
- Repeat and Conquer:
- The Heavy Gunner will repeat this pattern: send minions, fire cannon, briefly expose himself.
- Common Pitfall: Don't get greedy! Trying to get multiple hits can lead to taking damage from the cannon or the returning minions. Stick to one hit per opening.
- Recommended Characters:
- Sonic: His Drop Dash can help maintain momentum and quickly get into position for an attack.
- Tails: His flight allows for easier positioning to hit the Heavy Gunner's head and avoid projectiles.
- Knuckles: His glide can be useful for reaching the Heavy Gunner, but his shorter jump range might make hitting the boss slightly trickier.
After approximately 8 hits, the Heavy Gunner's train car will explode, signaling your victory and the completion of Mirage Saloon Zone Act 1. Collect your well-deserved large ring and prepare for the next challenge!