
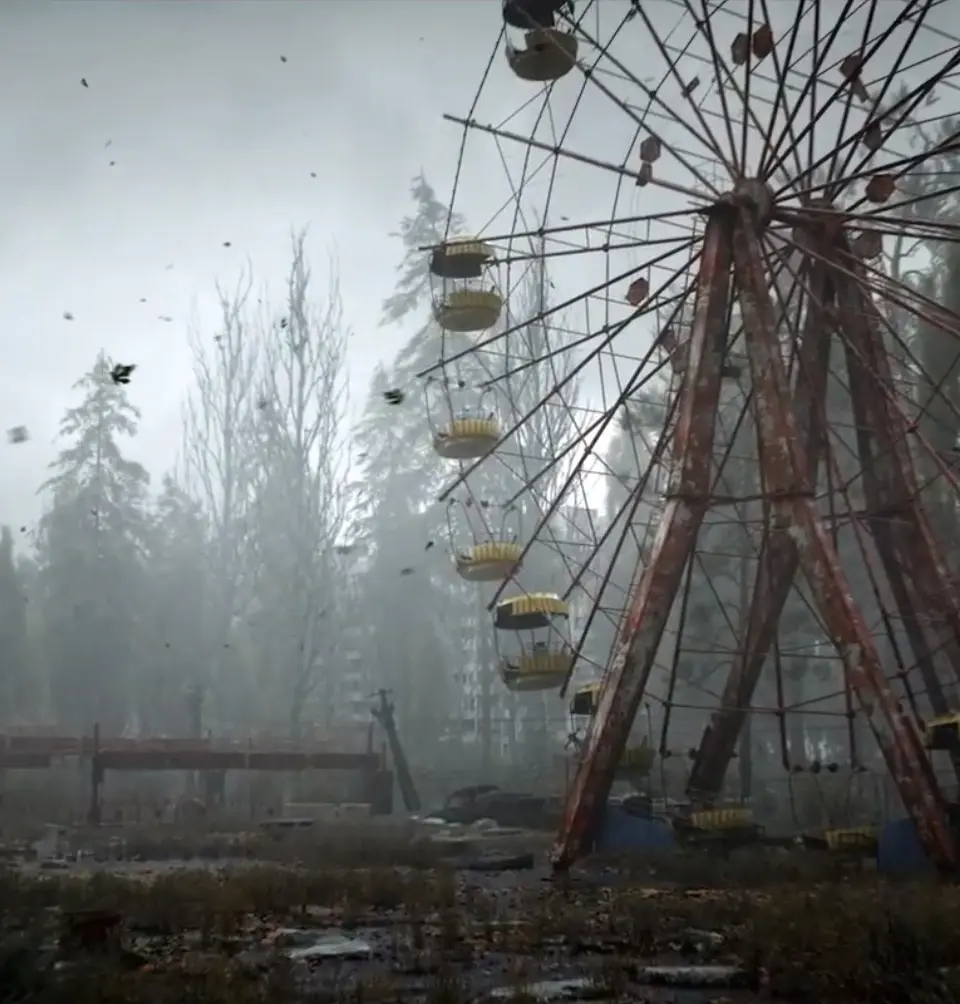
Stash Hunting: Unearthing the Zone's Hidden Treasures
The Zone is a vast, unforgiving expanse, but for the observant and the brave, it holds countless secrets. Among the most rewarding pursuits is Stash Hunting, the art of uncovering hidden caches of supplies, powerful equipment, and valuable artifacts left behind by previous expeditions or secreted away by desperate survivors. These stashes can be the difference between a successful expedition and a grim end, offering vital resources and game-changing gear.
The Nature of Stashes
Stashes are not simply random drops. They are deliberate caches, often placed with a purpose. Their contents can range from basic survival supplies to high-tier weaponry and rare artifacts. The value of a stash is directly proportional to the difficulty and danger involved in acquiring it.
Types of Stash Loot
While the Zone is unpredictable, certain types of loot are commonly found in stashes. Always be prepared to haul back:
- Ammunition: From common 5.45x39mm and 7.62x39mm rounds to specialized .338 Lapua Magnum or 12x76mm slugs. Quantities can vary from a few magazines to entire boxes.
- Weapons: Ranging from serviceable but worn pistols and assault rifles to rare, high-grade firearms like the AS VAL or the unique "Chaser" shotgun. Some stashes might contain weapon parts or attachments.
- Armor: From basic leather jackets and padded vests to advanced Exoskeletons or specialized faction armors like the Duty or Freedom combat suits.
- Artifacts: The most sought-after items. These can include common artifacts like "Jellyfish" (radiation resistance) or "Meat Chunk" (hunger reduction), to rare and powerful artifacts like "Blood Sucker" (health regeneration) or "Fireball" (heat resistance).
- Medical Supplies: Bandages, medkits (standard and advanced), anti-rads, and stimpacks.
- Food and Drink: Canned goods, energy drinks, and vodka. Essential for managing hunger and thirst.
- Tools and Equipment: Repair kits, lockpicks, binoculars, and sometimes even specialized items like anomaly detectors.
- Money: Rubles, often in significant quantities, which can be crucial for trading with merchants or bribing NPCs.
- Quest Items: Occasionally, stashes may contain items crucial for progressing specific quests.
Deciphering Stash Clues
Finding a stash is rarely as simple as stumbling upon it. Most stashes are hinted at through cryptic clues. These can be found in various forms:
- PDA Entries: Found on the bodies of fallen stalkers, these often contain personal notes, coordinates, or descriptions of hidden locations.
- Rumors from NPCs: Traders, quest givers, and even random stalkers might share whispers of valuable caches, often for a price or as a reward for a favor.
- Purchased Information: Information brokers in settlements like the Bar or the C-Consciousness labs might sell detailed stash locations or maps.
- Environmental Clues: Sometimes, the clue is not written but observed. A peculiar arrangement of rocks, a specific tree, or an unusual anomaly formation can be the key.
Interpreting Clues: Examples
- "Under the rusted husk of the old tractor, near the Whispering Woods." This suggests looking for a specific landmark (rusted tractor) in a known area (Whispering Woods). The stash might be buried beneath it or hidden within its decaying structure.
- "Three steps north of the anomaly cluster, where the air hums with static." This requires identifying a specific anomaly field and then taking a precise measurement from its edge. The "humming air" is a sensory clue to the presence of dangerous energy.
- "The artifact hunter's last stand. His map is in his pocket, the prize is where the sun sets on the broken tower." This points to a specific fallen NPC. You'll need to loot his body for a map, which will likely contain more precise coordinates or a visual representation of the stash's location relative to a prominent landmark (broken tower) and a directional cue (where the sun sets).
- Coordinates: Some PDAs will simply provide numerical coordinates. These can be tricky, as they might be relative to a general area or require precise triangulation.
Navigating the Dangers of Stash Hunting
Stashes are rarely in safe, easily accessible locations. The Zone's inhabitants and its very nature conspire to protect these hidden treasures. Expect to face:
Common Threats and How to Counter Them
-
Mutants:
- Pseudodogs & Wild Dogs: Fast, pack hunters. Use shotguns or automatic weapons. Keep your distance and aim for the head.
- Bloodsuckers: Stealthy and deadly. Invest in a good scope for your rifle to spot their shimmer. Listen for their distinctive hiss. A powerful shotgun or a well-aimed burst from an assault rifle can stagger them.
- Snorks: Fast, ground-dwelling mutants. They can swarm. Shotguns are highly effective.
- Controllers: Psionic threats. They can disorient and kill you from a distance. Carry plenty of anti-rads and medkits. Disrupt their line of sight by using cover or flanking. A high-caliber rifle can sometimes interrupt their psionic attacks.
- Burers: Telekinetic mutants. They can throw objects and even your grenades back at you. Stay mobile and use cover. Shotguns at close range are effective.
-
Anomalies:
- "Whirligig," "Springboard," "Electro": These can cause instant death or severe damage. Always use an anomaly detector or throw bolts to scout ahead. Learn their visual and auditory cues. Artifacts like "Jellyfish" or "Stone Flower" can offer resistance.
- Radiation Zones: Marked by Geiger counters and visual distortion. Wear radiation-resistant gear and consume anti-rads.
-
Hostile Factions/Bandits:
- Stashes are often located in bandit camps or contested territories. Approach with caution.
- Strategy: Scout the area from a distance. Identify patrol routes and enemy positions. Consider stealthy approaches, using silenced weapons and cover. If direct confrontation is unavoidable, prioritize taking out snipers and heavy weapon users first. Use grenades to flush enemies out of cover.
-
Environmental Hazards:
- Collapsed buildings, unstable structures, and hazardous terrain. Move carefully and be aware of your surroundings.
Recommended Loadout for Stash Hunting
A versatile loadout is key:
- Primary Weapon: A reliable assault rifle (e.g., AKM-74/2, LR-300) with good range and stopping power.
- Secondary Weapon: A shotgun (e.g., MP-133, SPAS-12) for close-quarters combat against mutants and groups of enemies.
- Sidearm: A decent pistol (e.g., Makarov, Glock-17) for emergencies.
- Armor: A balanced combat suit offering good protection against bullets and moderate anomaly/radiation resistance. Prioritize armor with slots for artifact insertion.
- Consumables: Plenty of medkits, bandages, anti-rads, and food.
- Tools: Anomaly detector, repair kits.
Step-by-Step Stash Acquisition Example: "The Lonely Watcher's Cache"
Let's imagine a scenario based on a common clue type:
- Acquire the Clue: You find a PDA on a dead stalker near the abandoned Agroprom Research Institute. The entry reads: "The old watcher overlooking the swamp. He saw everything. His last message is etched near the fallen statue. The prize is where his gaze ends."
- Locate the Area: You know the Agroprom area has a large swamp and several ruined structures. You recall a prominent, partially destroyed statue on a hill overlooking the swamp. This is likely the "fallen statue."
- Find the "Watcher": Navigate to the statue. You might find another body nearby, or perhaps the "watcher" refers to a strategic vantage point. Look for any markings or containers near the statue. Let's assume you find a small, locked metal box at the base of the statue.
- Interpret the "Message": You find a small, etched inscription on the statue's base: "North-West, 50 paces, by the twisted oak."
- Navigate to the Stash: Equip your anomaly detector. From the statue, walk approximately 50 paces in the North-West direction. Keep an eye out for a distinctive, gnarled oak tree. The swampy terrain here might be hazardous, so tread carefully. You might encounter mutated frogs or even a bloodsucker drawn to the area.
- Secure the Loot: The stash is likely buried at the base of the twisted oak, or hidden within a hollow in its trunk. Digging might be required, or you might need to use a crowbar. Be prepared for a potential ambush from lurking mutants or bandits who were also searching for this stash.
- Collect Rewards: Inside, you might find a rare Vintorez sniper rifle, a few artifact slots filled with "Medusa" artifacts (radiation resistance), and a substantial amount of rubles.
Common Pitfalls and Missables
- Ignoring Environmental Clues: Don't rely solely on PDA text. The Zone is a visual puzzle.
- Rushing In: Always scout ahead. Many stashes are trapped or guarded by powerful enemies.
- Over-Encumbrance: Stashes can be heavy. Prioritize valuable items and plan your return route.
- Forgetting About Anomalies: The most dangerous threats are often invisible. Always use detectors and scout.
- Missing Quest-Related Stashes: Some stashes are tied to specific quests. Failing to find them might lock you out of quest progression. Pay attention to quest logs and NPC dialogue.
Stash hunting is an integral part of the S.T.A.L.K.E.R. experience, rewarding exploration, caution, and a keen eye for detail. Master the art of deciphering clues and surviving the dangers, and you'll find yourself well-equipped to face the heart of Chornobyl.