
World 5-1: Sprawling Savanna
Welcome to the vast and vibrant Sprawling Savanna! This level introduces open-ended exploration and a focus on environmental puzzles, often requiring clever use of power-ups like the Double Cherry. Prepare for a hunt across grassy plains and through hidden grottoes to uncover all its secrets.
Level Overview and General Tips
- Recommended Power-Up: While not strictly required, the Double Cherry is invaluable for collecting some items and solving puzzles. Keep an eye out for them throughout the level.
- Exploration is Key: Unlike more linear levels, Sprawling Savanna encourages you to venture off the main path. Look for suspicious patches of grass, hidden pipes, and glowing spots.
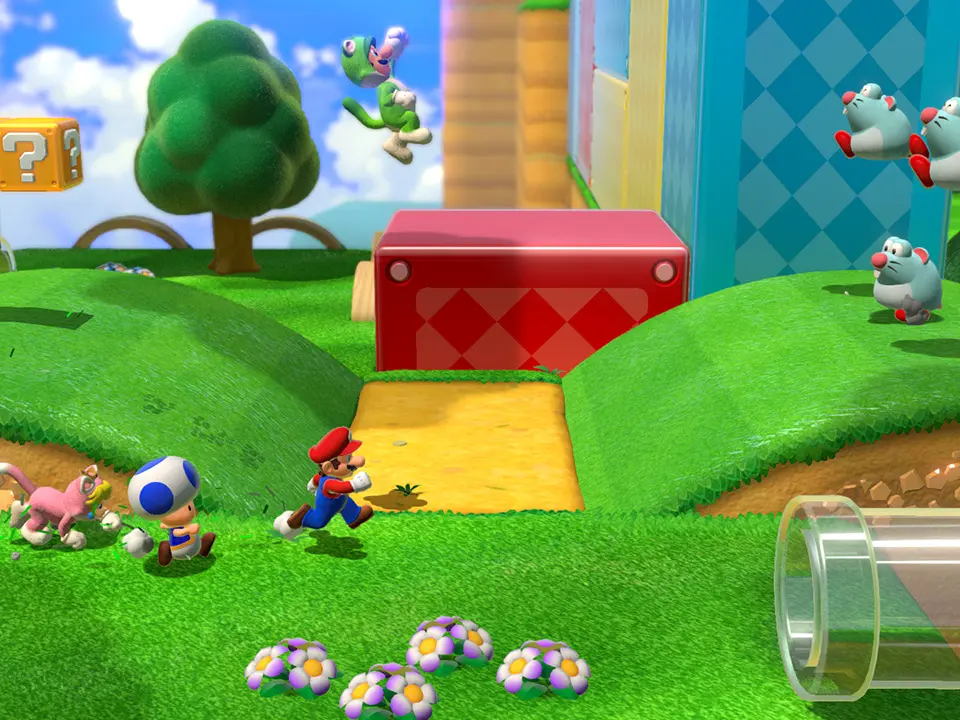
- Enemies: Expect to encounter Goombas, Koopa Troopas, and the occasional Piranha Plant. None pose a significant threat, but be mindful of their positions when platforming.
- Checkpoints: There are two checkpoints in this level. The first is shortly after the initial open area, and the second is closer to the end, before the final climb.
Collectible Walkthrough: Green Stars and Stamp
To achieve 100% completion in Sprawling Savanna, you'll need to find three Green Stars and one Stamp. Follow these detailed instructions to secure every collectible.
Green Star 1: The Hidden Block Reveal
- Starting Point: From the very beginning of the level, proceed forward into the first open grassy area.
- Locate the Goomba Stack: You'll see a stack of two Goombas near a small hill to your right.
- Find the Invisible Block: Directly behind this stack of Goombas, slightly to the left of the small hill, there's an invisible block. It's positioned roughly where the shadow of the hill meets the flat ground.
- Jump to Reveal: Jump repeatedly in this area. You'll hit an invisible block, which will then become visible.
- Collect the Star: Jump onto the newly revealed block, and the first Green Star will appear directly above it.
Green Star 2: P-Switch Pathway
- Reach the First Checkpoint: Continue through the level until you pass the first checkpoint flag, which is located after a small area with a few Piranha Plants.
- Spot the P-Switch: Immediately after the checkpoint, you'll enter a slightly larger area with a few Koopa Troopas. Look to your left. You'll see a solitary P-Switch resting on a small, elevated platform.
- Activate the P-Switch: Jump and hit the P-Switch. This will cause a series of blue blocks to appear, forming a temporary bridge across a small chasm to your right.
- Cross Quickly: The blue blocks will disappear after a short time, so run or sprint across them without delay.
- Claim the Star: On the other side of the chasm, the second Green Star will be waiting for you on a small, isolated platform.
Green Star 3: Secret Cave Challenge
- Advance to the Second Half: Progress past the area where you found Green Star 2. You'll eventually come to a section with several large, circular bushes and a few more Goombas.
- Locate the Hidden Pipe: Look for a large, circular bush on the far-right side of this area, near the edge of the map. It's the third large bush you encounter after the first checkpoint, if counting from left to right.
- Enter the Pipe: Walk behind this specific bush. You'll discover a hidden green pipe. Enter it to be transported to a secret underground cave.
- Navigate the Cave: Inside the cave, you'll find a short platforming challenge. There are a few small platforms and some Biddybuds.
- Utilize Double Cherry (Optional but Recommended): If you have a Double Cherry, it can make this section easier, as you might need to activate multiple switches or stand on multiple pressure plates simultaneously to reveal the star. However, it's also possible to complete it with a single character by carefully timing your jumps or using a ground pound on the correct block.
- Collect the Final Star: The third Green Star is located at the end of this short cave section, often requiring you to hit a block or stand on a switch to make it appear.
Stamp: Bushy Hiding Spot
- After the Second Checkpoint: Continue through the level until you reach the second checkpoint flag. This checkpoint is located on a slightly elevated platform, shortly after the area with the secret cave pipe.
- Look to the Right: From the second checkpoint, turn your camera slightly to the right. You'll see a cluster of large, circular bushes.
- Find the Specific Bush: The Stamp is hidden directly behind the largest of these bushes, which is positioned furthest to the right, almost against the invisible wall of the level. It's the one that looks slightly out of place compared to the others.
- Walk Behind It: Simply walk behind this specific large bush, and the Stamp will be revealed for you to collect.
Common Pitfalls and Missables
- Missing the Invisible Block: Many players rush past the initial Goomba stack without realizing the first Green Star is hidden so early in the level. Always check suspicious areas near the start!
- P-Switch Timer: The blue blocks from the P-Switch disappear quickly. Don't hesitate; run across as soon as they appear.
- Overlooking the Secret Pipe: The pipe to the third Green Star is very well-hidden behind a seemingly ordinary bush. Take your time to explore every large bush in the latter half of the level.
- Forgetting the Stamp: The Stamp is often missed because it's slightly off the main path and behind a common environmental object. Make it a habit to check behind large scenery elements.
Power-Up Strategy
While no specific power-up is mandatory for completing the level, the Double Cherry is particularly useful. You'll find several Double Cherry blocks throughout the level. Having multiple clones can help with:
- Activating multiple switches: Some puzzles, especially in later levels, require multiple characters to stand on pressure plates simultaneously.
- Increased attack power: More characters mean more stomps or fireballs.
- Easier collectible retrieval: Sometimes, having an extra character allows you to reach a slightly out-of-the-way item without precise platforming.
Keep an eye out for the Super Bell (Cat Mario) as well, as its climbing ability can sometimes reveal alternative paths or shortcuts, though it's not strictly necessary for any collectibles in this particular level.
By following these detailed instructions, you should have no trouble collecting all the Green Stars and the Stamp in World 5-1: Sprawling Savanna, bringing you closer to 100% completion!