
Level 9: Final Gauntlet
Welcome, program. You have reached the precipice of your journey, the ultimate test of your mastery over time and violence. Level 9, aptly named the "Final Gauntlet," is not merely a collection of rooms but a meticulously designed crucible intended to push your understanding of SUPERHOT's core mechanics to their absolute limit. This guide will arm you with the knowledge and strategies to not just survive, but to dominate this final challenge and emerge victorious.
Overview of the Gauntlet
The Final Gauntlet is a linear progression through five distinct, interconnected arenas, each escalating in complexity and enemy density. Unlike earlier levels, there are fewer opportunities for respite, and weapon availability can be scarce. Your ability to improvise, conserve resources, and predict enemy movements will be paramount.
- Core Mechanics Tested: Time manipulation, weapon management (conservation and hot-swapping), environmental interaction (using objects as weapons/shields), precision aiming, and spatial awareness.
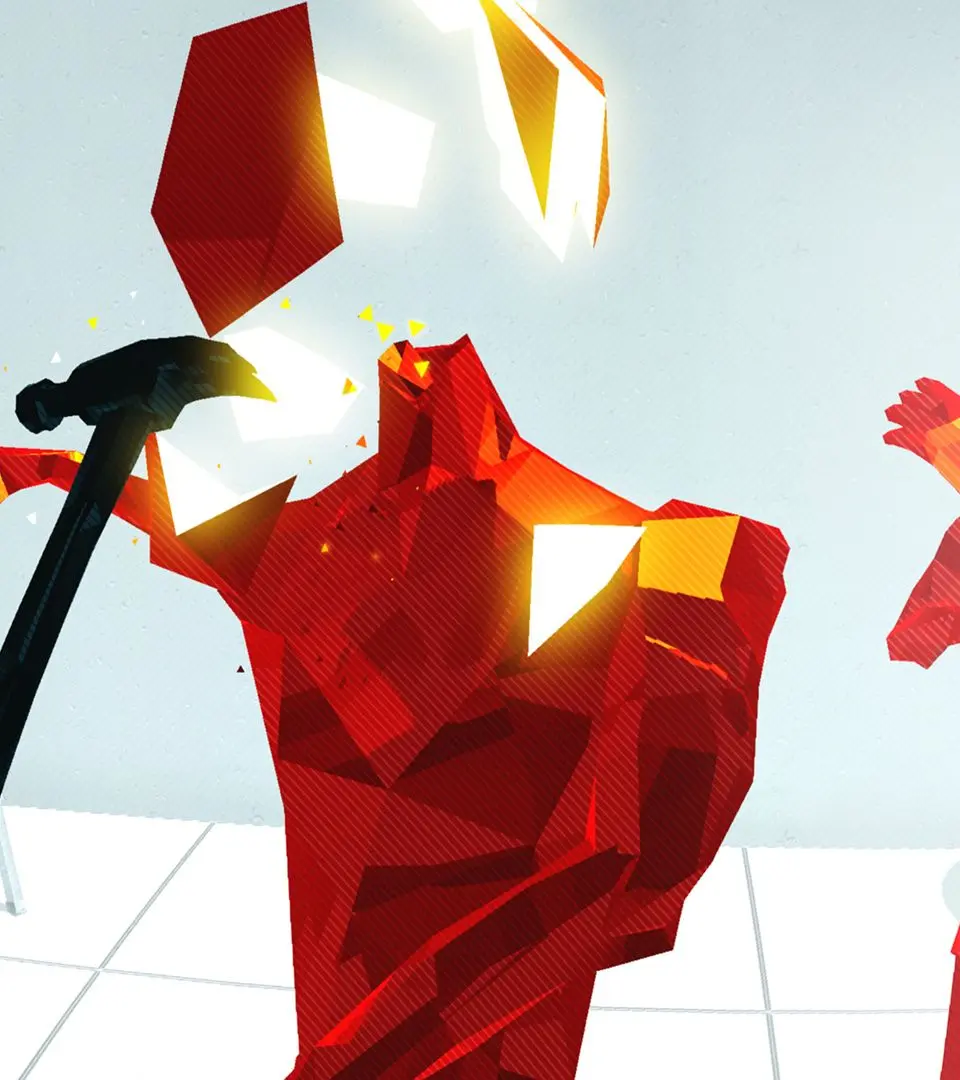
- Enemy Types: You will encounter the full spectrum of SUPERHOT enemies, including standard Red Guys, Shotgunners, Riflemen, and the agile Katana-wielders. Expect increased numbers and more aggressive positioning.
- Environmental Hazards: While not overtly hazardous, the tight corridors and open arenas can quickly become death traps if you're caught out of position. Pay attention to cover and escape routes.
Recommended Strategies & General Tips
- Patience is a Virtue: Time only moves when you do. Use this to your advantage. Take micro-pauses to assess the situation, track bullet trajectories, and plan your next three moves.
- Weapon Conservation: Ammo is finite. Prioritize headshots. Don't waste precious bullets on body shots if a melee option is available. Consider throwing empty weapons for a stun or to disarm.
- Environmental Weapons: Look for bottles, ashtrays, and other throwable objects. They can stun enemies, disarm them, or even shatter them with a well-placed throw.
- Hot-Swapping: Master the art of dropping an empty weapon and catching a new one mid-air, or even catching an enemy's weapon as they drop it. This is crucial for maintaining offensive pressure.
- Body as a Shield: In desperate situations, a defeated enemy's body can briefly block incoming fire.
- Prioritize Threats: Shotgunners and Riflemen pose the highest immediate threat due to their range and damage. Deal with them first, then focus on melee enemies.
Walkthrough: Room by Room
Phase 1: The Initial Breach
You begin in a small, enclosed room. A single Red Guy with a Pistol will immediately appear in front of you. Another will emerge from a doorway to your left, also armed with a Pistol.
- Action: Immediately grab the Pistol on the table in front of you. Take out the first Red Guy with a headshot.
- Action: Turn left. The second Red Guy will be advancing. Use your remaining pistol rounds or throw your empty pistol to stun him. Pick up his dropped pistol or a nearby throwable object (e.g., a glass bottle) to finish him.
- Progression: A door will open to your right, leading to a short corridor.
Phase 2: The Corridor Ambush
This narrow corridor features several tight corners. Two Red Guys will appear sequentially. The first, armed with a Shotgun, will round the first corner. The second, with a Pistol, will follow shortly after.
- Action: As you enter the corridor, anticipate the Shotgunner. Use the corner as cover. Peek out, fire a headshot, and retreat.
- Action: The Pistol-wielding Red Guy will then appear. If you're out of ammo, throw your empty weapon or a nearby object (there might be a small potted plant or a book on a shelf) to disarm/stun him. Pick up his pistol.
- Pitfall: Getting caught in the open by the Shotgunner is almost instant death. Always use cover.
- Progression: The corridor opens into a larger, more open office space.
Phase 3: The Office Skirmish
This area is more open, with desks and cubicle walls providing limited cover. You'll face a wave of three to four enemies. Expect a mix of Pistol and Rifle users, with one potentially carrying a Katana.
- Action: Upon entering, immediately identify the Rifleman (if present) and prioritize them. Their long-range accuracy is deadly. Use the cubicle walls for cover.
- Action: If a Katana-wielder appears, try to disarm them by throwing an object or shooting their hand. A Katana is a powerful weapon in your hands, but lethal in theirs.
- Strategy: Use the environment. Throw monitors, keyboards, or office chairs to stun multiple enemies or create openings.
- Weapon Spawns: Look for a Shotgun or additional Pistols on desks or in open cubicles. Conserve shotgun shells for close-quarters emergencies.
- Progression: A large door at the far end of the office will open once all enemies are eliminated.
Phase 4: The Central Atrium
This is a large, multi-level area with a central open space and elevated walkways. This phase is intense, featuring five to six enemies, including multiple Riflemen on the upper levels and Shotgunners or Katana-wielders on the ground floor.
- Action: As you enter, immediately look up. Riflemen on the upper levels will have a clear line of sight. Prioritize them with precise pistol shots or a well-aimed thrown object.
- Action: Descend to the ground floor cautiously. Use pillars or large structural elements for cover.
- Strategy: Create chokepoints. Lure enemies into narrower sections where you can deal with them one or two at a time.
- Weapon Spawns: A Shotgun is often found near the entrance to this area, and sometimes a Katana can be picked up from a defeated enemy. Consider using the Katana to clear the ground floor quickly.
- Common Pitfall: Getting caught in the open in the central area. Always be moving, always be seeking cover.
- Progression: A final door on the ground floor, opposite your entry point, will open.
Phase 5: The Final Stand
This is the ultimate challenge. A relatively small, circular arena with limited cover. You will face a relentless wave of six to eight enemies, often spawning in quick succession. Expect a mix of all enemy types, with a strong emphasis on Shotgunners and Riflemen.
- Action: Upon entering, immediately grab any available weapon (often a Pistol or Shotgun).
- Strategy: Maintain constant movement. Do not stay in one spot for too long. Circle the arena, using the few structural elements (e.g., small pillars, crates) for momentary cover.
- Prioritization: Focus fire on Shotgunners and Riflemen first. Their range and damage output are the highest threat.
- Hot-Swapping is Key: You will run out of ammo. Be prepared to drop empty weapons and catch new ones from defeated enemies or environmental spawns.
- Environmental Interaction: There might be a few throwable objects (e.g., small boxes, fire extinguishers) around the perimeter. Use them to stun or disarm.
- The "Superhot" Moment: This is where your mastery of time manipulation shines. Use micro-pauses to dodge bullets, line up impossible shots, and plan your escape routes.
- Victory Condition: Eliminate all enemies. There will be a brief moment of silence, and then the level will conclude.
Congratulations, Program.
You have survived the Final Gauntlet. Your journey through the SUPERHOT system is complete. Remember, the system is always watching, always waiting. Stay sharp.