Giganto Monsters
Giganto Monsters are formidable, optional boss enemies scattered across Terca Lumireis. These colossal creatures are significantly more powerful than standard foes, boasting immense HP pools, devastating attacks, and often unique combat mechanics. Engaging them requires careful preparation, strategic party composition, and a solid understanding of their weaknesses. While challenging, defeating Giganto Monsters offers substantial rewards, making them a crucial objective for completionists and those seeking to maximize their party's potential.
It's generally advisable to tackle these behemoths later in the game, once your party has access to advanced artes, powerful equipment, and a robust skill set. Always save your game before initiating a battle with a Giganto Monster, as a swift defeat can send you back a considerable distance.
Why Hunt Giganto Monsters?
Beyond the satisfaction of overcoming a tough challenge, Giganto Monsters offer several compelling reasons to seek them out:
- Rare Synthesis Materials: Each Giganto Monster drops unique and rare materials essential for synthesizing some of the most powerful weapons, armor, and accessories in the game. These materials are often required for ultimate weapons or high-tier gear that significantly boost your party's combat prowess. For example, defeating the Hermit Drill might yield materials for top-tier drills, while the Bloody Beak's drops could be crucial for powerful avian-themed equipment.
- Fell Arms Progression: A critical reason many players hunt Giganto Monsters is their direct connection to the Fell Arms questline. Several specific Giganto Monsters must be defeated to unlock the true power of the Fell Arms, which are the ultimate weapons for each character. Without defeating these specific monsters, you cannot fully complete this powerful quest.
- Abundant Gald & Experience: Giganto Monsters provide a massive influx of Gald and experience points upon defeat, accelerating character leveling and financial accumulation. This is particularly useful for grinding late-game levels or affording expensive synthesis recipes.
- Unique Accessories & Titles: Some Giganto Monsters drop unique accessories with beneficial effects, while others may unlock specific titles for characters, often tied to defeating a certain number or all of them.
Tracking Down Giganto Monsters
While there isn't a single, overarching in-game quest log specifically for Giganto Monsters, tracking them down is a common objective for completionists. The best way to keep tabs on them is through the Monster Book (accessible from the main menu). As you encounter and defeat Giganto Monsters, their entries will be updated, often providing hints about their locations or weaknesses. There is no specific NPC that tracks your progress for all Giganto Monsters, but defeating all of them is a prerequisite for certain post-game achievements and unlocks.
General Strategies for Giganto Monster Encounters
- Preparation is Key: Before engaging, ensure your party is at a high enough level (often 60+ for later monsters), has their best available equipment, and is stocked with plenty of healing items (Apple Gels, Orange Gels, Life Bottles, Panacea Bottles).
- Element Exploitation: Most Giganto Monsters have elemental weaknesses. Equip weapons and use artes that exploit these weaknesses for increased damage. Check the Monster Book for details after your first encounter (or a failed attempt).
- Over Limit Management: Over Limit is crucial for unleashing powerful Mystic Artes and extending combos. Manage your Over Limit gauge effectively, saving it for critical moments or to burst down the monster's HP.
- Status Effects: While some Giganto Monsters are immune, many can be afflicted by status effects like Poison, Paralysis, or Silence. Experiment with artes that inflict these to gain an advantage.
- Defensive Play: Don't just go in swinging. Utilize Guarding, Free Run, and defensive artes to mitigate incoming damage. Consider equipping skills like Guard Plus, Magic Guard Plus, and HP Restore.
- Party Composition: A balanced party with a dedicated healer (Estelle), a strong physical attacker (Yuri, Raven), a powerful magic user (Rita), and a versatile support character (Karol, Judith) is often ideal. Adjust based on the monster's specific threats.
- Mystic Artes: Save your Mystic Artes for when the monster is stunned, in Over Limit, or at low HP to maximize their impact.
Giganto Monsters and the Fell Arms Questline
The Fell Arms are legendary weapons that gain power as you defeat enemies. However, to unlock their true potential, you must defeat specific Giganto Monsters. These monsters act as gatekeepers, and their defeat is a mandatory step in the quest. Missing even one will prevent you from fully powering up the Fell Arms, which is a significant power boost for your party in the post-game. Pay close attention to which Giganto Monsters are linked to this quest as you progress.
List of Giganto Monsters and Their Details
Here's a comprehensive breakdown of each Giganto Monster, including their location, recommended level, notable drops, and strategic tips:
Hermit Drill
- Location: Weasand of Myorzo (after the events in Myorzo). It's found in the northern section of the dungeon.
- Recommended Level: 55+
- Notable Drops:
- Cheagle Fur: Essential for high-tier armor and accessories.
- Great Tree's Fruit: Used in various powerful synthesis recipes.
- Strategy: This giant armadillo-like creature is weak to Fire and Earth. It has high physical defense. Focus on Fire-based artes (Rita's Fire Ball, Yuri's Severing Blade) and Earth-based attacks. Be wary of its rolling attack, which can hit multiple party members. Guard or Free Run to avoid it.
Green Menace
- Location: Phaeroh's Crag (after the events in Myorzo). Found in the central area.
- Recommended Level: 58+
- Notable Drops:
- Green Menace's Horn: Crucial for synthesizing powerful spears and other weapons.
- Rare Metal: A versatile material for high-end gear.
- Strategy: A large, plant-like monster weak to Fire. It can inflict Poison and other status effects. Bring Panacea Bottles. Rita's Fire-elemental spells will be very effective here. Keep your distance as it has strong close-range attacks.
Bloody Beak
- Location: Caer Bocram (after the events in Myorzo). Found in the open area near the entrance.
- Recommended Level: 60+
- Notable Drops:
- Bloody Beak's Feather: Used for crafting high-speed equipment and certain accessories.
- Mystic Orb: A rare material for ultimate weapon synthesis.
- Strategy: A massive bird-like creature, weak to Wind. It's incredibly fast and can fly, making melee attacks difficult. Utilize Wind-elemental artes (Judith's Crescent Moon, Rita's Cyclone) and ranged attacks. Keep your healer safe, as its dive attacks can be devastating.
Pteropus
- Location: Relewiese Hollow (after the events in Myorzo). Found in the deepest part of the dungeon.
- Recommended Level: 62+
- Notable Drops:
- Pteropus's Claw: Essential for powerful claw weapons and some armor.
- Spirit Fragment: Used in various high-tier synthesis recipes.
- Strategy: This giant bat is weak to Light. It can summon smaller bats, which should be dealt with quickly to prevent being overwhelmed. Estelle's Light-based artes and healing will be invaluable. Focus on burst damage when it's grounded.
Medusa Butterfly
- Location: Sands of Kogorh (after the events in Myorzo). Found in the northern section of the desert.
- Recommended Level: 65+
- Notable Drops:
- Medusa Scale: Key for crafting high-defense armor and shields.
- Mystic Cloth: A rare material for powerful accessories.
- Strategy: This oversized butterfly is weak to Wind. It can inflict Petrification, so equip accessories that prevent it (e.g., Stone Charm) or have plenty of Panacea Bottles. Use Wind-elemental artes and keep your distance to avoid its gaze.
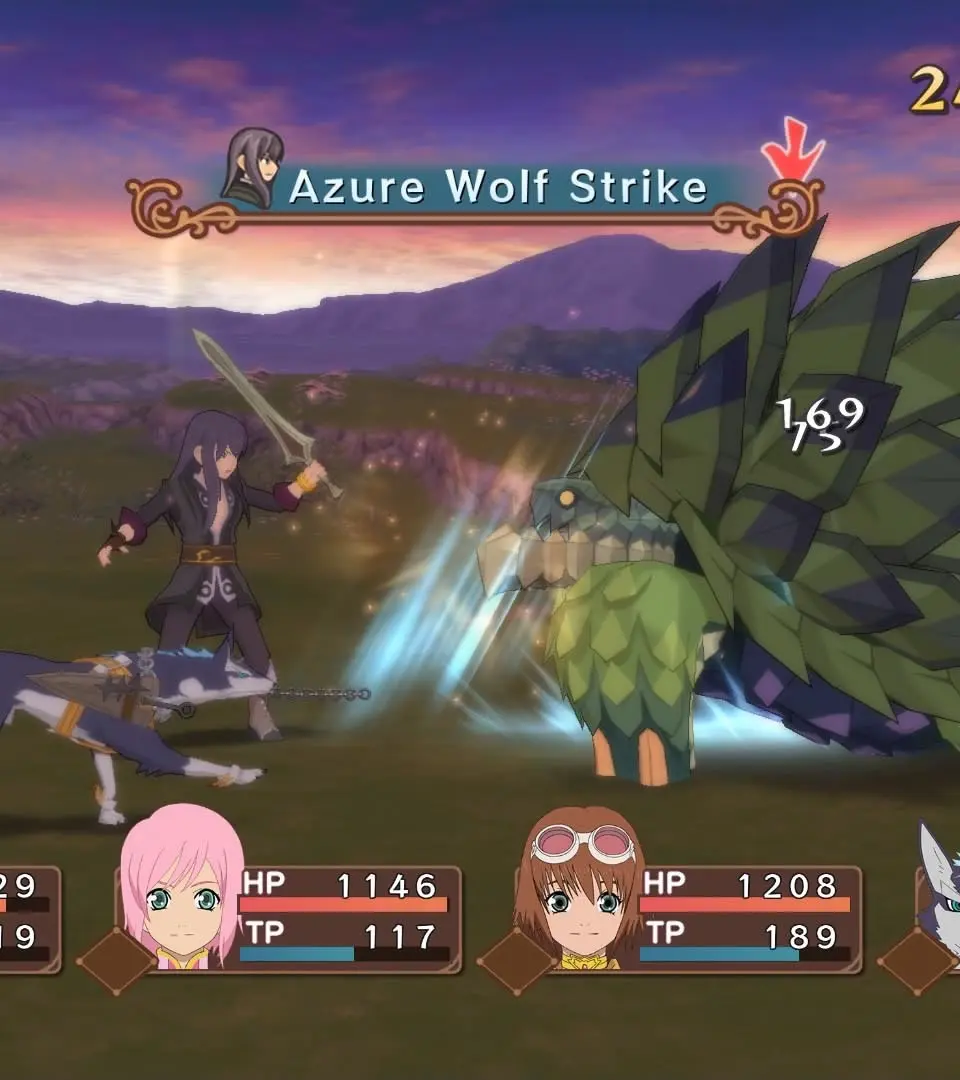
Fenrir
- Location: Erealumen Crystallands (after the events in Myorzo). Found in the central ice cave.
- Recommended Level: 68+
- Notable Drops:
- Fenrir's Fang: Crucial for the strongest swords and other melee weapons.
- Ice Crystal: Used in high-tier elemental synthesis.
- Strategy: A giant wolf-like monster, weak to Fire. It's incredibly fast and hits hard. Rita's Fire-elemental spells are highly effective. Be prepared for quick movements and powerful physical attacks. Guarding and Free Run are essential.
Griffin
- Location: Mt. Temza (after the events in Myorzo). Found near the summit.
- Recommended Level: 70+
- Notable Drops:
- Griffin's Claw: Used for powerful melee weapons and accessories.
- Aer Fragment: A rare material for ultimate weapon synthesis.
- Strategy: This majestic beast is weak to Earth. It can fly, making it difficult to hit with melee attacks. Utilize Earth-elemental artes (Karol's Havoc Strike, Rita's Ground Dasher). It has strong wind-based attacks, so equip accessories that boost wind resistance if possible.
Poseidon
- Location: Zopheir (after the events in Myorzo). Found in the deeper ice caverns.
- Recommended Level: 72+
- Notable Drops:
- Poseidon's Fin: Essential for crafting powerful staffs and other magical equipment.
- Water Crystal: Used in high-tier elemental synthesis.
- Strategy: A massive aquatic monster, weak to Fire. It can inflict Freeze and has powerful water-based attacks. Rita's Fire-elemental spells are your best friend here. Keep your party spread out to avoid its area-of-effect attacks.
Chimera Butterfly
- Location: Quoi Woods (after the events in Myorzo). Found in the deeper sections of the forest.
- Recommended Level: 75+
- Notable Drops:
- Chimera Scale: Key for crafting high-defense armor and shields.
- Mystic Gem: A rare material for ultimate weapon synthesis.
- Strategy: Similar to the Medusa Butterfly but stronger, this monster is weak to Wind. It can inflict various status effects. Equip status-preventing accessories and bring plenty of Panacea Bottles. Focus on Wind-elemental artes and ranged attacks.
Brutal
- Location: Eredos (after the events in Myorzo). Found in the deepest part of the dungeon.
- Recommended Level: 78+
- Notable Drops:
- Brutal's Horn: Crucial for the strongest axes and other heavy weapons.
- Dark Crystal: Used in high-tier elemental synthesis.
- Strategy: This massive demon is weak to Light. It has incredibly high physical attack and defense. Estelle's Light-based artes and healing are vital. Focus on burst damage during Over Limit and try to inflict status effects like Defense Down.