
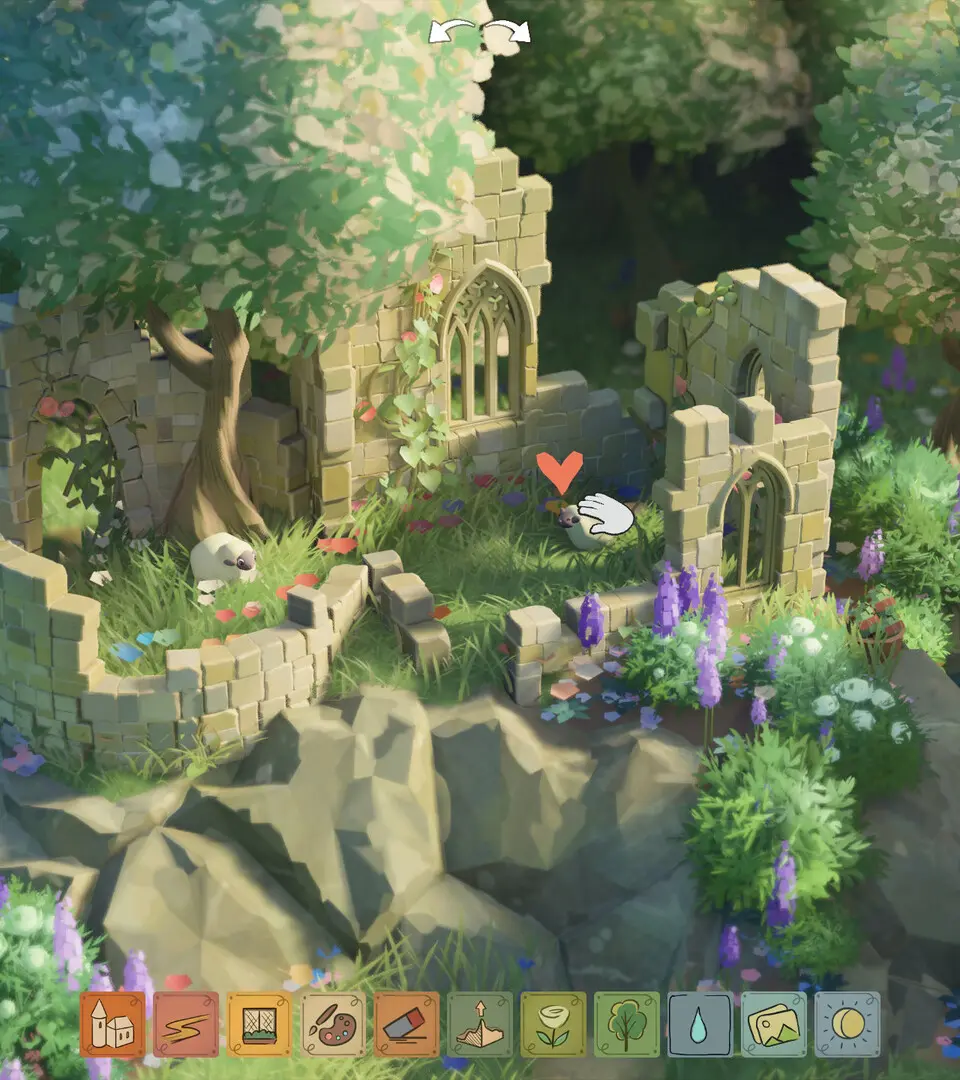
Sharing Your Glades
One of the most delightful aspects of Tiny Glade is showcasing your architectural masterpieces to the world! Whether you've meticulously crafted a towering castle or a quaint cottage, sharing your creations allows others to admire your work and inspires new building ideas. This section will walk you through the various methods for sharing your Glades.
Exporting Your Glade Blueprint
The primary method for sharing your Glades is through the "Glade Blueprint" export function. This creates a compact file that encapsulates all the structural and decorative elements of your current Glade, allowing others to import it directly into their game.
- Access the Sharing Menu: From within your active Glade, open the main game menu by pressing the 'Escape' key (PC) or the 'Options' button (console).
- Navigate to "Share Glade": In the menu, locate and select the "Share Glade" option. This will open a sub-menu with export and import functionalities.
- Select "Export Blueprint": Choose the "Export Blueprint" option.
- Name Your Blueprint: A prompt will appear, asking you to name your Glade Blueprint. We recommend a descriptive name, perhaps including its style or a key feature (e.g., "Mountain Keep," "Riverside Cottage").
- Confirm Export Location: The game will default to saving your blueprint in a designated folder within your game's installation directory or user documents. You can change this location if desired, but the default is usually sufficient.
- Export Confirmation: Once named and the location is confirmed, click "Export." A small notification will appear, confirming that your Glade Blueprint has been successfully saved.
Your exported Glade Blueprint will be a .tgb file (Tiny Glade Blueprint). This file is relatively small and easy to share.
Uploading to the Community Hub
For the widest reach, consider uploading your Glade Blueprints to the official Tiny Glade Community Hub. This integrated platform allows players to browse, download, and rate shared Glades directly from within the game or via a web browser.
- Ensure Online Connectivity: Make sure your game is connected to the internet.
- Access the Sharing Menu: As before, open the main game menu and select "Share Glade."
- Select "Upload to Hub": Choose the "Upload to Hub" option.
- Choose Blueprint to Upload: A list of your locally saved Glade Blueprints will appear. Select the one you wish to upload.
- Add Description and Tags: Before uploading, you'll be prompted to add a brief description of your Glade (e.g., "A serene sanctuary overlooking a valley") and relevant tags (e.g., "Castle," "Cottage," "Fantasy," "Modern," "Small," "Large"). Good descriptions and tags help others find your creation.
- Set Visibility (Optional): You can choose to make your Glade "Public" (visible to everyone) or "Private" (only visible to you and those you share a direct link with). For sharing, "Public" is recommended.
- Confirm Upload: Review your details and click "Upload." Your Glade will now be accessible on the Community Hub.
You can manage your uploaded Glades, including updating descriptions or removing them, via the "My Uploads" section within the Community Hub interface.
Direct Sharing with Friends
If you prefer to share your Glade directly with specific friends or a small group, you can send them the .tgb file directly.
- Locate the Blueprint File: Navigate to the folder where you saved your Glade Blueprint (as confirmed during the export process).
- Copy the
.tgbFile: Copy the desired.tgbfile. - Share via Preferred Method: You can send this file via email, cloud storage services (like Google Drive or Dropbox), or direct messaging platforms.
- Instructions for Recipient: Advise your friend to place the received
.tgbfile into their own designated Glade Blueprint folder. - Importing the Glade: Your friend can then open Tiny Glade, go to the "Share Glade" menu, select "Import Blueprint," and choose your shared Glade from their local list.
This method is excellent for collaborative projects or sharing with a trusted circle before a wider release.
Showcasing on Social Media
Beyond in-game sharing, don't forget the power of social media! Take beautiful screenshots or record short video tours of your Glades and share them on platforms like Twitter, Instagram, or Reddit. Use relevant hashtags like #TinyGlade, #GladeBuilding, and #CozyGames to reach a broader audience.
- High-Resolution Screenshots: Utilize the in-game camera tool (often bound to a specific key or UI element) to capture stunning angles and details of your creations.
- Video Tours: Many operating systems and platforms have built-in screen recording software. Record a smooth walkthrough of your Glade to showcase its flow and design.
- Link to Community Hub: When sharing on social media, consider including a direct link to your Glade's page on the Tiny Glade Community Hub, making it easy for interested players to download it directly into their game.
Whether you're building a grand structure or a serene sanctuary, sharing your creations adds another layer of enjoyment to your Tiny Glade experience!