Displace Facility Director
The Displace Facility Director is a critical target within the game, often central to mission objectives involving data acquisition or neutralization. His location is typically a heavily fortified area, demanding a meticulous and stealth-focused approach. Successfully engaging with the Director requires not only tactical prowess but also an understanding of the environmental challenges and enemy patrol patterns.
Director's Location and Security Overview
You will typically find the Director in a secure, often elevated, office or a central control room within the Displace facility. These areas are characterized by:
- Elite Guards: Expect a higher concentration of guards, including those equipped with advanced vision modes (thermal or night vision) and heavier armor. They often patrol in pairs or small groups, making isolated takedowns more challenging.
- Advanced Security Systems: The Director's immediate vicinity is usually protected by a combination of laser grids, automated turrets, motion sensors, and sometimes even pressure plates. These systems are designed to detect any unauthorized entry, triggering alarms and deploying additional hostile forces.
- Environmental Hazards: Be mindful of the environment. The Director's office might be near server rooms with exposed electrical conduits, or areas with volatile chemicals. These can be used to your advantage for silent takedowns or diversions, but also pose a risk if not handled carefully.
- Limited Entry Points: Access to the Director's location is often restricted to one or two heavily monitored entrances, forcing players to scout thoroughly for alternative routes like ventilation shafts, maintenance tunnels, or even exterior ledges.
Recommended Loadout and Gadgets
For an encounter with the Displace Facility Director, a balanced and versatile loadout is crucial:
- SC-20K M.A.W.S. (Modular Assault Weapon System): While stealth is paramount, the SC-20K's various attachments are invaluable.
- Sticky Shocker: Essential for non-lethal, silent neutralization of the Director or his immediate guards without raising an alarm.
- Sticky Camera: Perfect for scouting ahead, monitoring patrol routes, and creating diversions by emitting noise.
- EMP Grenades: Critical for temporarily disabling electronic defenses like automated turrets, laser grids, and even guards' night/thermal vision. Carry at least 2-3.
- Gas Grenades: Useful for incapacitating multiple guards in a confined space if a direct confrontation becomes unavoidable.
- Five-seveN Pistol: Equipped with a suppressor, this is your primary weapon for silent, lethal takedowns when necessary, especially for distant lights or environmental triggers.
- Frag Grenades: While generally avoided for stealth, one or two can be a last resort for breaking through heavily entrenched positions or eliminating multiple threats in an emergency.
Tactical Approach and Step-by-Step Strategy
Engaging the Director requires a methodical, step-by-step approach:
Phase 1: Infiltration and Reconnaissance
- Perimeter Assessment: Before entering the Director's immediate area, observe patrol patterns from a safe distance. Use your Optic Cable under doors or Sticky Cameras to gain visual intelligence.
- Identify Security Measures: Note the placement of laser grids, turrets, and any pressure plates. Plan your route to bypass or disable these.
- Locate the Director: Pinpoint the Director's exact position. He often has a distinct appearance or is highlighted as a mission objective.
Phase 2: Neutralizing Immediate Threats
- Isolate Guards: Use sound diversions (e.g., shooting a light, using a Sticky Camera's noise emitter) to draw individual guards away from their patrol routes. Perform silent CQC takedowns or use Sticky Shockers.
- Disable Electronics: For laser grids or turrets blocking your path, use EMP grenades. Time your throws carefully to avoid detection. Remember that EMPs have a limited duration.
- Utilize Environmental Cover: Stay in shadows, use pipes to traverse ceilings, and exploit any available cover to remain undetected.
Phase 3: Engaging the Director
- Approach Silently: Once the immediate area is clear or sufficiently distracted, make your move towards the Director's office.
- Bypass Office Security: The Director's office door might be locked or require a specific bypass. Look for keypads, retinal scanners, or alternative entry points like vents.
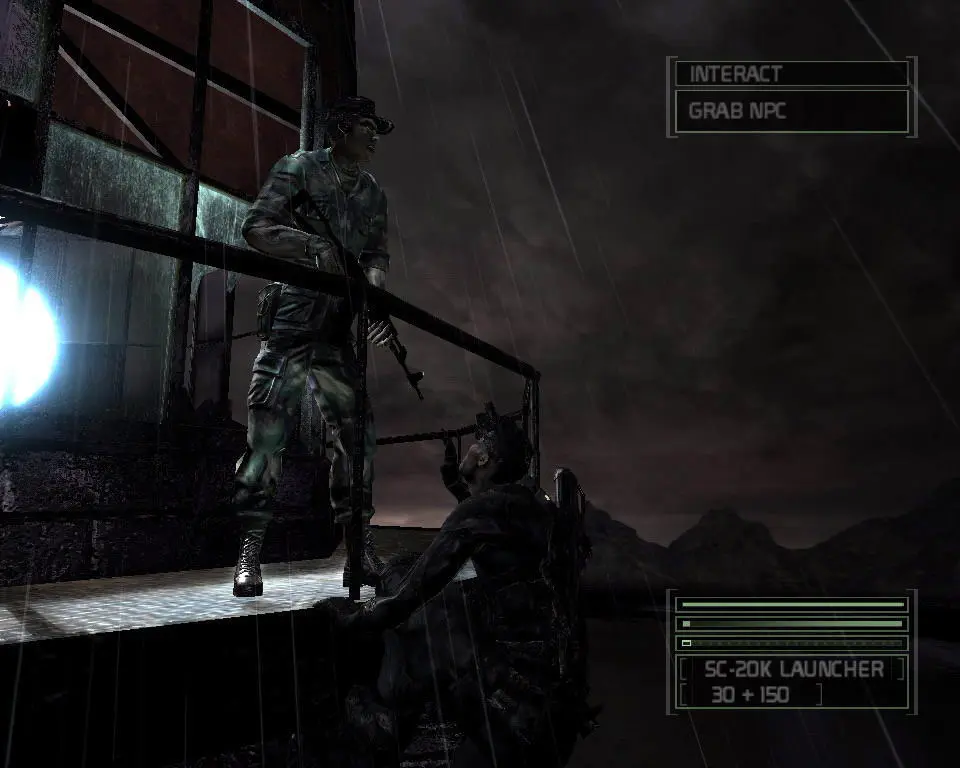
- Neutralize the Director:
- Non-Lethal (Recommended): The most common objective is to interrogate or incapacitate him. A precise Sticky Shocker shot or a quick CQC takedown (grab from behind) is ideal. If interrogating, ensure no other guards are within earshot.
- Lethal: If the objective is neutralization, a silent headshot with the Five-seveN or a quick melee attack will suffice.
- Secure Information/Objective: After neutralizing the Director, interact with any computers, documents, or devices in his office to complete your mission objective. This might involve hacking a terminal or downloading data.
Common Pitfalls and Tips
- Rushing In: The biggest mistake is to rush the Director's location. Patience and thorough reconnaissance are key.
- Ignoring Environmental Hazards: Don't forget about potential environmental hazards. A well-placed shot at an electrical box near a guard can create a silent, non-lethal takedown.
- Alarm States: If an alarm is triggered, the Director's office may go into lockdown, or additional heavily armed guards might be dispatched. Be prepared to either hide and wait for the alert to subside or engage in a more direct (and riskier) confrontation.
- Saving Progress: Always save your game before attempting to enter the Director's immediate area. This allows for retries if your initial approach fails.
- Utilize Verticality: Many areas in Displace facilities offer vertical movement options. Climbing pipes, ledges, or using zip lines can provide advantageous positions for observation or bypassing ground patrols.