
The Hidden Palace (Palace of Six Statues)
The sixth and penultimate palace in Zelda II: The Adventure of Link, often referred to as the Hidden Palace or the Palace of Six Statues, is a masterclass in the game's emphasis on exploration and item utility. Unlike previous palaces, its entrance is completely concealed, requiring a specific item and precise navigation. This palace is a significant difficulty spike, housing some of the game's toughest regular enemies and a formidable boss, but successfully navigating it brings you one step closer to the Great Palace and the ultimate confrontation with Dark Link.
Locating the Hidden Palace
Finding the entrance to the Hidden Palace is a puzzle in itself. It is located in the Death Mountain region, specifically within the treacherous desert area to the west of the Mountain Town of Darunia. This is not a simple "walk-in" entrance; it requires the use of the Cross item, which you should have acquired from the Maze Island Palace (Palace of Five Statues).
Step-by-Step Directions:
- Travel to Death Mountain: From the Eastern Hyrule continent, head west through the Death Mountain region. You'll pass through several caves and encounter various enemies.
- Reach the Desert Area: Continue westward until you emerge into a large desert expanse. This area is characterized by its sandy terrain and the presence of dangerous enemies like Goriya and Iron Knuckles.
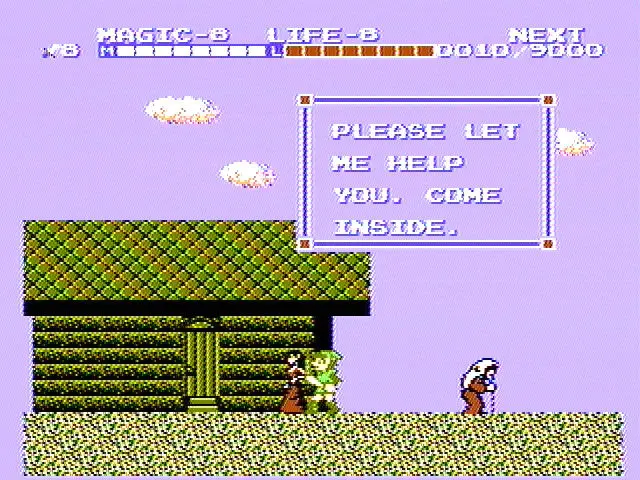
- Pinpoint the Hidden Tile: The entrance is not visible on the overworld map. You need to stand on a very specific tile.
- From the entrance to the Death Mountain desert (where you exit the last cave), walk one screen west.
- Then, walk one screen south.
- Finally, walk one screen west again.
- Use the Cross: Once you believe you are on the correct screen, stand on the central tile of that screen. Open your inventory and select the Cross. Using the Cross will reveal the hidden entrance to the Palace of Six Statues. If nothing happens, you are on the wrong tile and need to adjust your position slightly or re-verify your path.
Common Pitfall: Many players struggle with this location due to the lack of visual cues. The key is precise movement from a known starting point (the cave exit into the desert). Don't just wander aimlessly; follow the screen-by-screen directions carefully.
Enemies and Challenges Within
The Hidden Palace lives up to its name in difficulty. It is teeming with some of the most formidable standard enemies in the game, requiring careful strategy and mastery of Link's sword techniques. Expect to encounter:
- Iron Knuckles (Red and Blue): These armored knights are a constant threat. Red Iron Knuckles are slower but hit hard, while Blue Iron Knuckles are faster and can block more effectively. Use Jump and Downward Thrusts to hit their heads, or bait their attacks and strike when their guard is down.
- Goriya (Red and Blue): These boomerang-wielding creatures are annoying. Red Goriya throw boomerangs that return, while Blue Goriya's boomerangs do not. Prioritize taking them out quickly to avoid being overwhelmed by projectiles.
- Acheman: Bat-like creatures that fly erratically. They are more of a nuisance but can chip away at your health if ignored.
- Wosu: Wolf-like enemies that leap towards Link. Block their jumps and counter-attack.
- Bot: Small, fast enemies that can be difficult to hit. Use a quick jab or a Downward Thrust.
The palace layout itself is also complex, featuring multiple floors, hidden passages (some revealed by the Cross within the palace), and lava pits. Be prepared for platforming challenges and rooms filled with multiple high-damage enemies.
Recommended Loadout and Spells
Before entering, ensure Link is well-equipped:
- Life Spell: Absolutely essential for healing during tough encounters. Max out your Magic points if possible.
- Shield Spell: Reduces damage taken, invaluable against Iron Knuckles and projectiles.
- Jump Spell: Increases jump height, useful for navigating tricky platforms and reaching enemy weak points.
- Fairy Spell: Can be a lifesaver in dire situations, allowing you to pass through enemies and escape tight spots.
- Candle: While not strictly necessary for this palace, it's always good to have for general exploration.
- Magic Jar: Carry at least one or two for emergency Magic replenishment.
The Palace's Reward: The Sixth Crystal
Your ultimate goal in the Hidden Palace is to defeat its guardian and retrieve the sixth and final crystal. This crystal is paramount for gaining access to the Great Palace, the final dungeon of the game. Without it, the path to Princess Zelda remains sealed.
Boss Battle: Gooma
The guardian of the Hidden Palace is Gooma, a large, cyclopean monster wielding a massive flail. Gooma is a challenging boss due to its unpredictable movements and powerful attacks.
Gooma Strategy:
- Stay Mobile: Gooma moves by jumping around the room. Anticipate its landing spots.
- Target the Head: Gooma's only vulnerable spot is its head. You'll need to jump and use an Upward Thrust or a well-timed regular attack to hit it.
- Dodge the Flail: Gooma swings its flail in a wide arc. The flail can be blocked, but it's often safer to jump over it or duck under it if you're close enough. Pay attention to the chain's movement.
- Utilize Jump Spell: If you have enough Magic, the Jump Spell can make hitting Gooma's head significantly easier, allowing for more consistent damage.
- Patience is Key: Don't rush. Wait for opportune moments to strike. Gooma often pauses briefly after landing or swinging its flail, creating small windows for attack.
- Heal as Needed: Don't hesitate to use your Life Spell if your health drops significantly.
Upon defeating Gooma, you will be rewarded with the sixth crystal. Collect it, and Link's journey to awaken Princess Zelda will be almost complete. The Great Palace awaits!