Master basic items in Anger Foot to gain crucial support and tactical advantages. Learn how to strategically deploy these foundational tools alongside your kic.
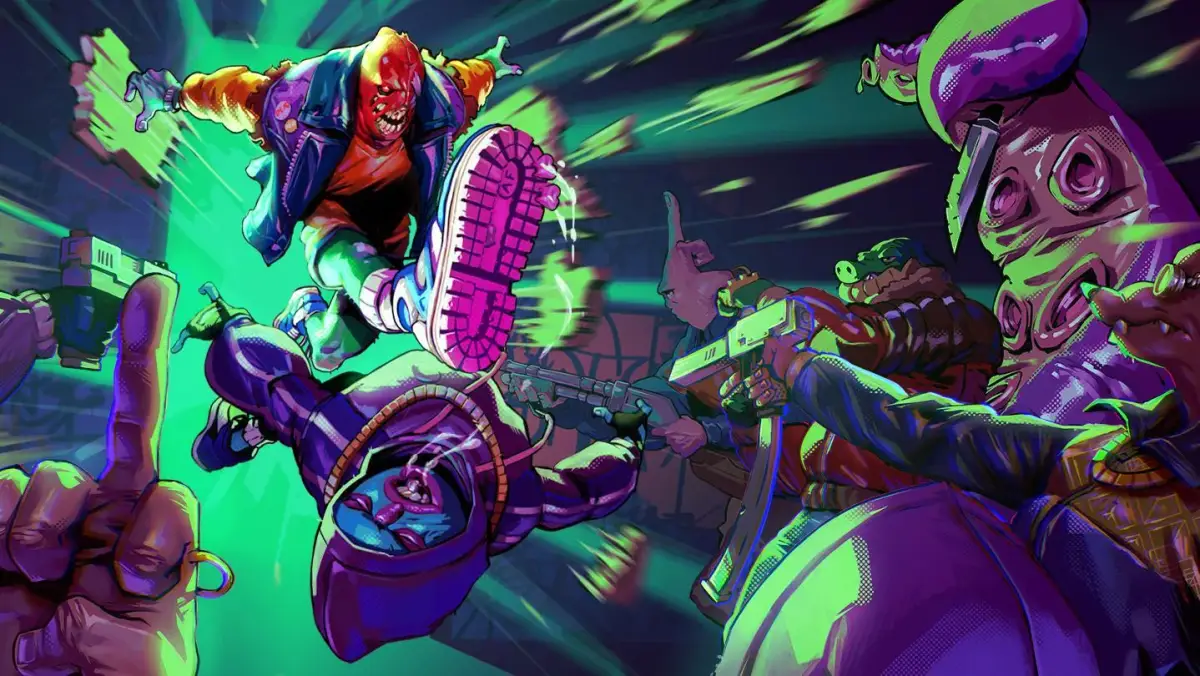
In the chaotic, high-octane world of Anger Foot, understanding and utilizing basic items is paramount to surviving the relentless onslaught of enemies. While your powerful kicks and an ever-evolving arsenal of firearms are your primary tools, these foundational items provide crucial support, healing, and tactical advantages. Mastering their locations and strategic deployment will significantly improve your clear times and overall performance.

Health Pickups
Your lifeblood in Anger Foot. Health pickups are scattered throughout every level and are essential for recovering from damage. There are two primary types:
- Small Health Packs: These are the most common health pickups, typically appearing as small, red first-aid kits. They restore a moderate amount of your health bar, usually around 25-30%. You'll frequently find these tucked away in corners of rooms after clearing out enemies, on shelves, or sometimes dropped by defeated foes.
- Large Health Packs: Less frequent but far more impactful, these pickups appear as larger, more prominent medical kits, often with a glowing aura. They restore a significant portion, sometimes even all, of your health, typically around 75-100%. These are usually found in more challenging combat arenas, just before boss encounters, or as rewards for completing specific objectives within a level.
Strategy: Don't be afraid to take a calculated risk to grab a health pack mid-combat if you're critically low. However, try to conserve them for when you genuinely need them. Overhealing is wasted potential. Always be aware of their location, especially during intense firefights, as a quick grab can turn the tide of a losing battle. For instance, if a large health pack is visible across a room filled with enemies, assess if you can quickly dash in, grab it, and retreat to cover. If you're at full health, leave it for later or for a teammate if playing cooperatively (though Anger Foot is primarily a solo experience). Prioritize grabbing them before engaging a new wave of enemies if you're already damaged.
Ammo Pickups
Running out of bullets in Anger Foot is a death sentence. Ammo pickups ensure your firearms remain loaded and ready for action.
- Universal Ammo Crates: These are the most common and versatile ammo pickups, often appearing as brown crates or boxes with an ammunition symbol. They replenish a portion of the ammunition for your currently equipped weapon, regardless of its type, typically adding around 25-50% of a full magazine. They are frequently dropped by defeated enemies, found in weapon caches, or placed strategically in combat zones.
- Weapon-Specific Ammo: Less common, but sometimes you'll find ammo specifically for a certain weapon type, such as "Shotgun Shells" or "Pistol Mags." These are often found near the weapon itself or in areas where that weapon type is particularly effective, and they tend to refill a larger chunk of your magazine, often 50-75%.
Strategy: Always keep an eye on your ammo count. While your powerful kicks are always available, firearms are crucial for ranged engagements and quickly dispatching tougher foes. Prioritize picking up ammo, especially for your preferred weapons. If you're low on ammo for a primary weapon, consider switching to a secondary or using melee attacks to conserve what you have until you find more. Don't waste shots; aim for headshots and critical points to maximize your ammo efficiency. If a room is filled with enemies and you're low on ammo for your primary weapon, consider using your kicks to conserve bullets until you can reach an ammo pickup. If you see a weapon-specific ammo pickup for a weapon you're not currently using, it might be worth switching to that weapon briefly to grab the ammo if you anticipate needing it soon.
Grenades
Explosive delights that can clear rooms, stun enemies, and deal massive area-of-effect damage. Grenades are a powerful tactical tool.
- Standard Grenade: The most common type, these appear as classic fragmentation grenades. They explode after a short fuse, dealing significant damage to enemies within its radius. They are often found in weapon caches, dropped by specific enemy types, or as rewards for clearing particularly tough sections. You typically carry a limited number, usually 2-4.
Strategy: Grenades are excellent for breaking up enemy formations, flushing out foes from cover, or dealing with large groups. Learn to "cook" your grenades by holding down the throw button to time their explosion perfectly. This prevents enemies from scattering before it detonates. Use them to open engagements, especially in tight corridors or rooms with many enemies. They can also be used defensively to create space or interrupt charging enemies. For example, if you see a cluster of enemies advancing down a hallway, lobbing a cooked grenade into their midst can significantly thin their numbers before you even need to engage with gunfire or kicks.
Adrenaline Shots
A temporary but potent boost to your abilities, allowing you to turn the tide of a difficult fight.
- Adrenaline Shot: These rare pickups appear as vials or syringes, often with a pulsating glow. They grant you a temporary burst of increased movement speed, attack speed, and sometimes even damage resistance. The duration is usually short, around 10-15 seconds, but the effects are profound. They are typically found in challenging areas or as rewards for high-risk maneuvers.
Strategy: Save Adrenaline Shots for critical moments. They are invaluable during boss fights, when overwhelmed by a large number of enemies, or when you need to quickly traverse a dangerous area. The temporary boost can allow you to clear a room faster, dodge incoming attacks more effectively, or simply escape a perilous situation. For instance, if you're facing a boss with a predictable attack pattern, popping an Adrenaline Shot can allow you to unleash a flurry of attacks or reposition yourself safely during a vulnerable phase. Don't pop one too early; wait until you can maximize its effect by engaging in intense combat or making a daring escape.
100% Human-Written. AI Fact-Checked. Community Verified. Learn how AntMag verifies content