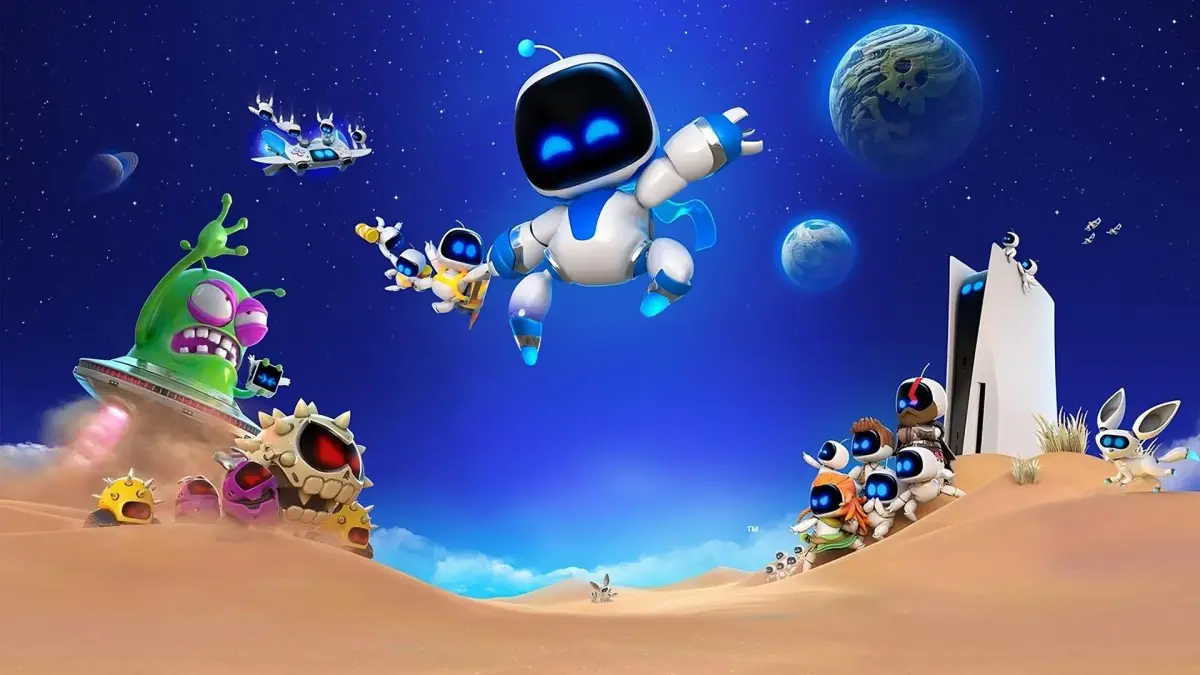
Traverse Astro Bot's World 5, the Crystal Caverns. Navigate bioluminescent flora, crystalline formations, and underground rivers where light and shadow play ke.
World 5: The Crystal Caverns
Welcome, intrepid explorer, to the shimmering depths of World 5: The Crystal Caverns! This subterranean wonderland is a breathtaking spectacle of bioluminescent flora, towering crystalline formations, and treacherous underground rivers. Prepare to navigate a world where light and shadow play crucial roles, and where the very environment can be both a friend and a foe. This guide will lead you through every glittering cave, every perilous chasm, and every challenging encounter.
Level 5-1: Lumina Grotto
Your journey begins in the Lumina Grotto, a relatively serene introduction to the Crystal Caverns. The primary challenge here is learning to manipulate the ambient light sources to reveal hidden platforms and pathways.
Walkthrough:
- Begin by traversing the initial platforms, getting a feel for the environment. You'll encounter small, skittish Glowbugs that emit brief pulses of light when startled.
- Ahead, you'll find a large, dormant crystal. A nearby Glowbug, when approached, will illuminate the crystal, causing it to emit a steady beam of light. This beam will reveal a series of invisible platforms leading upwards.
- Ascend using these platforms. Be mindful of the occasional Crystal Shard that falls from the ceiling; these are telegraphed by a faint shimmer.
- You'll reach an area with several smaller crystals. Interacting with these crystals will temporarily change the color of the light emitted, affecting different elements in the environment. For instance, a blue light might solidify water, while a yellow light might cause certain plants to retract.
- Your first objective is to rescue the stranded Astro Bot. It's located on a high ledge, accessible only after activating a sequence of light-sensitive switches. These switches are activated by directing the light beams from the crystals onto them.
- Navigate through a section with flowing underground rivers. Use Astro Bot's hover ability to cross wider gaps. Watch out for Water Sprites that will try to push you off course.
- The exit of Lumina Grotto is guarded by a mini-boss: the Crystal Crawler. This segmented creature burrows underground and emerges to shoot crystal projectiles. Its weak point is its glowing head, which is exposed only when it rears up to attack. Dodge its projectiles and ground pound its head when it's vulnerable.
Collectibles in Lumina Grotto:
- Astro Bots: 3 (1 main objective, 2 hidden)
- Gatcha Pods: 5
- Energy Cores: 2
Level 5-2: The Shimmering Depths
This level introduces more complex light puzzles and introduces new enemies that thrive in the darkness.
Walkthrough:
- Start by navigating a series of platforms suspended over a deep, dark chasm. You'll need to use Astro Bot's dual-jump and wall-jump mechanics extensively.
- Encounter the Shadow Lurkers, enemies that are only visible when illuminated. They attack with quick lunges. Use the light from nearby crystals or the occasional passing Glowbug to spot and defeat them.
- You'll reach a large chamber with a central mechanism. To activate it, you must guide a powerful light beam through a maze of reflective crystals. This requires precise positioning of Astro Bot and careful timing of crystal rotations.
- The second Astro Bot is hidden behind a wall of seemingly solid crystal. You'll need to find a specific light frequency (indicated by a unique color) that causes this crystal to become intangible, allowing you to pass through.
- A new enemy, the Crystal Golem, patrols this area. It's slow but powerful, capable of smashing through platforms. Its weakness is its glowing core, which is exposed after it performs a ground slam attack.
- The final section involves a timed sequence where you must activate several light-emitting flora in quick succession to open the path forward.
Collectibles in The Shimmering Depths:
- Astro Bots: 3 (1 main objective, 2 hidden)
- Gatcha Pods: 6
- Energy Cores: 3
Level 5-3: The Echoing Caves
This level focuses on sound-based mechanics and navigating areas with limited visibility.
Walkthrough:
- The Echoing Caves are characterized by their darkness and the prevalence of sound-sensitive platforms and enemies.
- Your primary tool here will be Astro Bot's sonar pulse (activated by holding the jump button). This pulse will briefly illuminate the surroundings and reveal hidden pathways and enemies.
- You'll encounter Echo Bats that are attracted to sound. Use your sonar pulse sparingly to avoid drawing too many to your location at once.
- The first Astro Bot is trapped in a cage that can only be opened by activating a series of sonic emitters in the correct sequence. The sequence is hinted at by the echoes you hear in the environment.
- Navigate through a section where platforms appear and disappear based on the ambient sound levels. You'll need to create controlled bursts of sound (e.g., by ground pounding) to make platforms appear, then quickly traverse them.
- A new enemy, the Sonic Shrieker, will appear. It emits a deafening shriek that can disorient Astro Bot and shatter fragile platforms. Its weak point is its vocal sac, which glows when it's about to shriek. Dodge the attack and hit the sac.
- The final Astro Bot is located in a large cavern where you must use a combination of sonar pulses and environmental sounds to guide a series of floating orbs to activate a large crystal.
Collectibles in The Echoing Caves:
- Astro Bots: 3 (1 main objective, 2 hidden)
- Gatcha Pods: 5
- Energy Cores: 2
World 5 Boss: The Lumina Leviathan
The culmination of your journey through the Crystal Caverns is a titanic battle against the Lumina Leviathan, a colossal creature that manipulates light and shadow to its advantage.
Boss Strategy:
- Phase 1: Shadow Play. The Leviathan will primarily attack from the shadows, emerging to unleash sweeping laser beams and energy orbs. Its weak points are the glowing nodes on its back, which are only exposed when it rears up. Use the scattered crystals in the arena to create temporary light sources, forcing it out of the shadows and revealing its weak points.
- Phase 2: Crystal Barrage. The Leviathan will begin to summon smaller crystal shards that rain down from the ceiling. It will also create temporary walls of light that can damage Astro Bot. Focus on dodging these attacks and using the environment to your advantage. The reflective crystals can be used to redirect the Leviathan's own laser attacks back at it, stunning it and exposing its main weak point: its glowing eye.
- Phase 3: Lumina Overload. In its final phase, the Leviathan will unleash a devastating beam attack that sweeps across the entire arena. You must find cover behind the large, stationary crystals. During this phase, the Leviathan will become exhausted, leaving its entire body vulnerable for a short period. Unleash all your attacks during this window to defeat it.
Recommended Loadout:
- Gadget: The Light Orb gadget is essential for this world, allowing you to manipulate light sources.
- Abilities: Master Astro Bot's hover and dual-jump for aerial evasion.
Common Pitfalls:
- Misjudging Light Platforms: Invisible platforms can be tricky. Always test with caution or wait for a light source to reveal them.
- Overusing Sonar: In the Echoing Caves, excessive sonar use can attract too many enemies.
- Ignoring Environmental Cues: The game often provides subtle visual or audio hints for puzzles and enemy weaknesses. Pay attention!
100% Human-Written. AI Fact-Checked. Community Verified. Learn how AntMag verifies content