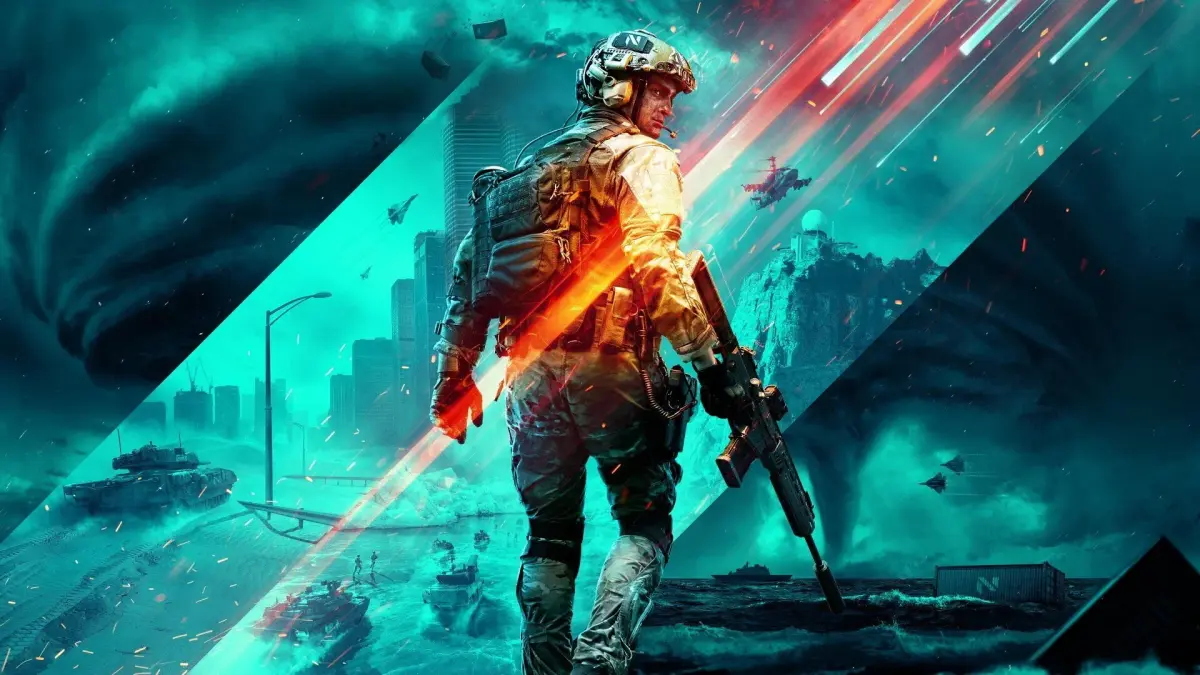
Optimize your Battlefield 2042 Hazard Zone experience by understanding specialist roles and their synergistic potential. Learn how to combine abilities for maximum effectiveness and achieve victory.
This guide focuses on the Hazard Zone mode in Battlefield 2042, detailing specialist roles and how to leverage their unique abilities for synergistic advantages. Understanding these roles is crucial for team success and survival in this high-stakes game mode.
Specialist Roles and Synergies
In Battlefield 2042's Hazard Zone, selecting the right specialists and coordinating their abilities can be the difference between extraction and elimination. Each specialist offers a distinct tactical advantage, and combining them effectively creates powerful team compositions.
Assault Specialists
Assault specialists are typically focused on direct combat and aggressive pushes. Their abilities often involve enhancing survivability or offensive capabilities in close to medium-range engagements.
- Example Specialist A: Abilities might include a personal shield or increased movement speed for flanking.
- Example Specialist B: Could have access to deployable cover or enhanced grenade capabilities.
Synergy Tip: Pair an assault specialist with a support specialist to ensure sustained combat effectiveness during pushes.
Recon Specialists
Recon specialists excel at gathering intelligence and providing overwatch. Their abilities are key to understanding enemy positions and planning strategic movements.
- Example Specialist C: May possess a deployable scanner or a drone for aerial reconnaissance.
- Example Specialist D: Could have abilities that highlight enemies or provide intel on incoming threats.
Synergy Tip: Use recon specialists to scout ahead for assault or engineer specialists, allowing them to approach engagements with prior knowledge.
Engineer Specialists
Engineers are crucial for battlefield control and vehicle support. Their abilities often revolve around repairing, defending objectives, or countering enemy vehicles.
- Example Specialist E: Might have access to repair tools for vehicles or deployable turrets for area denial.
- Example Specialist F: Could possess abilities that disrupt enemy electronics or provide defensive emplacements.
Synergy Tip: Engineers can fortify positions scouted by recon specialists, creating strong defensive strongholds.
Support Specialists
Support specialists provide essential utility, healing, and ammunition to the team. They are vital for maintaining team cohesion and survivability throughout a match.
- Example Specialist G: Could have a medical crate or the ability to revive teammates faster.
- Example Specialist H: Might offer ammo resupply or deployable cover for defensive stands.
Synergy Tip: Support specialists are invaluable when paired with any other role, ensuring that the team can sustain operations for longer periods.
Team Composition Strategies
The ideal team composition in Hazard Zone often involves a balanced mix of roles. For instance, a common effective setup might include:
- One Assault specialist for aggressive pushes.
- One Recon specialist for intel gathering.
- One Engineer specialist for area control and defense.
- One Support specialist for sustained team survivability.
However, depending on the specific objectives and player preferences, variations can be highly effective. Experiment with different combinations to find what works best for your squad.
100% Human-Written. AI Fact-Checked. Community Verified. Learn how AntMag verifies content