
Crouching Tiger Temple
Welcome, aspiring Sage, to the treacherous grounds of the Crouching Tiger Temple. This area, nestled between the foreboding Fright Cliff and the mystical Yellow Wind Formation, demands both cunning and combat prowess. Expect encounters with agile temple guardians and environmental puzzles that test your perception. Preparation is key; ensure your upgrades are current and your inventory stocked with healing items.
Initial Approach and Outer Courtyard
Upon entering the Crouching Tiger Temple, you'll find yourself in a dilapidated outer courtyard. Immediately to your left, near a crumbling statue, you can discover a hidden cache containing a Minor Spirit Stone. Be wary of the patrolling Temple Sentinels, agile humanoids wielding staffs. Their attacks are swift but predictable; parry their three-hit combo for an easy opening. After dispatching them, proceed through the main archway.
- Objective: Clear the Outer Courtyard.
- Enemies: Temple Sentinel (x3)
- Loot: Minor Spirit Stone (Hidden Cache)
- Strategy: use your Staff Sweep ability to control groups of Sentinels.
The Bell Tower Puzzle
Beyond the courtyard lies a large open area dominated by a central bell tower. The path forward is blocked by a sealed gate. To open it, you must ring the three smaller bells located around the perimeter in the correct sequence. Clues for the sequence are etched into the base of the main bell tower, but they are faded. The correct order is: West Bell, East Bell, North Bell.
- West Bell: Located near a small pond. Ring it first.
- East Bell: Guarded by a single, more aggressive Elite Sentinel. Defeat it to safely ring the bell. This Elite Sentinel has a wider attack range and a powerful overhead smash; dodge to the side and counter.
- North Bell: Situated atop a short climbable wall. Use your Monkey Leap ability to reach it.
Once all three bells are rung in sequence, the main gate will slowly open, revealing the temple's inner sanctum.
- Objective: Solve the Bell Tower Puzzle.
- Enemies: Elite Sentinel (x1)
- Loot: None directly from the puzzle, but the path forward opens.
- Strategy: Observe the Elite Sentinel's attack patterns carefully. A perfectly timed parry will stun it, allowing for significant damage.
Inner Sanctum and Guardian Encounter
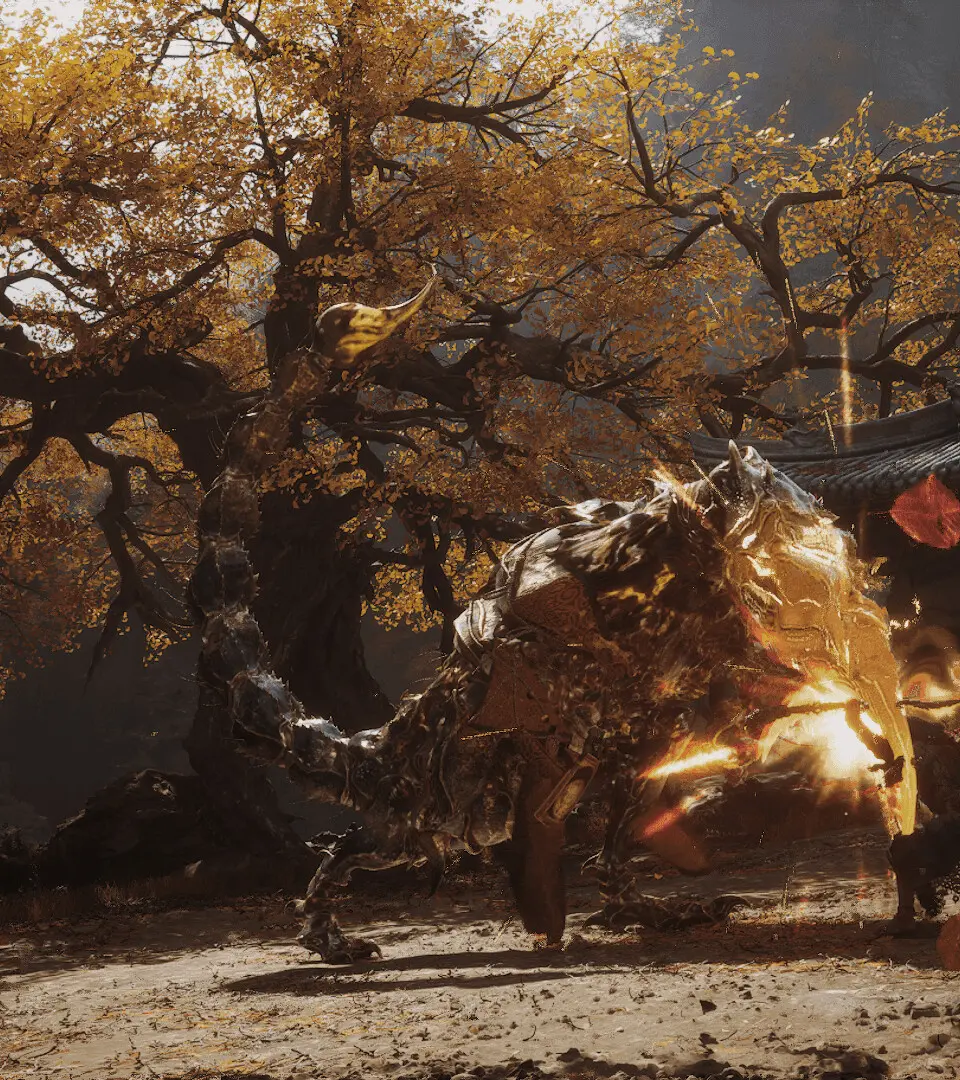
The inner sanctum is a dimly lit chamber, adorned with ancient tapestries. As you step inside, the doors will slam shut behind you, and the chamber's true guardian will emerge: the Stone Golem of Contemplation. This boss is slow but incredibly powerful, capable of devastating area-of-effect attacks.
- Boss: Stone Golem of Contemplation
- Key Attacks:
- Ground Slam: The Golem raises its arms and slams them down, creating a shockwave. Dodge *away* from the impact point.
- Boulder Toss: It will occasionally rip a piece of the floor and hurl it at you. Sprint sideways to avoid.
- Stone Barrage (Phase 2): At 50% health, the Golem will begin to summon small, homing stone projectiles. These can be deflected with a well-timed staff swing.
- Strategy:
- Exploit Weakness: The Golem's back is its vulnerable point. After its Ground Slam, it will briefly expose its back. Use your Dash ability to quickly get behind it and unleash a flurry of attacks.
- Patience is Key: Do not get greedy with attacks. Prioritize dodging and waiting for openings.
- Transform for Advantage: Consider using your Stone Skin Transformation to absorb some damage during its Stone Barrage phase, allowing you to close the distance and continue attacking.
- Consumables: Keep Celestial Nectar and Divine Elixirs ready for quick health recovery.
- Reward: Defeating the Stone Golem grants you the Heart of the Earth, a crucial crafting material, and unlocks the path to the Yellow Wind Formation. A nearby chest will also contain a Greater Spirit Stone and the schematic for the Monk's Respite Talisman.