
Shrine of Storms (4-1): Island's Edge
Welcome, Slayer of Demons, to the Shrine of Storms, a desolate and wind-swept land haunted by the spirits of fallen warriors. Archstone 4-1, known as Island's Edge, serves as your entry point into this treacherous realm. Prepare for agile, relentless skeletal foes and a unique boss encounter that tests your spatial awareness and timing.
Navigating the Island's Edge
Upon arriving, you'll find yourself on a narrow path overlooking a stormy sea. The initial stretch is relatively straightforward, but vigilance is key. This area is characterized by tight corridors, crumbling ruins, and enemies that can quickly overwhelm an unprepared adventurer.
- Initial Path: From the Archstone, proceed forward. You'll immediately encounter a Skeleton wielding a curved sword. These Skeletons are fast and aggressive; block their attacks and counter-attack during their recovery frames.
- First Tower & Archer: As you round the corner, a Skeleton Archer will begin firing arrows from a tower above. Prioritize taking it out quickly. Head towards the tower, dispatching another melee Skeleton. Inside the tower, ascend the stairs to deal with the archer.
- Rolling Skeletons: This is a common and dangerous trap in the Shrine of Storms. As you continue, you'll encounter sections where Skeletons will roll down slopes towards you. These rolling attacks deal significant damage and can knock you off ledges.
- Strategy: Listen for the distinctive rattling sound. When you hear it, quickly move to the side of the path or duck behind cover. Once they've rolled past, they will stand up, making them vulnerable.
- First Encounter: After the first tower, a path leads downwards. Be wary of a rolling Skeleton here.
- Crescent Kilij Location: After the first rolling Skeleton section, you'll reach a more open area with several Skeletons. Look for a path leading to the left, often guarded by another Skeleton. Follow this path to find the highly sought-after Crescent Kilij, a powerful early-game curved sword with magical scaling and MP regeneration.
- Silver Skeletons: These are tougher variants of the regular Skeletons, distinguished by their gleaming armor. They hit harder and have more health. They often wield larger weapons like greatswords.
- Strategy: Treat them like mini-bosses. Wait for their attack combos to finish, then punish their recovery. Parrying and riposting is highly effective against them if you've mastered the timing.
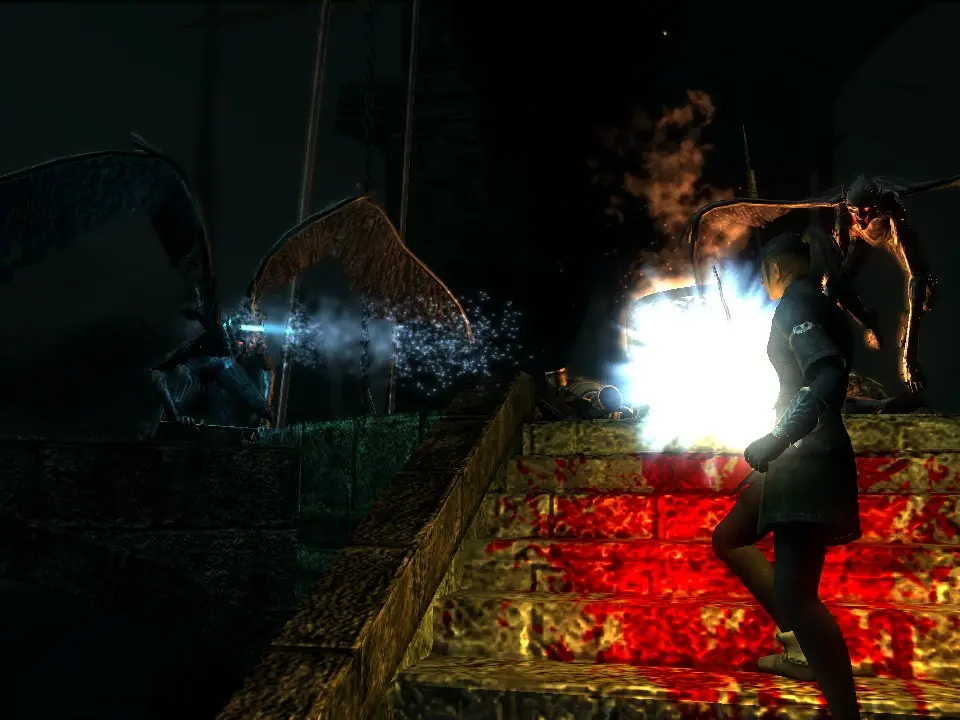
- The Reaper: As you progress through the ruins, you'll eventually reach a large, open chamber with a central pillar. Below, you'll see a shadowy figure known as the Reaper. This enemy continuously spawns ghostly Skeletons.
- Strategy: Do NOT jump down to fight the Reaper directly unless you are extremely confident. Instead, find a vantage point (usually a ledge above the Reaper's platform) from which you can target it with ranged attacks (bows, magic). Killing the Reaper will stop the Skeleton spawns and grant you a significant amount of souls.
- Regenerator's Ring: After dealing with the Reaper (or bypassing it), continue through the ruins. You'll eventually find a body holding the Regenerator's Ring, a crucial item that slowly restores your HP over time. This ring is invaluable for exploration and boss fights.
- Fog Gate: Beyond the Regenerator's Ring, you'll find the fog gate leading to the Adjudicator.
Key Items & Loot
scour every corner of Island's Edge for these valuable treasures:
- Crescent Kilij: Found on a side path after the first rolling Skeleton section. Excellent for early-game magic builds or as a secondary weapon for MP regeneration.
- Regenerator's Ring: Located on a corpse in the ruins, typically after the Reaper encounter. Essential for passive HP recovery.
- Soul Remains: Scattered throughout the level, useful for distracting enemies.
- Hardstone/Sharpstone Shards: Common drops from Skeletons, used for weapon upgrades.
- Renowned Soldier's Soul / Storied Warrior's Soul: Found on various corpses, providing a quick boost of souls.
Boss: Adjudicator
The Adjudicator is a massive, grotesque demon found at the end of Island's Edge. This fight is less about direct combat and more about environmental awareness and precise timing.
Arena Overview
The Adjudicator resides in a multi-tiered circular arena. The boss itself is on the ground floor, while you start on an upper walkway. A large, fleshy tongue hangs from its mouth, and a gaping wound on its head is its primary weak point.
Adjudicator's Attacks & Weaknesses
- Tongue Attack: The Adjudicator will periodically swing its massive tongue across the upper walkway. This attack is slow but covers a wide arc and deals significant damage.
- Avoidance: Roll towards the tongue as it swings, or simply back away. There are alcoves on the walkway where you can safely hide.
- Cleaver Attack: If you drop to the lower level, the Adjudicator will use the cleaver embedded in its head to swipe at you. This is a powerful attack.
- Weak Point: The Adjudicator's head, specifically the gaping wound, is its critical weak spot.
- Secondary Weakness: The golden bird perched on its head is also a weak point, but harder to hit.
Strategy: The "Head Drop" Method (Recommended)
This is the safest and most effective way to defeat the Adjudicator.
- Stay on the Upper Level: Begin the fight on the upper walkway.
- Target the Golden Bird: Use ranged attacks (bows, magic, throwing knives) to hit the golden bird perched on the Adjudicator's head. Even weak attacks will work.
- Recommended: A bow and a decent supply of arrows make this phase trivial. Magic users can use Soul Arrow.
- Adjudicator Falls: After taking enough damage to the bird, the Adjudicator will become stunned and fall to the ground, exposing its head wound.
- Drop Down and Attack: Immediately drop to the lower level. Run to the Adjudicator's head and unleash your strongest melee attacks on the exposed wound. You have a limited window before it recovers.
- Retreat: As the Adjudicator begins to stir, quickly run back to the stairs or ramp and return to the upper walkway. Do NOT get caught on the lower level when it recovers, as its cleaver attacks are devastating.
- Repeat: Continue this cycle of ranged attacks on the bird, dropping down to attack the head, and retreating to the upper level until the Adjudicator is defeated.
Alternative Strategy: Melee Only (Higher Risk)
If you lack ranged options or prefer a more direct approach:
- Drop Down Immediately: Descend to the lower level at the start of the fight.
- Target the Cleaver: Attack the cleaver embedded in the Adjudicator's side. This is its secondary weak point on the lower level. Each hit will cause it to recoil slightly.
- Dodge Cleaver Attacks: Be prepared to dodge its cleaver swings. They are slow but have a wide reach. Rolling towards its body can sometimes put you in a safe spot.
- Expose Head: After dealing enough damage to the cleaver, the Adjudicator will eventually fall, exposing its head. Attack the head wound vigorously.
- Retreat/Repeat: This method is riskier as you're constantly in range of its powerful melee attacks. It's generally less efficient than the ranged approach.
Boss Rewards
- Adjudicator's Soul: Can be consumed for souls or given to Blacksmith Ed to forge the unique Dozer Axe or the Meat Cleaver.
- Souls: A significant amount of souls, useful for leveling up or purchasing items.
With the Adjudicator defeated, activate the Archstone and prepare for the deeper horrors of the Shrine of Storms.