
Tower Knight Archstone (1-3): The Inner Ward
Welcome, Slayer of Demons, to the Inner Ward of Boletarian Palace (1-3). This area marks a significant increase in difficulty from the previous stages, introducing formidable enemies and culminating in a challenging boss encounter. Careful planning, strategic combat, and keen observation will be your keys to success. Prepare for ambushes, powerful foes, and crucial item pickups that will aid your journey.
Walkthrough: Navigating the Inner Ward
Upon entering the Inner Ward from the Tower Knight Archstone, you'll find yourself in a long, winding corridor. The path ahead is fraught with danger, so proceed with caution.
- Initial Corridor and Red Eye Knight Encounter:
- Immediately upon entering, you'll face a Red Eye Knight patrolling the initial corridor. These elite knights are heavily armored and wield powerful swords.
- Strategy for Red Eye Knights:
- Melee: Their attacks are slow but devastating. Circle strafe to their right (your left) to bait their attacks, then roll through and attempt a backstab. Backstabs are highly effective. Alternatively, parry and riposte if you're confident in your timing.
- Ranged/Magic: Keep your distance and pepper them with arrows or spells. Be mindful of their shield, which can block projectiles. Wait for an opening after they attack.
- Environment: Use the narrow corridor to your advantage. You can often bait them into a chokepoint and then retreat, forcing them to follow into a ranged attack or a well-timed charge.
- After defeating the knight, proceed forward. You'll find a Soul of a Renowned Hero on a body to your left, near a gate.
- The First Fat Official and Item Pickups:
- Continue through the corridor. As you round a corner, you'll encounter your first Fat Official of this area. These corpulent enemies are slow but possess a powerful fire spray attack and a surprisingly long-reaching melee weapon.
- Strategy for Fat Officials:
- Melee: Their fire spray has a wind-up, giving you a window to close the distance. Roll through their fire and get behind them for a backstab. Be wary of their club swings, which can stun.
- Ranged/Magic: Keep your distance and exploit their slow movement. Their fire spray is easily dodged from afar.
- After dispatching the Official, explore the small alcoves. You'll find 2x Full Moon Grass and 1x Renowned Hero's Soul.
- Upper Levels and Ballista Ambush:
- Ascend the stairs. Be prepared for another Red Eye Knight patrolling the upper walkway. Use the same strategies as before.
- As you proceed, look out for a Ballista operated by a Boletarian Soldier. These can deal significant damage. Prioritize taking out the operator with a ranged attack or by quickly closing the distance.
- Explore the upper ledges for 2x Hardstone Shard and 1x Sharpstone Shard.
- Rescuing Biorr of the Twin Fangs:
- This is a crucial step for the upcoming boss fight. To rescue Biorr, you need the Iron Key.
- Obtaining the Iron Key: The Iron Key is dropped by the Fat Official located on the upper level of the main hall, just before the fog gate leading to the Penetrator. You'll need to defeat him.
- Once you have the Iron Key, backtrack to the beginning of the level. From the archstone, go straight past the first Red Eye Knight, but instead of turning left to continue the main path, look for a locked door on your right.
- Use the Iron Key to open this door. Inside, you'll find Biorr of the Twin Fangs imprisoned. Talk to him to free him.
- Why Rescue Biorr? Biorr is an incredibly powerful NPC phantom who can be summoned for the Penetrator boss fight. He acts as a fantastic distraction, drawing the boss's aggro and allowing you to attack freely. His presence significantly trivializes an otherwise challenging encounter.
- Path to the Penetrator Fog Gate:
- Continue through the main path, dealing with more Boletarian Soldiers and Crossbowmen.
- You'll encounter another Fat Official guarding the path. Defeat him to proceed.
- Just before the large fog gate, you'll find a Red Eye Knight standing guard. This is often a good place to use a ranged attack to thin out the enemies before engaging the knight.
- Collect any remaining items, such as 2x Late Moon Grass, from the surrounding areas before entering the boss arena.
Boss Strategy: The Penetrator
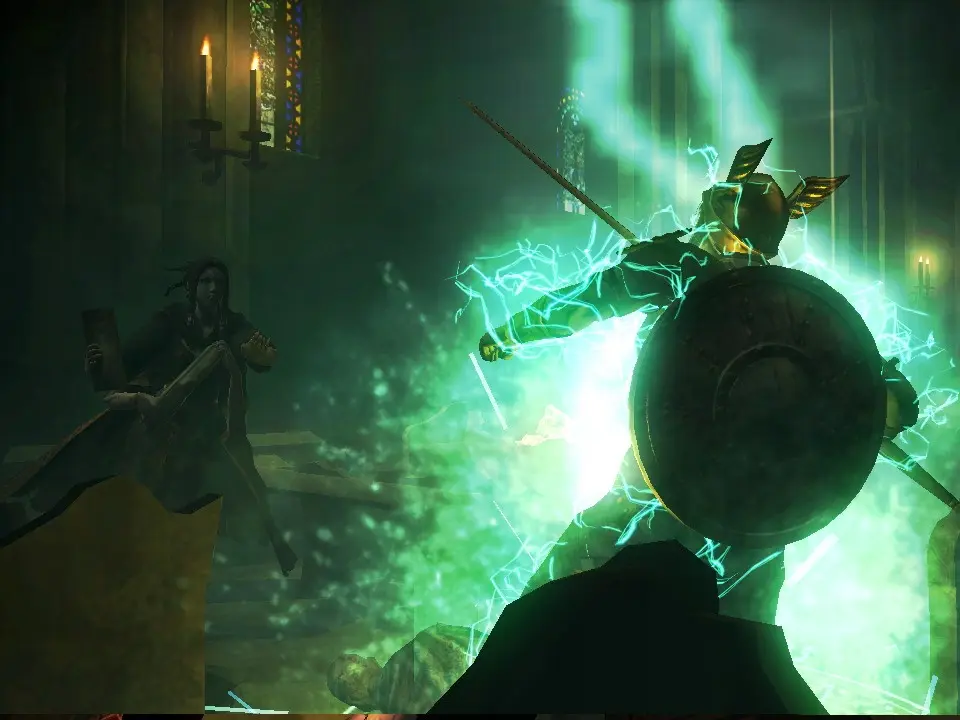
The Penetrator is a swift and aggressive demon, wielding a massive glowing sword that can deal immense damage. His attacks are fast, have good reach, and can quickly deplete your stamina if you block too much.
Key Strategies:
- Summon Biorr (Highly Recommended): If you rescued Biorr, he will automatically join you for this fight. This is the easiest way to defeat the Penetrator. Biorr will draw the boss's attention, allowing you to attack from behind or safely cast spells.
- Without Biorr:
- Dodging is Key: The Penetrator's attacks are telegraphed but fast. Focus on dodging *into* his attacks or to the side, rather than away, to create openings for counter-attacks.
- Stamina Management: Do not overcommit to attacks. Get one or two hits in, then prepare to dodge. Blocking too much will quickly deplete your stamina, leaving you vulnerable.
- Exploit Openings: After his long combo attacks or his charging thrust, he will have a brief recovery period. This is your chance to strike.
- Ranged/Magic: If you're a magic user or archer, keep your distance. The arena is large enough to kite him, but be mindful of his charging attack.
- Environmental Hazards: The pillars in the arena can be used for temporary cover, but the Penetrator's sword can cleave through them.
- Weaknesses: The Penetrator does not have any specific elemental weaknesses, but he is susceptible to status effects like poison or bleed if you have the means to inflict them.
Recommended Loadout:
- Armor: Equip your best physical defense armor.
- Weapons: A fast-hitting weapon (e.g., a straight sword, katana, or dagger) is good for quick strikes after dodging. If using Biorr, a heavier, slower weapon can be effective for higher damage output while the boss is distracted.
- Shield: A 100% physical block shield is useful for emergencies, but rely more on dodging.
- Consumables: Bring plenty of healing grasses (Full Moon Grass, New Moon Grass) and potentially some stamina regen items if you find yourself running low.
Boss Rewards:
- Soul of the Penetrator: This demon soul can be consumed for a large amount of souls or traded to Sage Freke for the Light Weapon spell, or to Yuria the Witch for the Cursed Weapon spell.
- Demon's Souls (x23,500): A significant soul injection for leveling up or purchasing items.
After defeating the Penetrator, activate the Archstone to unlock the next area, Boletarian Palace (1-4).