Mission 1: The Pipeline (APR Faction Mission)
This guide covers "The Pipeline," a crucial early-game faction mission typically offered by the APR (Alliance for Popular Resistance). This mission serves as an introduction to sabotaging enemy infrastructure and directly impacts the strength of the rival UFLL faction. Successfully completing it will earn you a significant diamond reward and further the APR's agenda in the region.
Mission Briefing & Setup
Upon arriving at an APR safe house or HQ, you'll be tasked by a faction leader (e.g., Reuben Oluwagembi or Warren Clyde, depending on your initial choices) to disrupt the UFLL's fuel supply. The objective is to destroy a critical section of their pipeline, crippling their ability to transport resources. Your buddy will often chime in with a tactical suggestion, which can provide an alternative approach to the mission.
- Mission Giver: APR Faction Leader (e.g., Reuben Oluwagembi, Warren Clyde)
- Objective: Destroy the UFLL fuel pipeline.
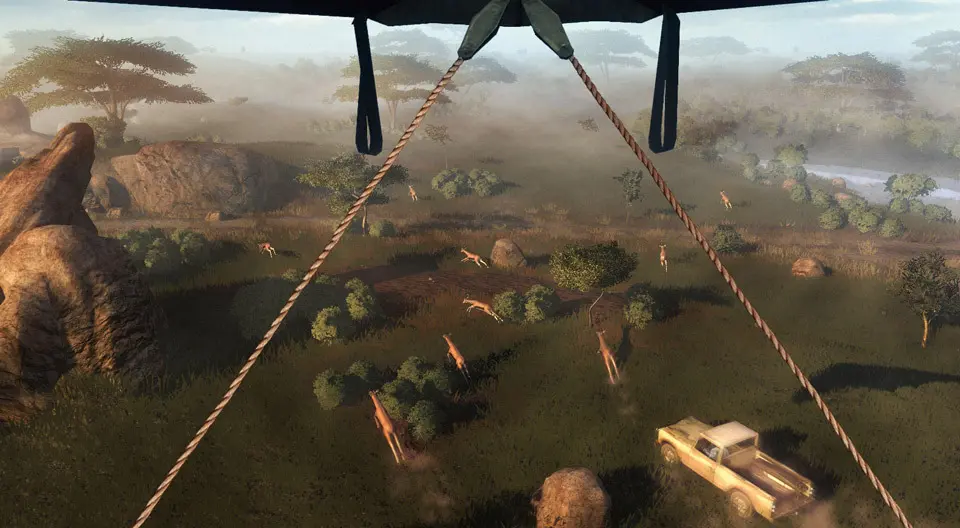
- Location: The primary target pipeline section is usually located in the Northern District of Leboa-Sako, often near the central river or a major road leading out of Pala. Look for a large, exposed pipeline running across the terrain, typically guarded by a UFLL outpost.
- Reward: 30-40 Blood Diamonds (exact amount may vary slightly based on difficulty and progression).
Recommended Loadout & Strategy
Given the nature of the target and the heavy UFLL presence, a balanced loadout focusing on both stealth and explosive power is ideal.
- Primary Weapon: AS50 Sniper Rifle (for long-range enemy elimination) or AK-47 / G3-KA4 Assault Rifle (for versatility).
- Secondary Weapon: MP5 / Uzi Submachine Gun (for close-quarters combat inside the outpost).
- Special Weapon: MGL-140 Grenade Launcher or RPG-7 Rocket Launcher (essential for quickly destroying the pipeline). If you don't have these, a good supply of Molotovs or Grenades will suffice.
- Equipment: At least 3-4 Grenades or Molotovs. Medical Syringes are always recommended.
General Strategy:
- Reconnaissance: Before engaging, approach the pipeline location from a distance. Use your monocular to tag enemies, identify patrol routes, and locate any mounted weapons (e.g., .50 cal machine guns). Note the location of the pipeline section you need to destroy.
- Stealthy Approach (Recommended):
- Find high ground overlooking the outpost.
- Use your sniper rifle to silently eliminate isolated sentries and enemies on mounted guns. Prioritize enemies who can spot you easily or raise an alarm.
- Work your way inwards, maintaining stealth as long as possible.
- Direct Assault (Alternative):
- If stealth fails or you prefer a more direct approach, use cover effectively.
- Engage enemies from medium range with your assault rifle.
- Utilize grenades to flush out enemies from cover or clear groups.
- Buddy Assistance: Your buddy might offer a diversion. For "The Pipeline," this often involves creating a distraction at a nearby guard post or blowing up a vehicle to draw enemy attention away from your primary target. Accepting this can significantly reduce the number of enemies you face at the main pipeline section. If your buddy suggests it, follow their marker on the map to the diversion point, execute the task, and then proceed to the pipeline.
- Destroying the Pipeline: Once the immediate area is clear or sufficiently distracted, locate the designated section of the pipeline. It will often have visible valves or a specific marker. Use your explosive weapon (RPG, Grenade Launcher, Grenades, or Molotovs) to destroy it. It usually takes 1-2 direct hits from heavy explosives or several grenades/Molotovs.
- Escape: After destroying the pipeline, expect reinforcements. Quickly exfiltrate the area. A fast vehicle parked nearby can be invaluable for a quick getaway.
Step-by-Step Walkthrough
- Accept the Mission: Travel to the nearest APR safe house or HQ (e.g., Pala, Mosate Selao). Speak to the faction leader to receive "The Pipeline" mission.
- Travel to the Target Area:
- Open your map and locate the mission marker, which will be over the UFLL-controlled pipeline section in the Northern District.
- Grab a vehicle (e.g., a Jeep or Buggy) from a nearby safe house or outpost.
- Drive towards the general vicinity of the pipeline. Park your vehicle a safe distance away, out of sight, to use as an escape route.
- Initial Reconnaissance:
- Approach the pipeline area cautiously, staying low and using natural cover.
- Use your monocular (default key: 'Q' on PC, 'Left Bumper' on Xbox, 'L1' on PS3) to scan the entire UFLL outpost guarding the pipeline. Tag all visible enemies, especially snipers or heavy gunners. Identify the section of the pipeline marked for destruction.
- Buddy Diversion (Optional but Recommended):
- If your buddy contacts you with a diversion suggestion, a new marker will appear on your map.
- Drive or walk to this diversion point (e.g., a small UFLL guard post down the road).
- Execute the diversion (often involves blowing up a vehicle or a fuel tank). This will draw a significant portion of the UFLL forces away from the main pipeline.
- Return to the pipeline area, which should now be less heavily guarded.
- Clear the Outpost:
- Stealth: From a vantage point, use your sniper rifle to systematically eliminate enemies. Prioritize isolated targets, then those on mounted weapons, and finally patrolling guards. Aim for headshots for quick, silent kills.
- Combat: If stealth is compromised, switch to your assault rifle. Use cover-to-cover movement. Grenades can be effective against groups or enemies behind cover. Be mindful of enemy flanking maneuvers.
- Destroy the Pipeline:
- Once the immediate area around the pipeline is clear of most threats, approach the marked section of the pipeline.
- Equip your RPG, Grenade Launcher, or a stack of Grenades/Molotovs.
- Fire at the pipeline section until it explodes. You'll see a visual explosion and hear a distinct sound effect.
- Exfiltrate:
- As soon as the pipeline is destroyed, new UFLL reinforcements will likely be dispatched to your location.
- Do not linger. Run back to your parked vehicle or commandeer a UFLL vehicle if available.
- Drive away from the mission area until the "Mission Complete" notification appears.
- Collect Reward: Return to any safe house or a diamond briefcase location to collect your Blood Diamond reward.
Common Pitfalls & Tips
- Running out of Explosives: Ensure you have enough explosives before heading to the mission. If you run low, check nearby weapon shops or ammo caches.
- Ignoring Recon: Rushing in without scouting the area will often lead to being overwhelmed by enemy numbers and mounted weapons.
- Underestimating Reinforcements: The game will often spawn new enemies after the objective is completed. Always have an escape plan.
- Vehicle Placement: Park your escape vehicle in a position that allows for a quick and easy getaway, facing away from the target area.
- Fire Hazards: Be cautious when using explosives near flammable objects (e.g., fuel barrels, other vehicles). While sometimes useful for creating chaos, they can also harm you.
- Buddy Health: If your buddy is with you, keep an eye on their health. If they go down, you'll need to revive them, which can be risky in a firefight.